 |
 |
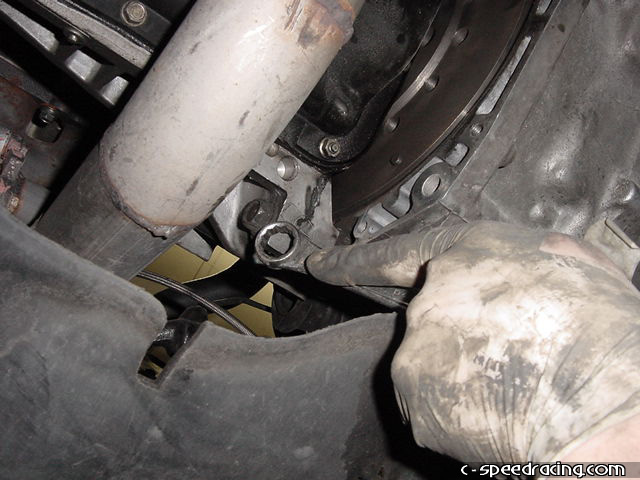
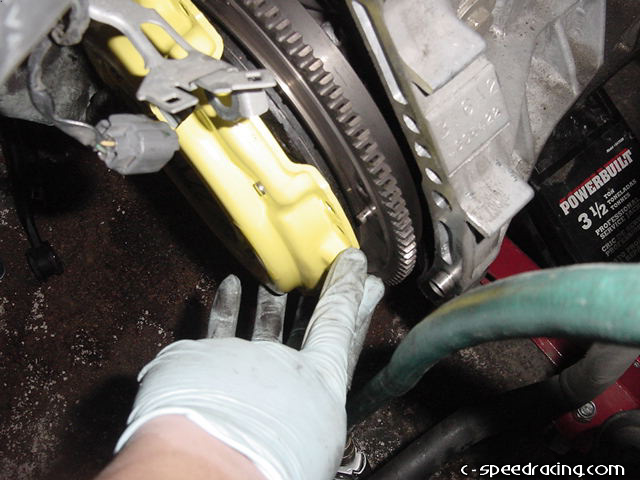
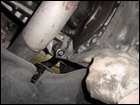
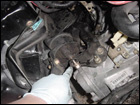
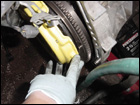
You're almost ready to drop the transmission. The only thing left now is to remove all the main bolts that hold the transmission to the block. You can access all of them from the top of the motor except for one. Be sure to remove this one that is below where the clutch slave cylinder normally goes next to the flywheel cover from under the car. |
 |
 |
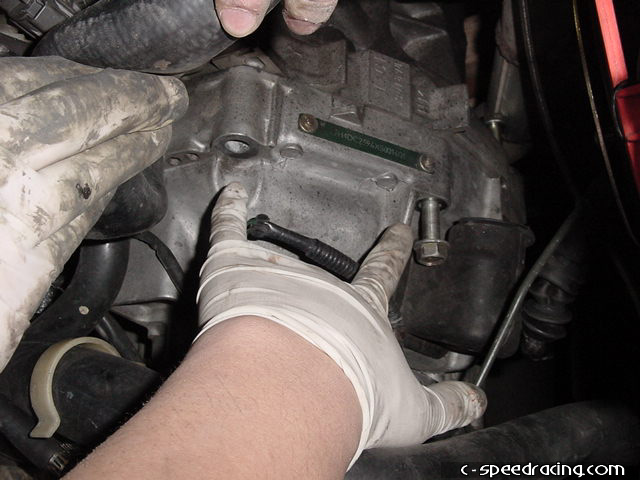
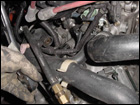
Once that has been done, you can start to unbolt the rest of the 17mm bolts from the tranny. Be sure to place a jack under the motor to hold the engine up as you will be removing the passengerside upper engine mount. |
 |
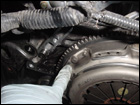 |
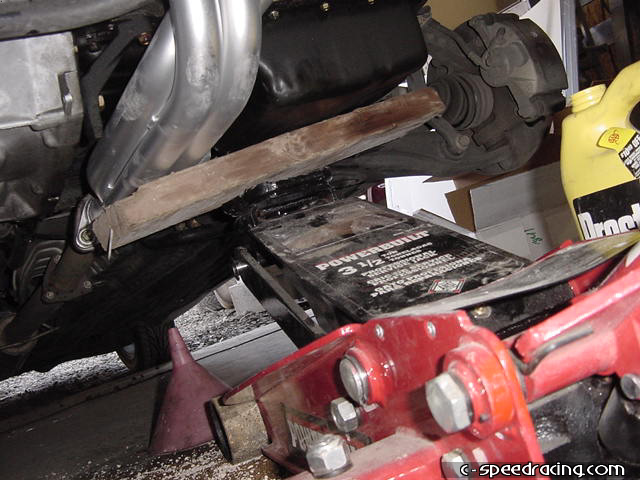
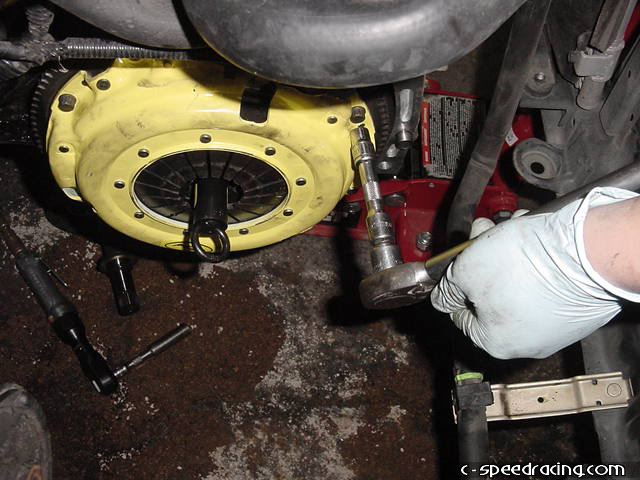
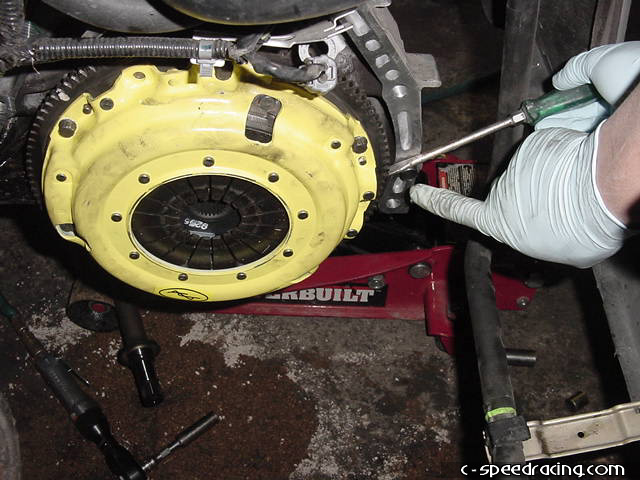
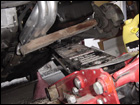
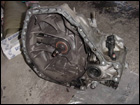
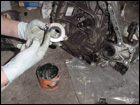
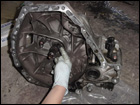
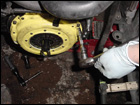
Once the jack is in place, remove the engine mount and slowly let the motor drop down by lowering the jack until the motor sits sideways in the engine bay. Then with the aid of a friend or two, have someone crawl under the tranny while another person separates the transmission from the block and carefully lower the transmission to the ground. Its not that heavy, approximately 50lbs or so. Now that the tranny is off, you will notice that the pressure plate is held in place with a series of 12-point 10mm bolts. Remove them witha 12-point 10mm socket. |
 |
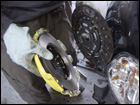 |
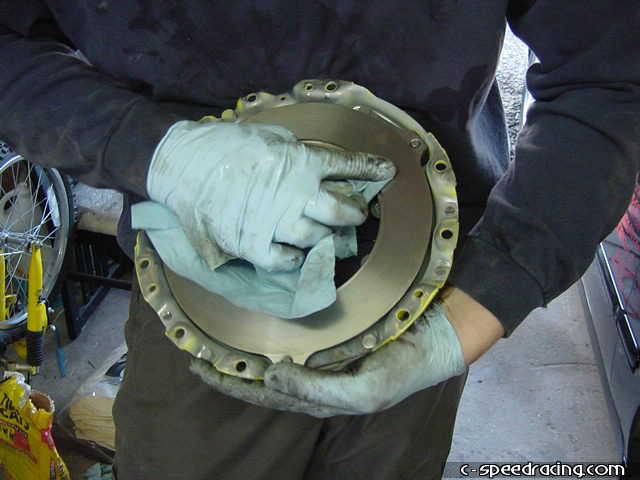
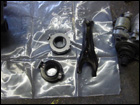
Once the clutch and pressure plate have been removed it is a good idea to remove the flywheel at have it resurfaced. However, this motor had extremely low milage on it with its current clutch and there were no signs of wear or hot spots on the flywheel so we opted to leave it. With the new pressure plate and disc, make sure to clean off any oil that is on the pressure plate and flywheel before installing. The disc can only fit one way into the pressure plate, so don't worry about messing that up. |
 |
 |
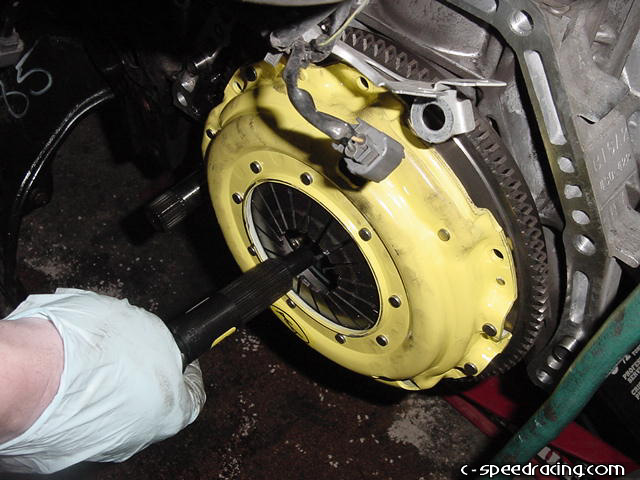
Mate the pressure plate and disc to the flywheel. There are alignment dowel pins on the flywheel that will mate with holes on the pressure plate. Be sure you have them lined up correctly. Then place a few of the 10mm bolts in place finger tight to hold the pressure plate. Then insert the clutch alignment tool to line up the disc with the crank. |
 |
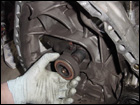 |
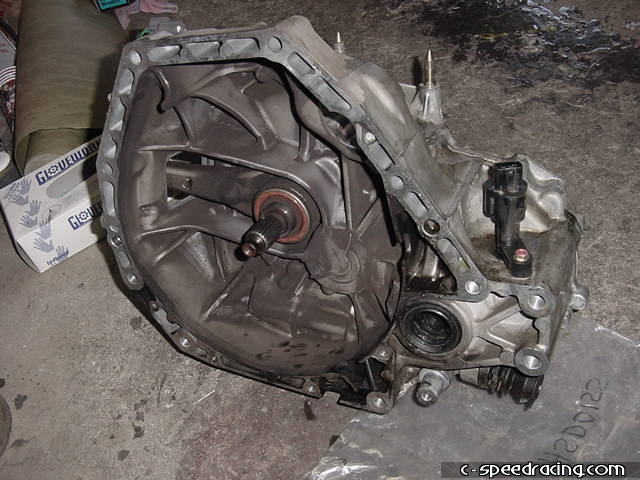
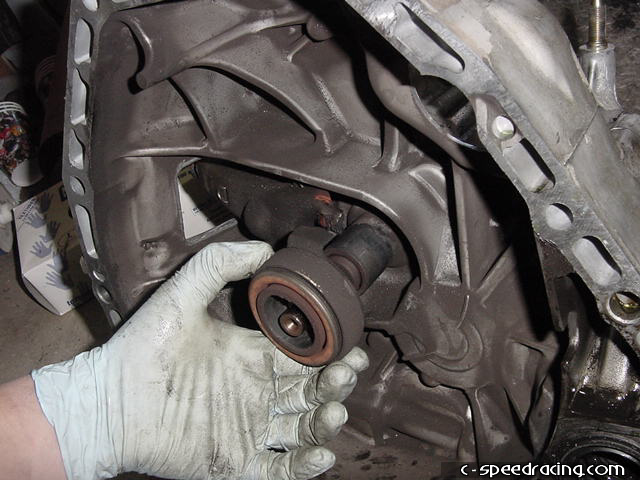
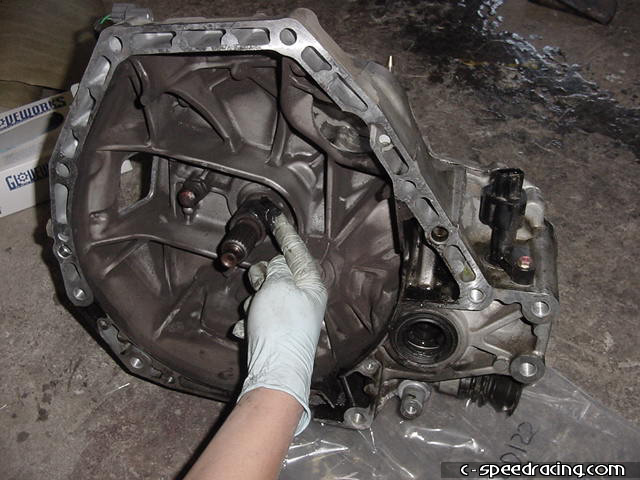
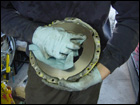
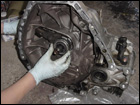
Now for the throw out bearing. Remove the old bearing by pulling firmly until it slides off the input shaft. |
 |
 |
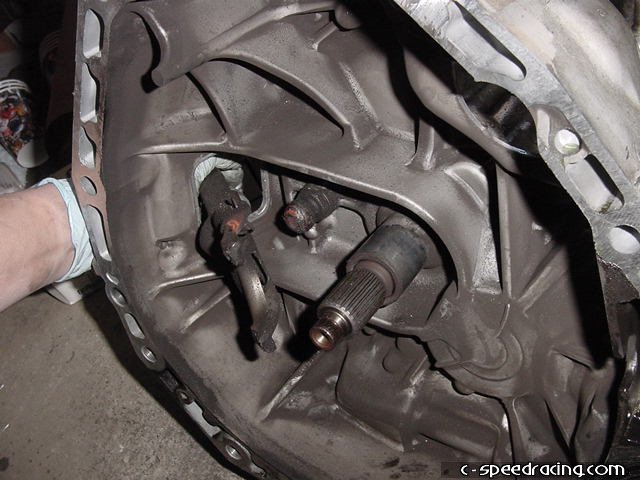
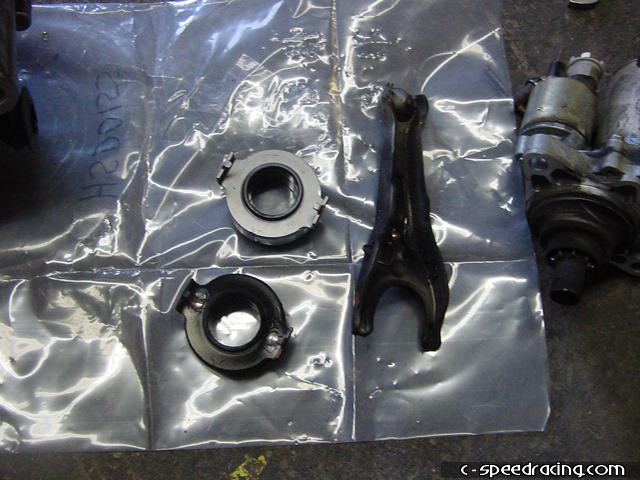
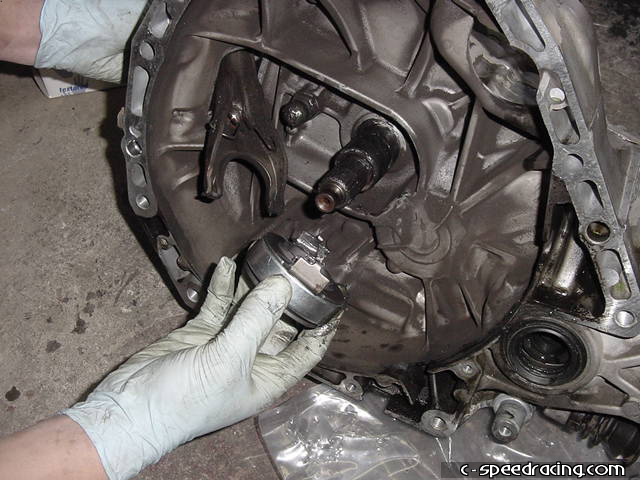
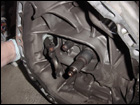
The throw out bearing is operated by an arm that is held onto a ball with a spring clip. Pull firmly and the arm will pop off as well. Clean the ball and socket on the arm. |
 |
 |
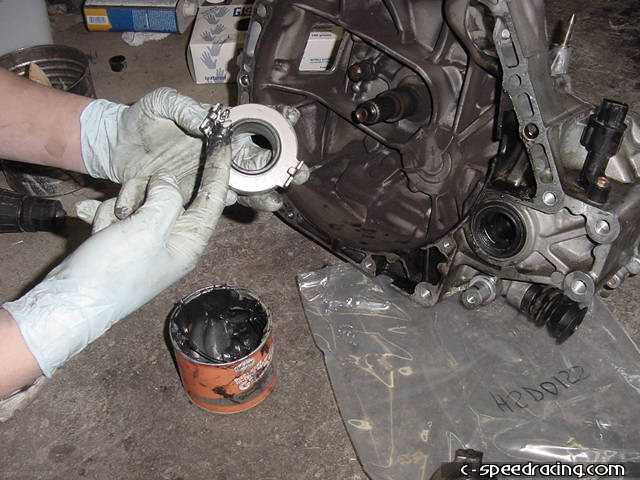
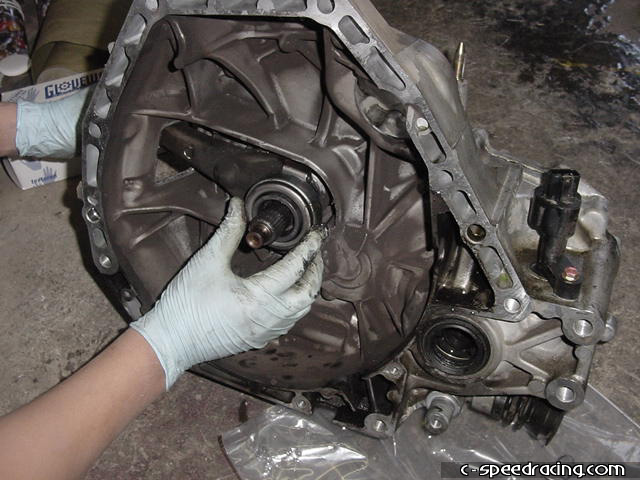
Before installing the new throw out bearing, be sure to grease the input shaft and throw out bearing where it contacts with the arm. Also grease the ball and socket that the arm rides on. Do not pack the throw out bearing with grease, it is prelubricated. Also do not clean it with any solvents. |
 |
 |
Reassemble the throw out bearing by inserting the arm back through the transmission housing first. Then slide the throw out bearing onto the input shaft while aligning it with the arm at the same time. Once in place, the arm should easily snap back over the ball and your done. Test the assembly by sliding the arm back and forth. The throw out bearing should slide easily along the input shaft. |
 |
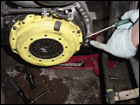 |
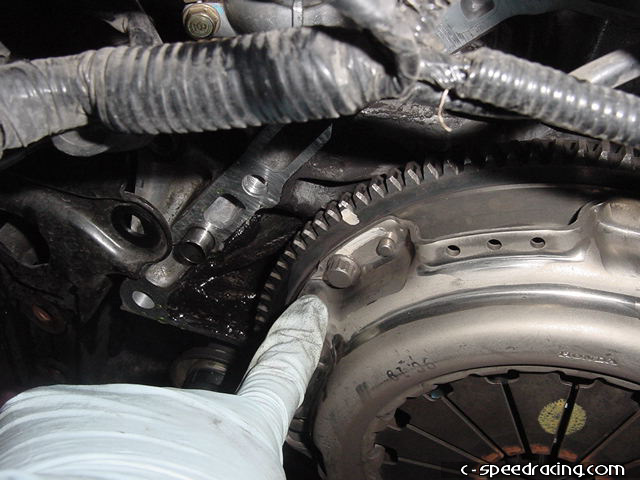
Once that is done, you can torque the bolts down on the pressure plate - 24lbs/ft. If the flywheel begins to turn while you tighten the bolts, then insert a slot head screwdriver into the teeth of the flywheel and brace it on one of the transimission alignment dowels to stop it from rotating. Once that task is complete, replace the transmission back on the block, and bolt everything back up the same way they were removed. Make sure to properly brake in the clutch to manufacturer specifications. Generally, 500 miles of city driving. |