 |
 |
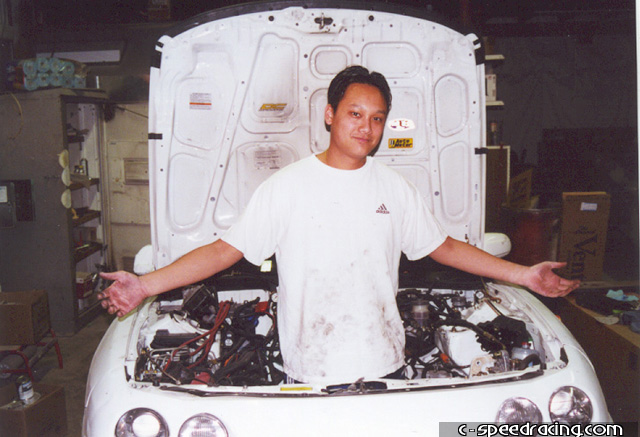
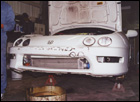
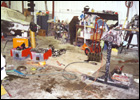
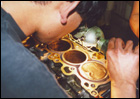
Step 1:
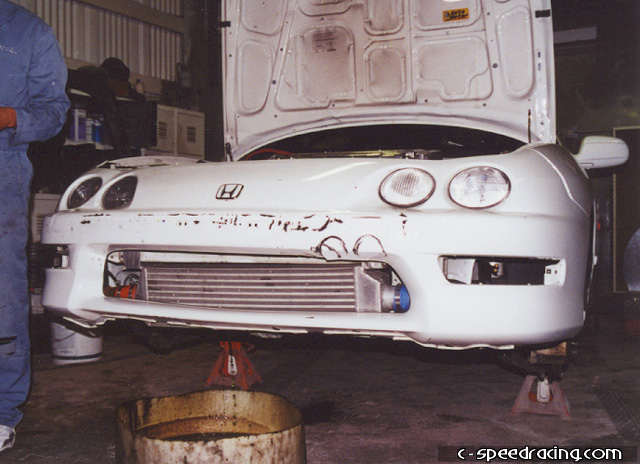
Here's a look at C-SPEED's Project Integra when it was involved in the 3 car collision. Not too pretty. The motor blew up before the JDM front end arrived. |
 |
 |
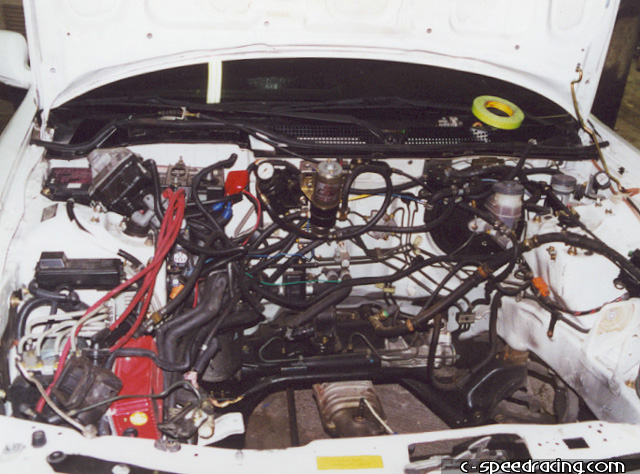
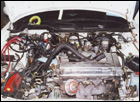
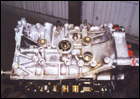
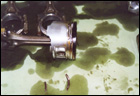
Step 2:
Pull the motor from the car. This must be done if you are overboring the cylinders or resleeving. Otherwise you could attempt to do it with just the head off. However it makes everything a little more difficult. We went with oversized pistons so we had no choice. |
 |
 |
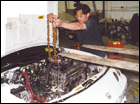
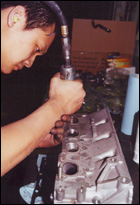
Step 3:
Once the motor is out, begin stripping off the accessories such as the tranny, manifold, etc. Then place the block on an engine stand to stripe it bare. |
 |
 |
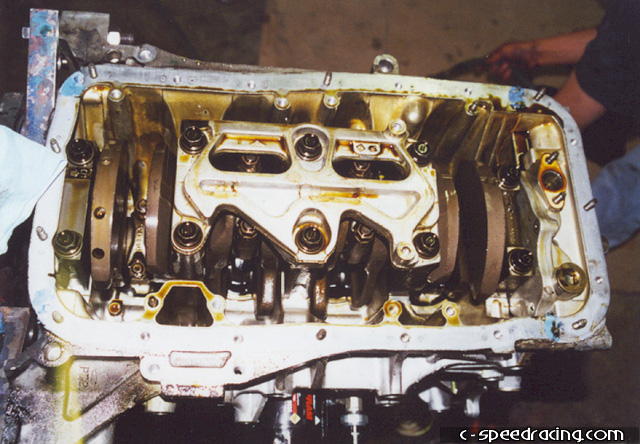
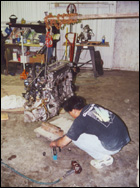
Step 4:
With the block on the engine stand, removing the head and other miscellaneous components goes a lot faster. Pull the head and oil pan off and don't forget to remove the drain plugs. |
 |
 |
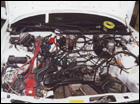
Step 5:
With the motor out and only 21,000miles on the motor, one has to see the happier side of things right? |
 |
 |
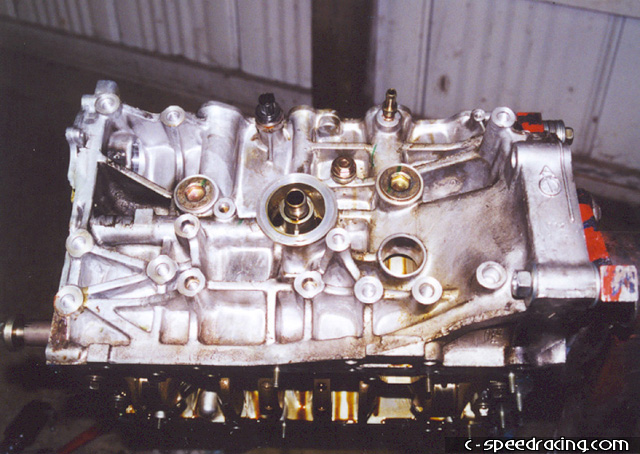
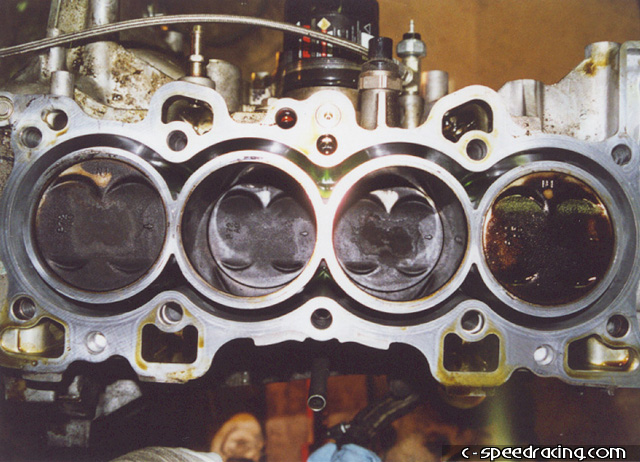
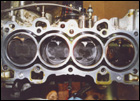
Step 6:
With the block almost bare, we inspect for cause of our problems. Remember, it was blowing white smoke from the valve cover breather filter and VAC had dropped a little over 10in/hg. A compression test had shown that #3 cylinder was down to 80psi compression. |
 |
 |
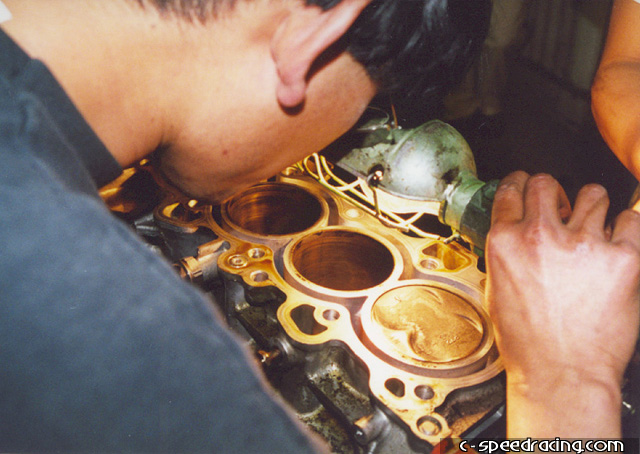
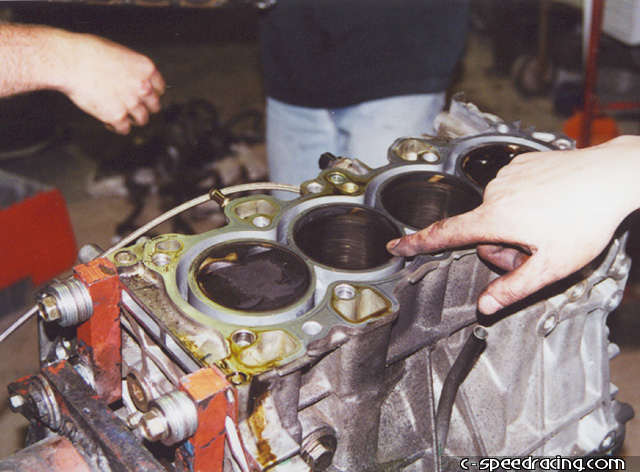
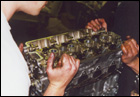
Step 7:
Closer inspection proved that the #3 cylinder wall was scored pretty bad. An overbore would fix it though. But that was definately the culprit. |
 |
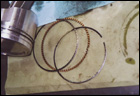 |
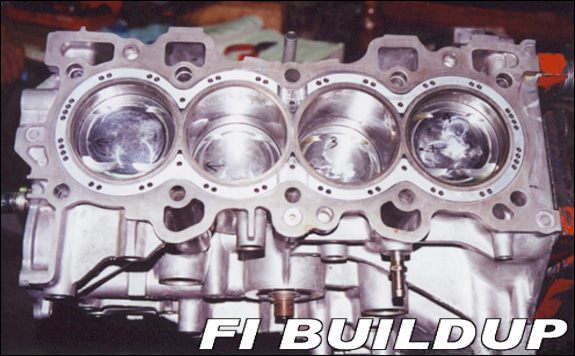
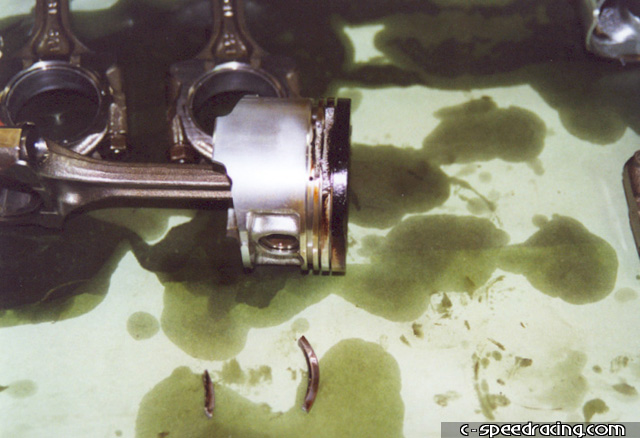
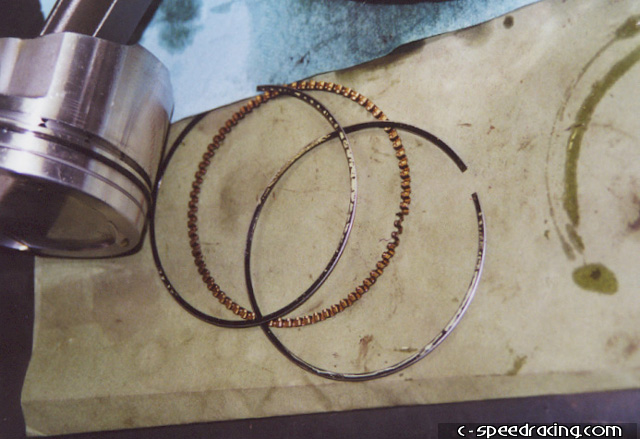
Step 8:
Once the rod caps were removed we pulled the pistons out and we weren't surpised to find that the rings lands on the #3 piston had literally broken off in 2 places. The rings were damaged as well. |
 |
 |
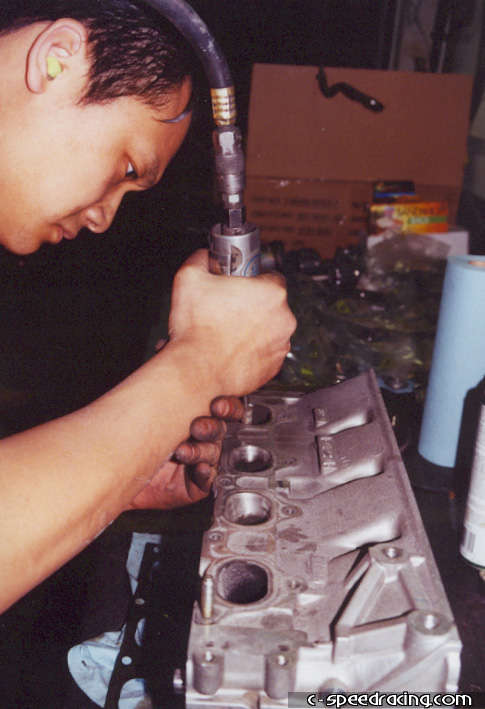
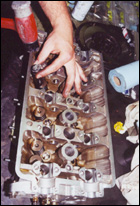
Step 9:
While waiting for parts to arrive, we decided to work on the head. An quick and dirty way of removing the keepers on the valves is to use a large socket and firmly hit the socket on the retainer with a hammer. With the head disassembled and cleaned, we began a mild port and polish on the exhaust side only. |