 |
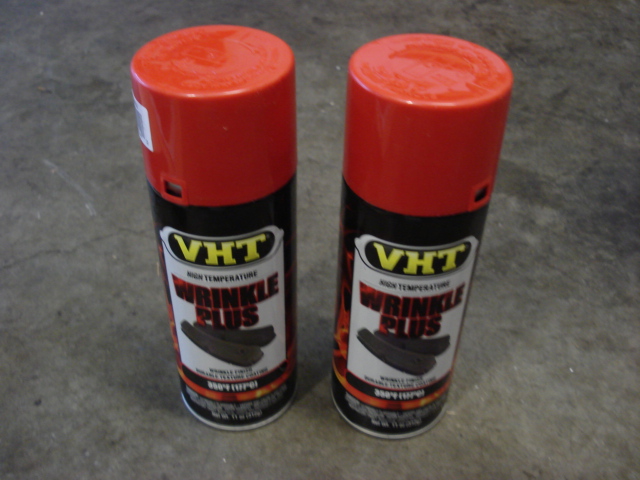 |
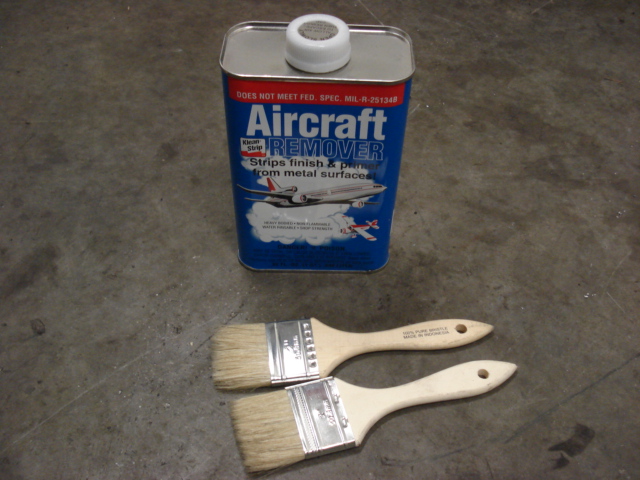
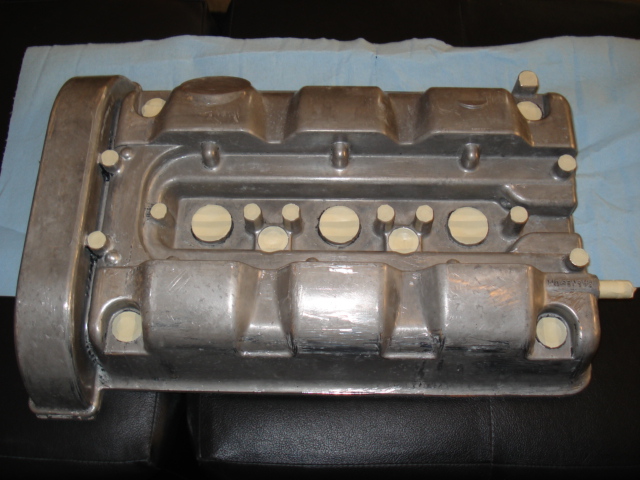
If you're valve cover is already painted has a wrinkle finish and is in bad shape, you'll need to strip the only wrinkle finish off. You'll need to pick up a can of Aircraft Paint Stripper. You can probably find this at your local hardware store. This stuff is nasty! Do not get it on anything other than your project! Use in a very well ventaliated area! You'll also want to pick up at least one can of VHT Wrinkle Finish Paint per valve cover. If your local hardware store does not carry this, you can find it online. It comes in several colors, including red or black. We recommend the VHT Red because it is the closest to matching the OEM Honda Type-R red. |
 |
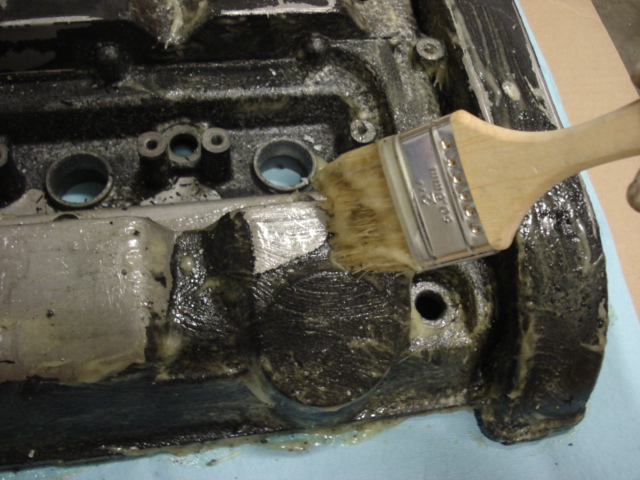 |
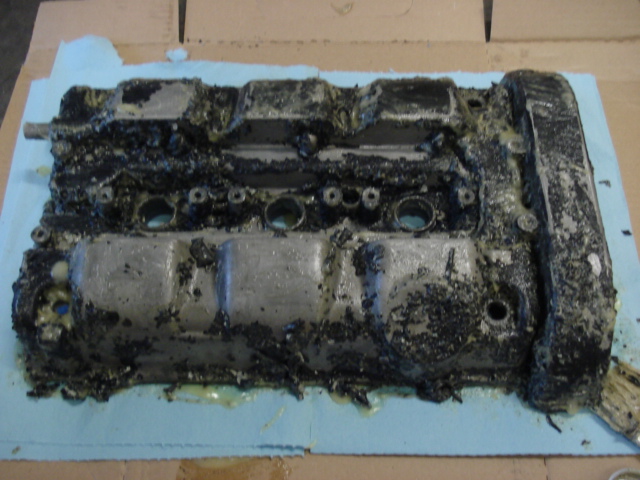
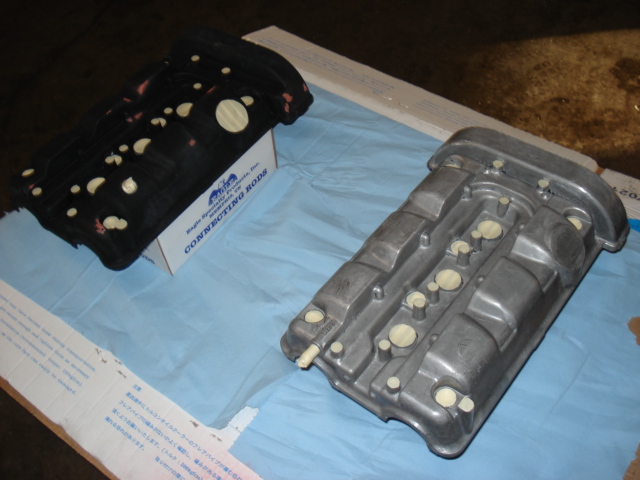
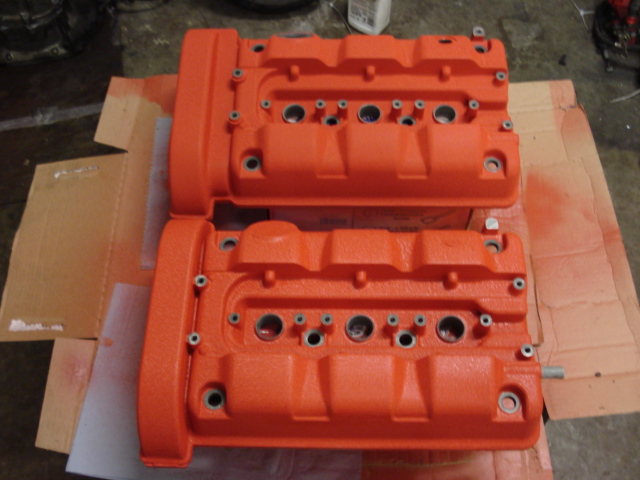
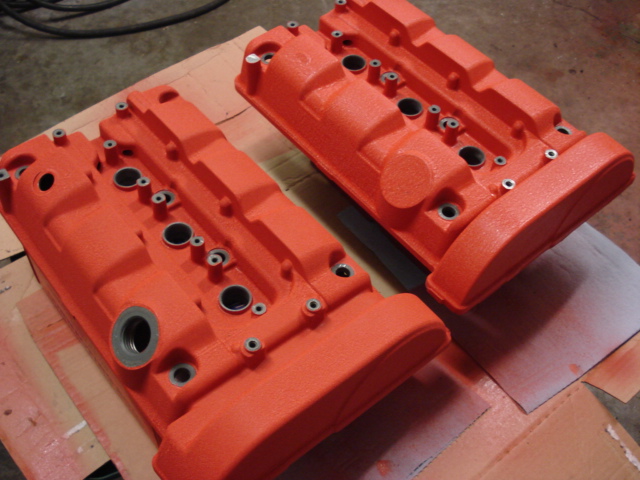
You'll notice that the valve cover on the left is in great shape, whereas the one on the right is not. We will leave the left one alone and strip the paint off the right one. Using the aircraft paint stripper, apply thick coats onto the valve cover using the brush. Do not been hasty with the paint stripper. Get it into all the nooks and crannies. |
 |
 |
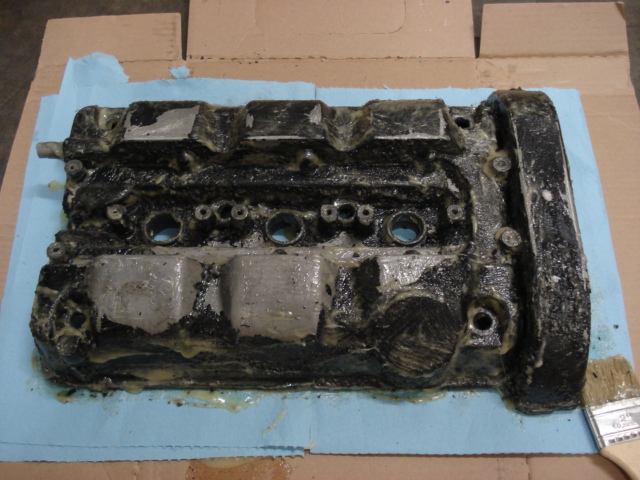
Generally, in about 15min or so, you can start to see the paint bubbling and flaking off by itself. You can always reapply the paint stripper if a few spots are dry. You cannot use too much of the paint stripper! Just gob it on there! |
 |
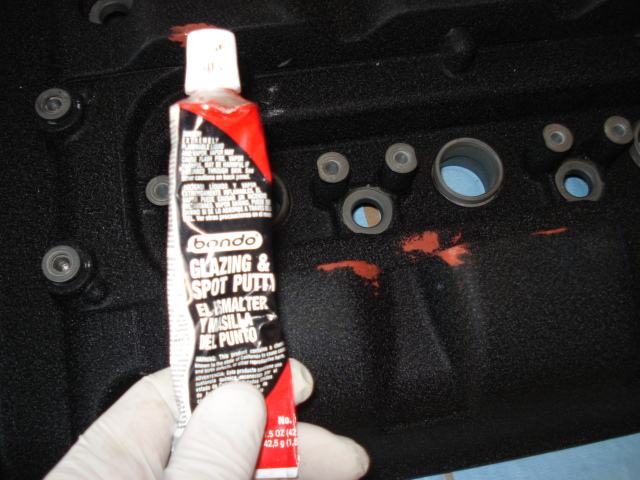 |
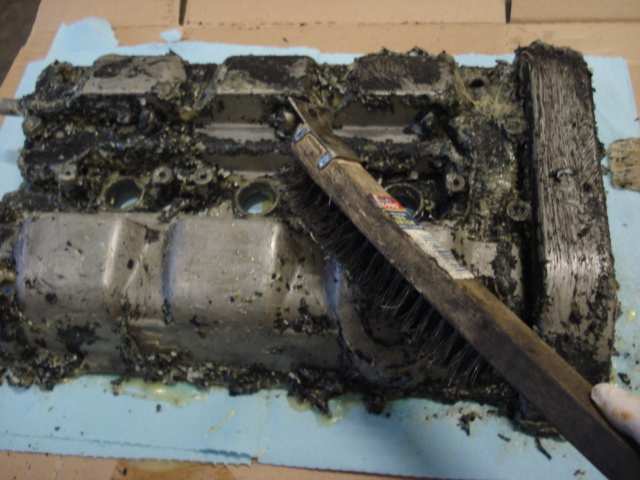
You can use a wire brush to clean it up or a putty knife works well to scrape the tougher stuck on paint off. Once all the paint has been removed, clean the valve cover thoroughly. Wash it off and then wipe it dry. Now, if your valve cover's original finish is in good shape, you can simple touch up any tiny knicks or scratches with some Glazing Spot Putty. You don't have to apply it perfectly, just fill in the knicks and scratches and lightly same smooth with some 600 grit sand paper. The wrinkle finish will hide it. |
 |
 |
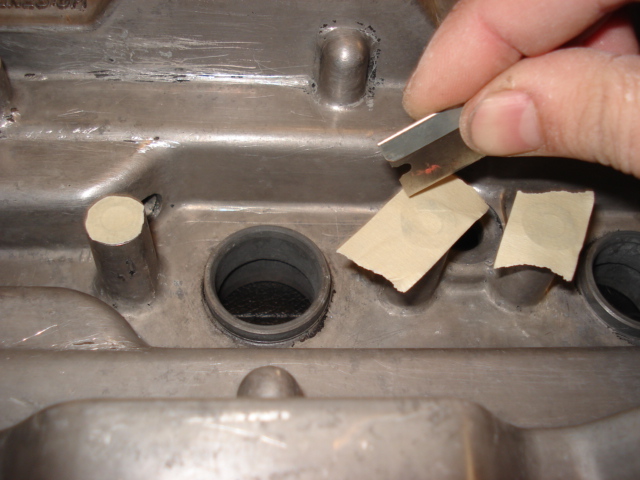
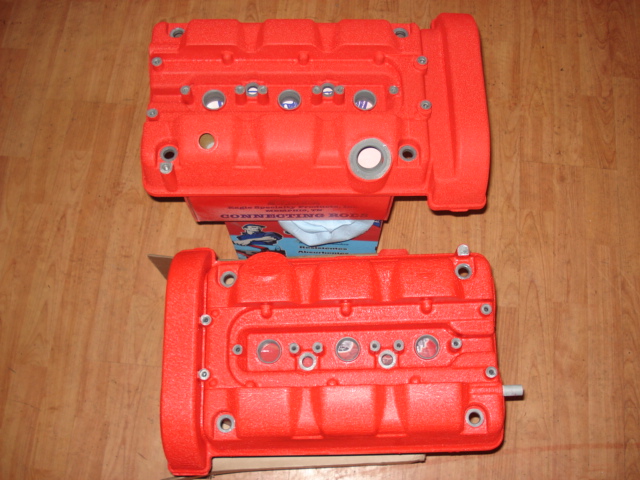
Now, carefully mask off the areas that should not be painted. This will give your valve cover the OEM look. |
 |
 |
Once it is masked off, paint the valve covers following the directions on the can. You want to apply fairly heavy coats, but not so much that the paint runs. Heavy coats are what will allow the paint to wrinkle. 2-3 coats every 5-10 minutes should be plenty. Then set the valve covers in a warm place. Either using a heat gun and evenly apply, or stick them into an oven. Putting them next to a heater vent works well too. You need heat for a better wrinkle finish - this is very important. They should be dry enough to handle in about 45min to 1hour. |
 |
 |
Now you can carefully remove the masking from the valve cover. |
 |
 |
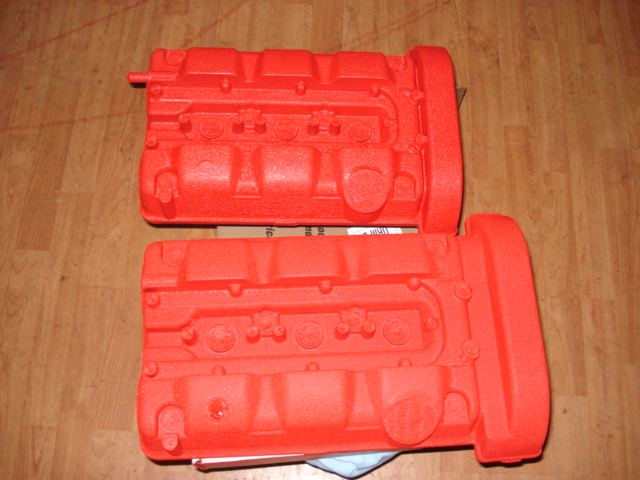
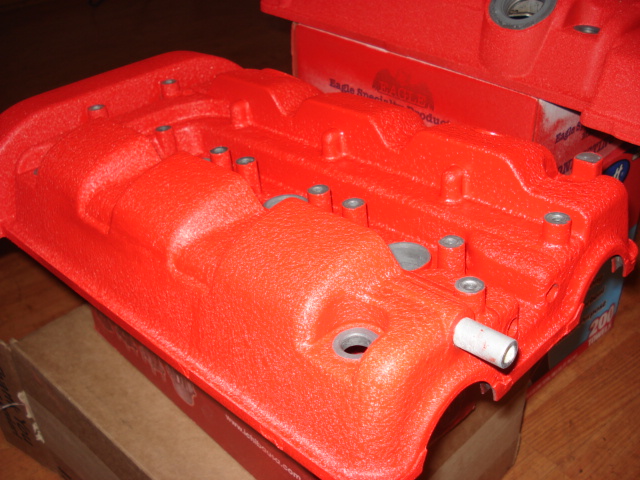
Here's are vew different photo's to show the final result and wrinkle - with flash. |
 |
 |
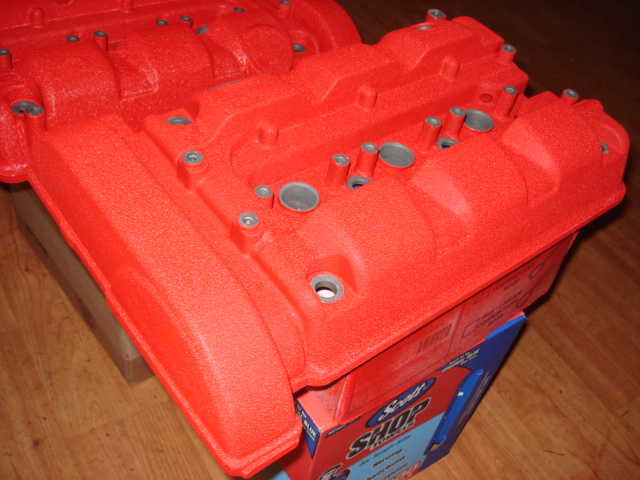
No flash. |
 |
 |
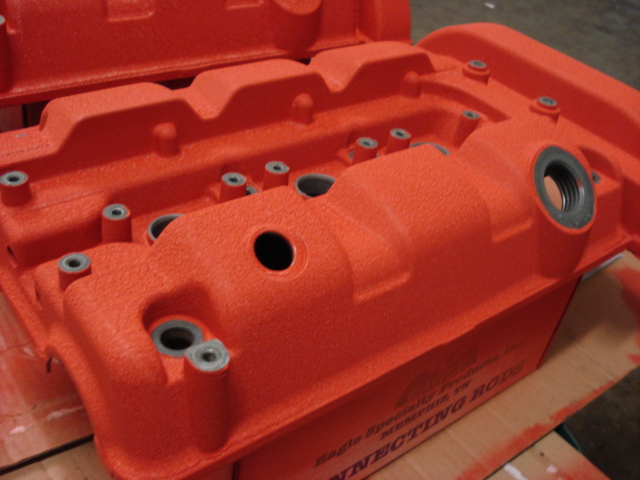
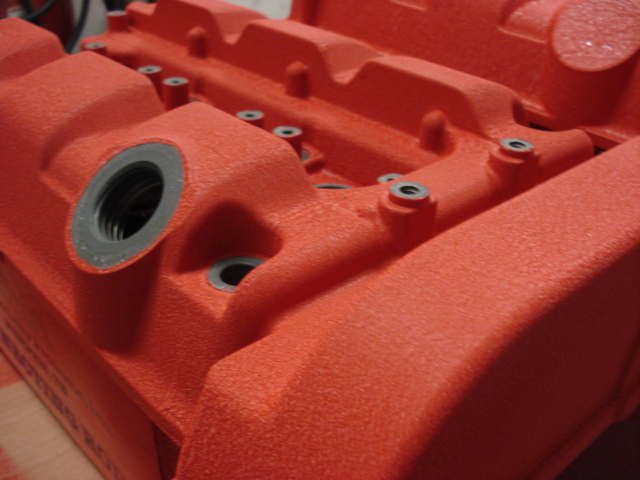
Close up, no flash. |
|
 |
Done! Just like OEM Type-R! |

