 |
 |
First jack up the car and place it on jack stands. If you have them OEM wheel locks, you'll find the wheel lock key in the spare tire compartment in the trunk, under the carpet. Starting on the front, remove the plastic widow cowl by removing the retaining clips. Once the cowl is removed, it will expose the bolts on the strut tower bar. Remove both 10mm bolts. |
 |
 |
Next, unbolt the cruise control box on the passenger side. There are two 10mm bolts holding it to the shock tower and strut bar. |
 |
 |
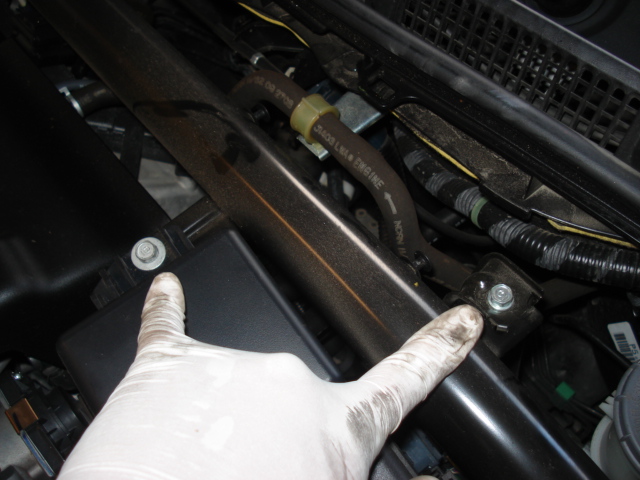
Then remove the strut bar - three 12mm nutss, and the three 14mm nuts holding the strut to the shock tower. Then remove the 14mm bolt on the lower shock fork. |
 |
 |
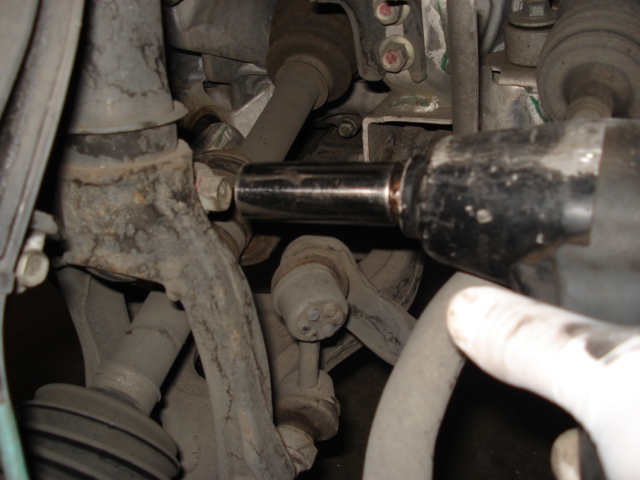
Next, remove the 17mm nut and bolt connecting the lower shock fork to the lower control arm. Now, slide the lower fork downwards and off of the damper and set it aside. Note the direction that it faces. |
 |
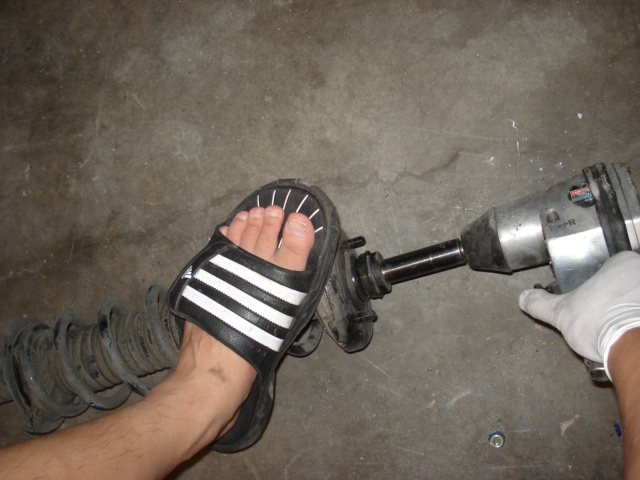 |
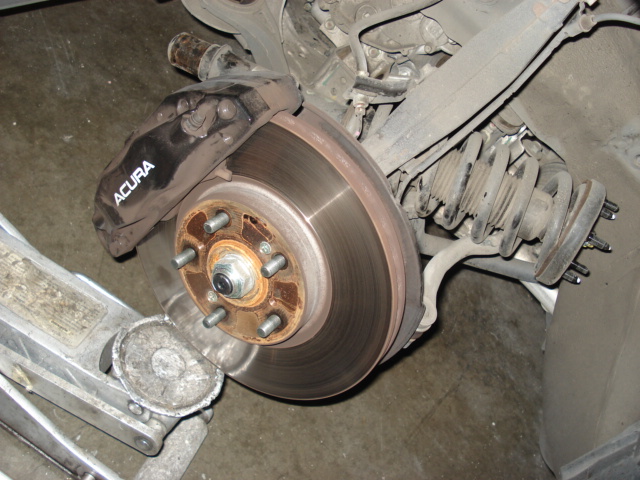
You can now remove the damper. You may need to jack up the hub assembly slightly since the damper may be jammed in the upper control arm due the hub sagging too far. You can then remove the old spring from the damper. The best method is to actually use a spring compressor that you can rent from your local automotive supply store, however, if you have an impact gun, you can also safetly remove it by standing firming on the damper and zipping off the 14mm nut on the end of the damper. It's a good idea to put a towel over the entire assembly to catch any peices that may fly apart. The spring/damper combo will only jump about 6" when the nut comes off the end, so just make sure no one is standing near the end of the damper. |
 |
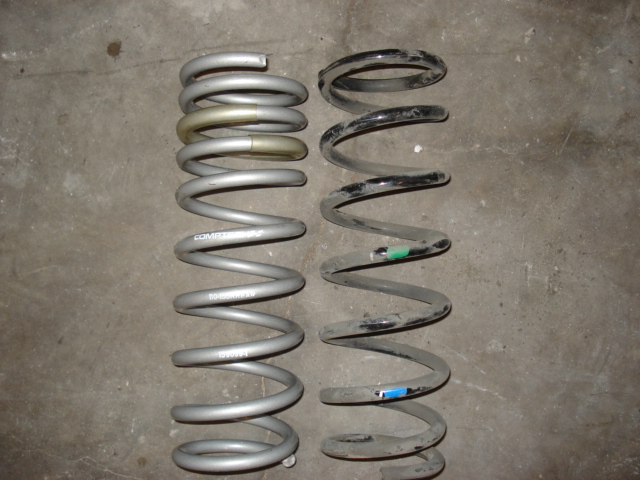 |
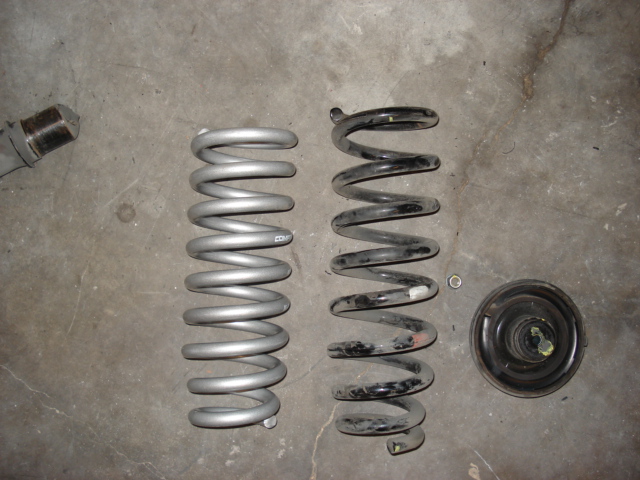
Here, you can see a comparison of the OEM spring versus the lowering spring, which in this case is Comptech units. Reassemble the lowering spring on to the damper the same way you removed the old one. Depending on how low the lowering kit is, you may need to cut the bump stop. Then, reinstall the damper into the car the same way you removed it. |
 |
 |
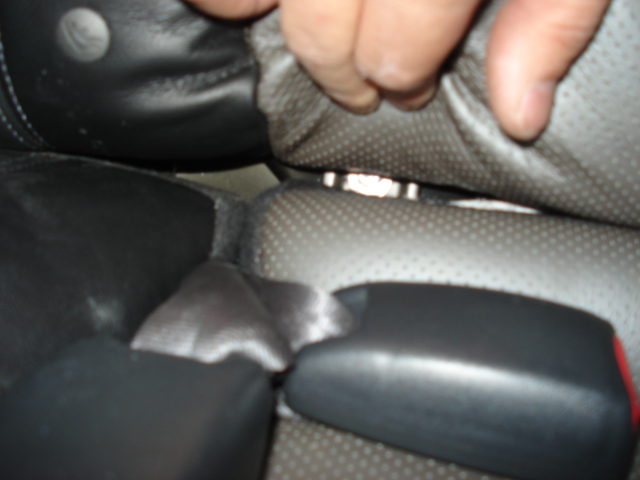
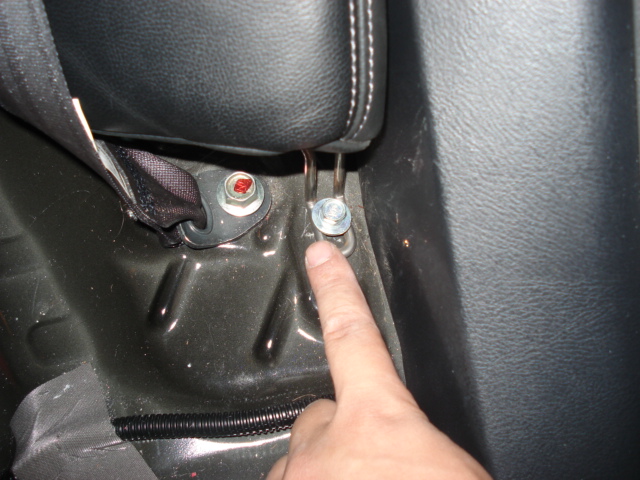
Now on to the rears. You'll have to remove the rear seat to gain access to the upper damper nuts. Remove the 10mm bolt located in the lower corner on each side of the seat back. Then using an extension, remove the 10mm bolt hiding in the crack near the seat belt buckle. |
 |
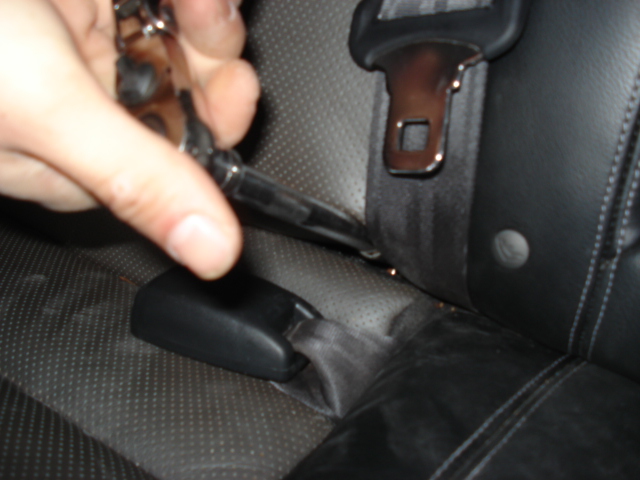
 |
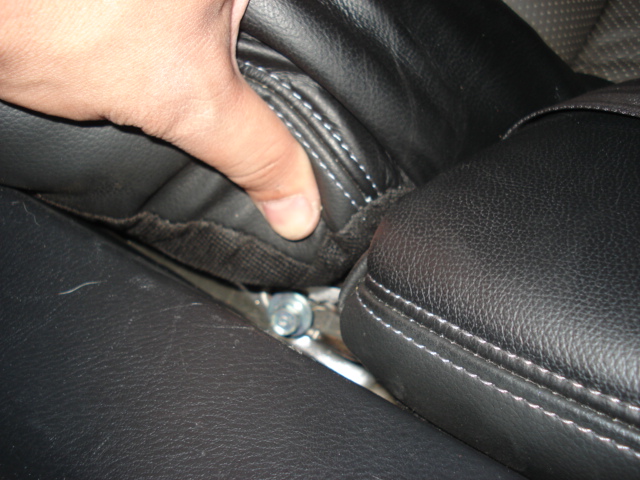
Here's a close up pic of the 10mm bolt that is hiding in the crack. Then, using an extension again, remove the 10mm bolt that is hiding in the top of the seat back. You'll need to remove the head rests first. |
 |
 |
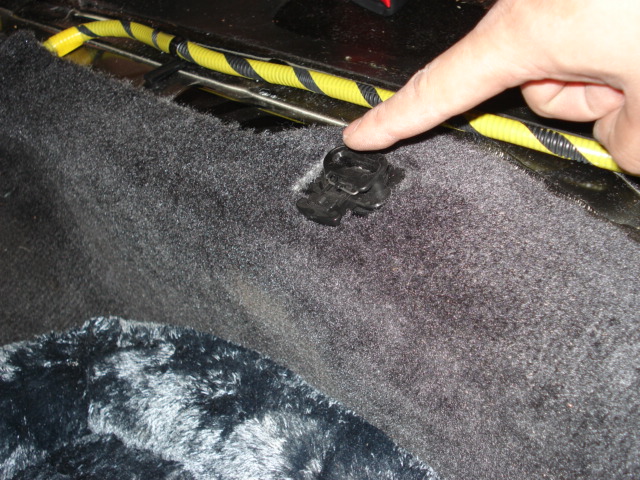
Now, you can remove the lower seat cushion. In the pictures to the left, the cushing has already been removed to show you how it is clipped to the chassis. You will need to reach under the seat cushion and pull on the clip (as shown in the right picture) to release the seat cushion. Then pull up and outwards to remove the lower seat cushion. |
 |
 |
With the lower seat cushion out of the way, you can gain access to the two remaining 10mm bolts holding the seat back. Now you can remove the seat back by pull upwards toward the roof and out. |
 |
 |
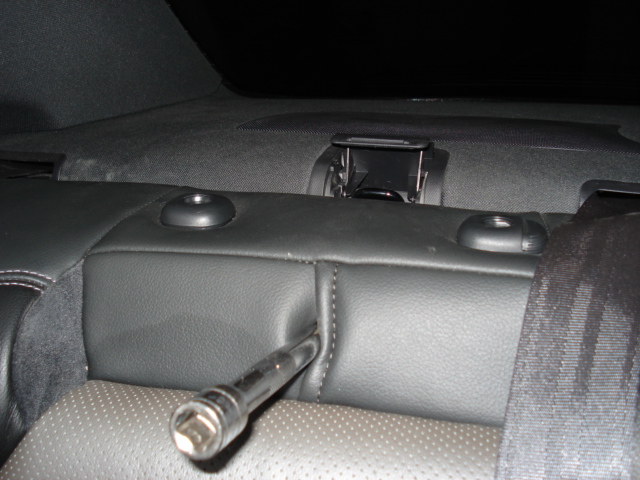
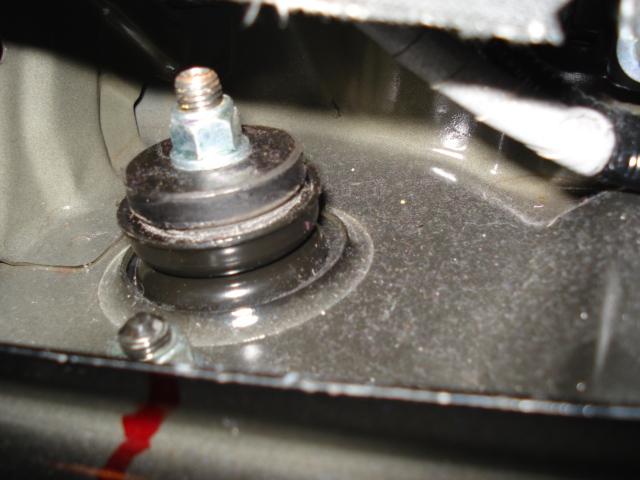
Once the rear seat is removed, you now have access to the nuts holding the damper to the shock tower. Remove the two 14mm nuts. Then, remove the lower damper 17mm bolt. |
 |
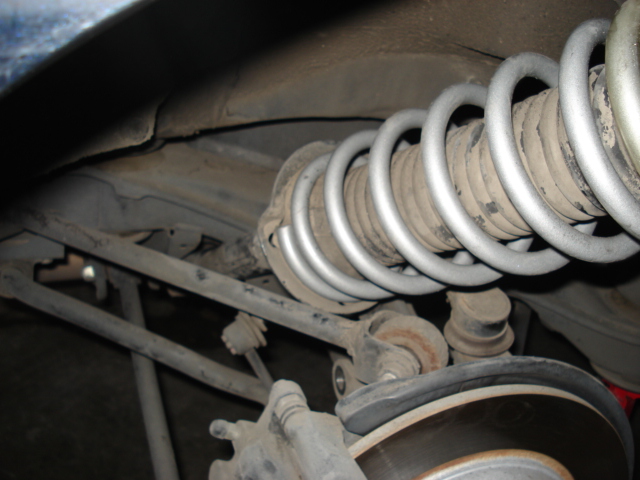 |
Remove the 14mm nuts on the rear sway bar end link and swing the end link out of the way. You can now remove the rear damper assembly from the car up between the rear toe bar. Change the springs and reinstall in the reverse process. |
|
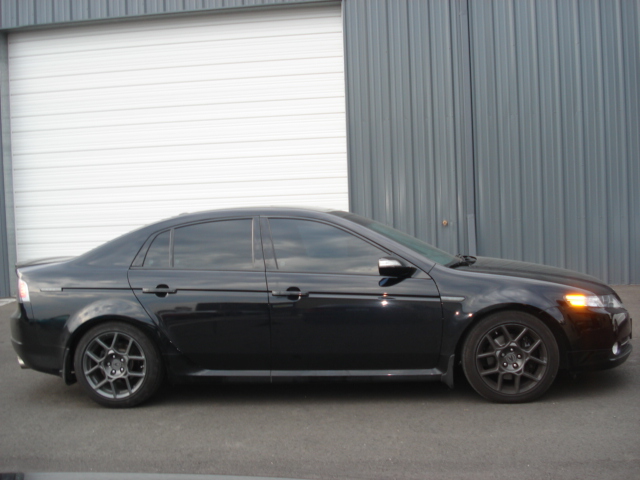 |
Completed! |