 |
 |
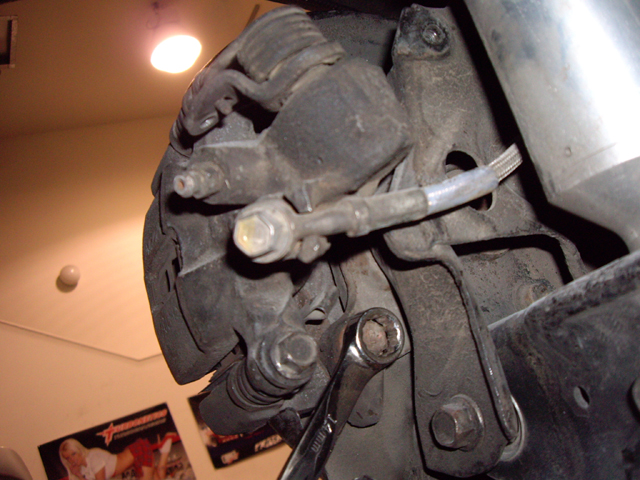
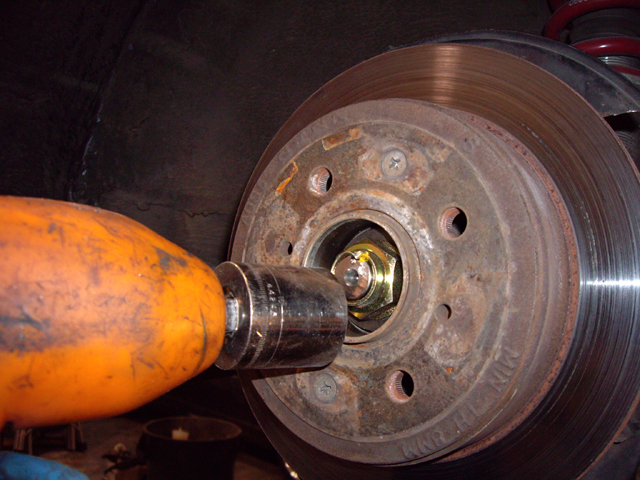
First, jack up the car and place it on jack stands. Starting on the rears, unbolt the rear calipers from the knuckle. There are two 17mm bolts holding the caliper to the knuckle. Then rotate the brake rotor until one of the original wheel studs is in the opening as shown in the picture to the left. |
 |
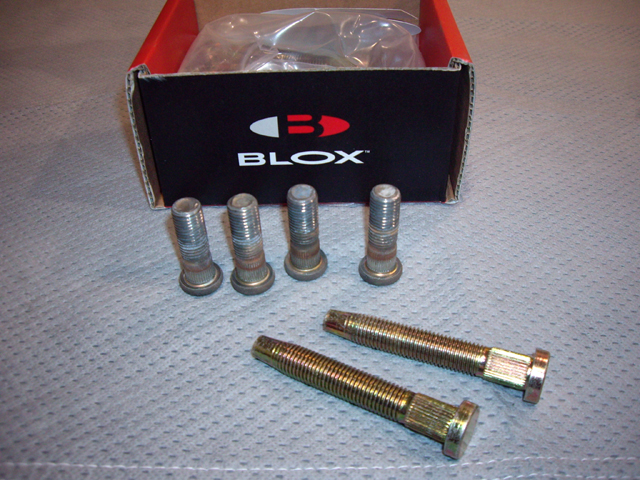 |
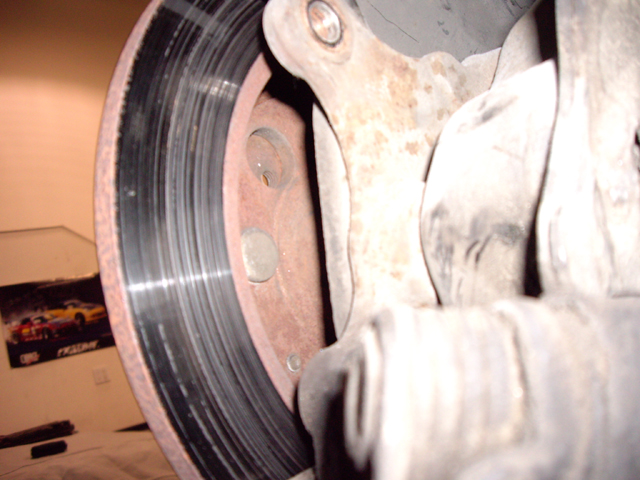
Using a sledge hammer or similar, pound out the old wheel studs one a time. Be sure the rotate the brake rotor to the opening each time. You can see a comparison of the original stud versus the longer ones. |
 |
 |
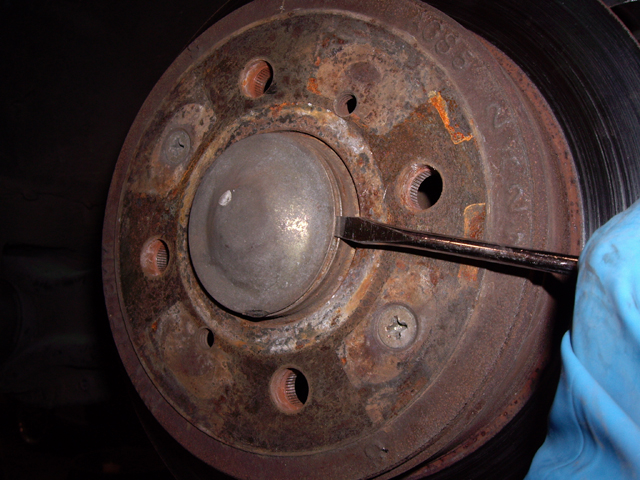
Using a flat head screw driver, pop off the bearing cover. Remove the large 32mm nut. |
 |
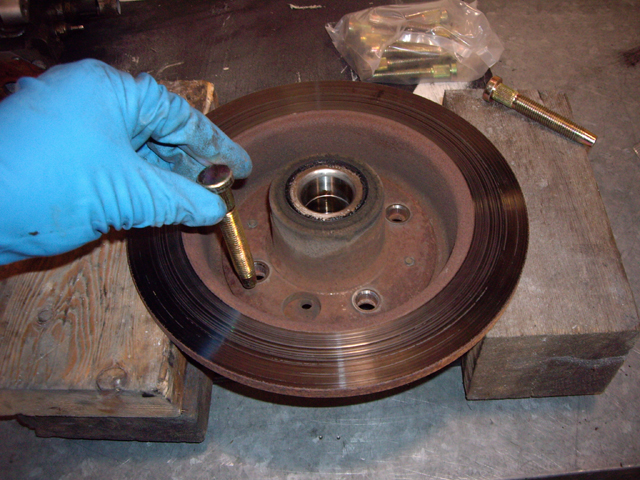 |
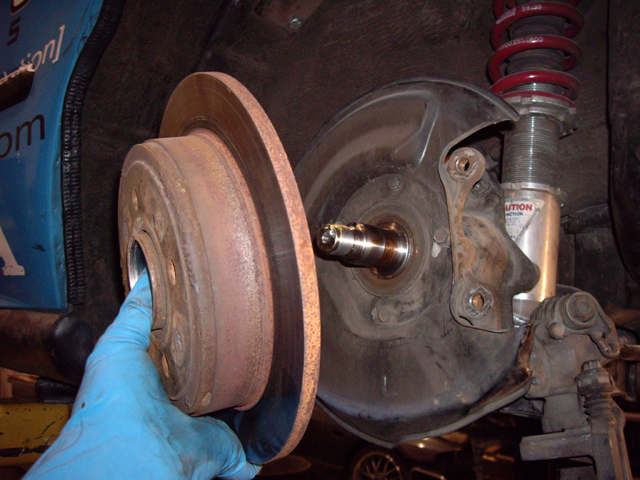
With the 32mm nut removed, you can now pull off the rear brake rotor. Do not loose the big washer! Now place the rotor upside down on a couple blocks of wood. Insert the new extended wheel studs one at a time. |
 |
 |
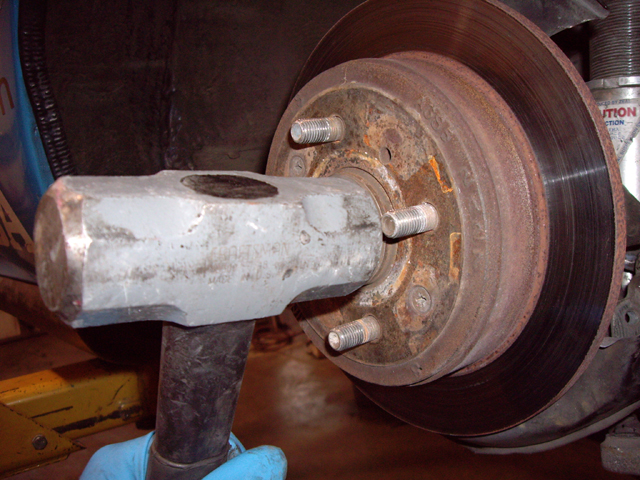
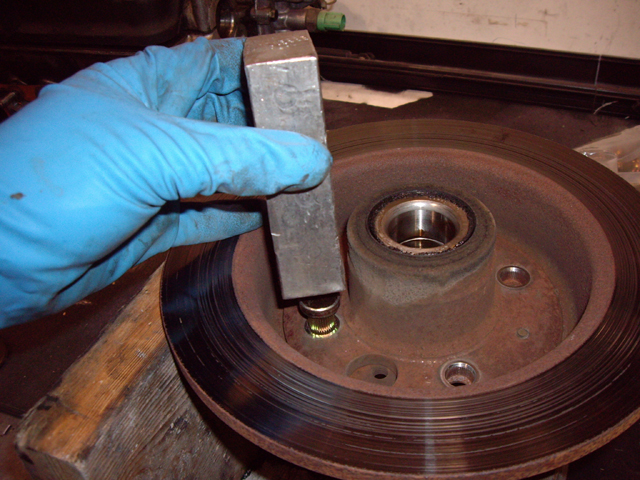
Using a block of metal or similar, pound the new studs into place. It will take some force and effort on your part. Easier way would be to use a press. |
 |
 |
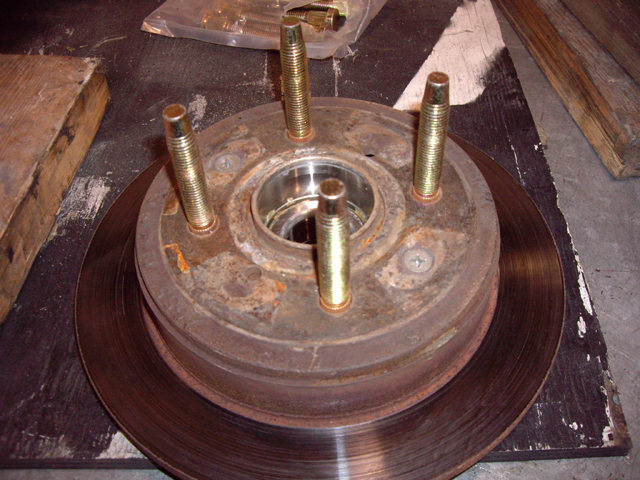
Here's what the finished product looks like. You can now reassemble the rear rotor back onto the knuckle. Be sure to put the large washer back on before the 32mm nut! Stake the 32mm nut also. |
 |
 |
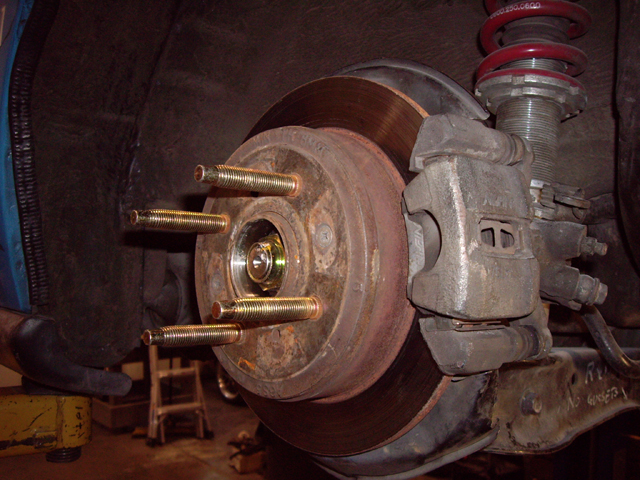
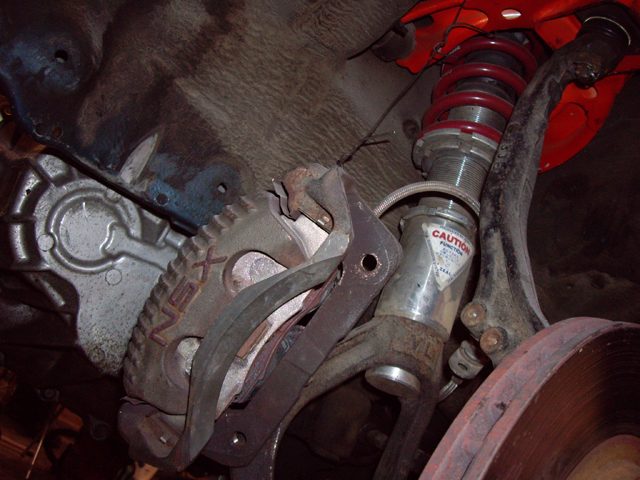
You can see what the extended lugs look like with the wheel in place. You get much more usable thread for the lug nut which is much safer. Just be sure not to get studs that are too long and extend past the lip of the rim. Now, moving on to the front, remove the front brake caliper from the knuck. Again, there are two 17mm bolts holding it to the knuckle. You'll notice that the axles has alread been removed in these pictures. For instuctions on how to remove the axle from the hub, read here. Now, using a 24mm socket (or similar) place it on the backside of the hub against the inner surface of the hub and lightly tap the hub out of the knuckle. |
 |
 |
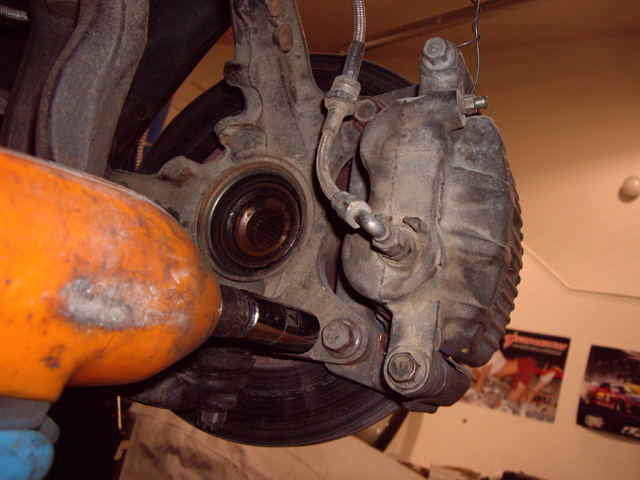
With the caliper off, make sure you wire tie the caliper to something. Do not let the caliper hang from the brake line! Again, using a couple blocks of wood, pound out the old wheel studs. |
|
 |
Insert the new extended studs and pound them in. Again, using a press would make it a lot easier. Reassemble the hub in the reverse process. When reinserting the hub back into the knuckle and wheel bearing, be very careful not to pound it in too far. Get it close so that it feels tight and spins smoothly, then insert the axle through the hub and torque the axle nut to seat the hub completely. |

