| Installing, Plastigauging and Measuring Bearing Clearances |
When building or rebuilding any motor, following the manufactures specifications for bearing clearances is essential to proper operation of the motor. If these vital steps are not taken, premature wear on the parts will result, sometimes catastrophic. Clearances that are too loose will cause excessive wear and play between the moving parts and in some cases cause a bearing to 'spin' out of place ruining parts beyond repair. Clearances that are too tight will also cause excess wear and generate heat as well as starve the surface of proper lubrication which could easily seize up the assembly.
On all B-series motors, we try to keep the tolerances on the tighter side of Honda specs, that means for the mains and the rods, a clearance of around 0.0015" is optimal, slightly looser on the #3 main at 0.0017". Honda spec ranges from 0.0011" - 0.0021".
The following steps will show you how to measure the clearances on the main caps, however the same process is used to measure the big end on the rods.
|
 |
 |
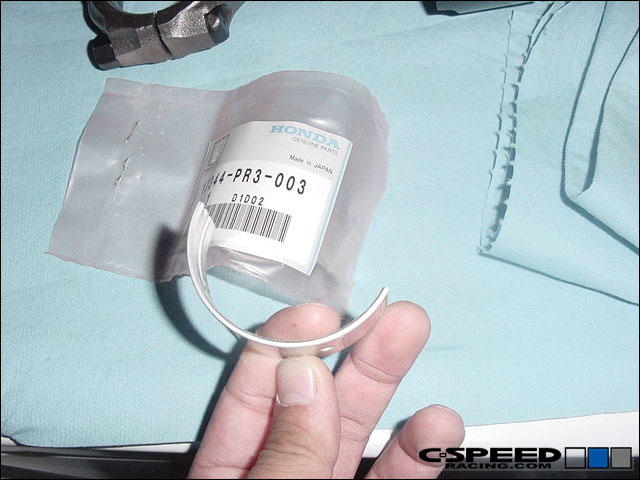
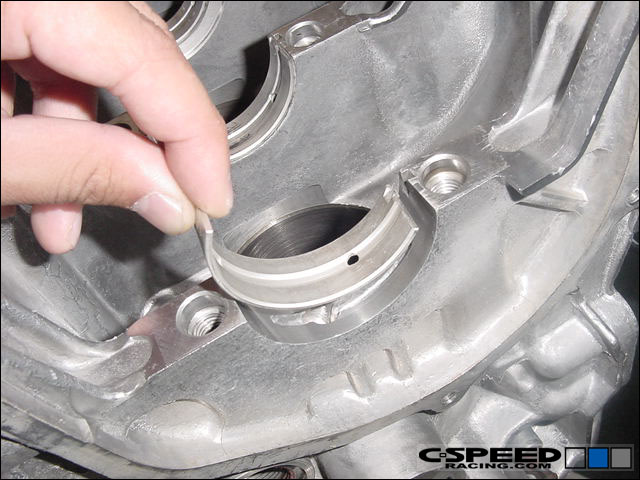
The first thing is the inspect to new bearing. Make sure it is the correct bearing for your application and be sure that the surface isn't damaged or scarred. Clean the bearing shells with brake cleaner to remove any residue that may be on it before installing it. Be sure that you put the correct main bearing shell (half) on the correct side. The bearing shell with the oil channel goes in to the block side. |
 |
 |
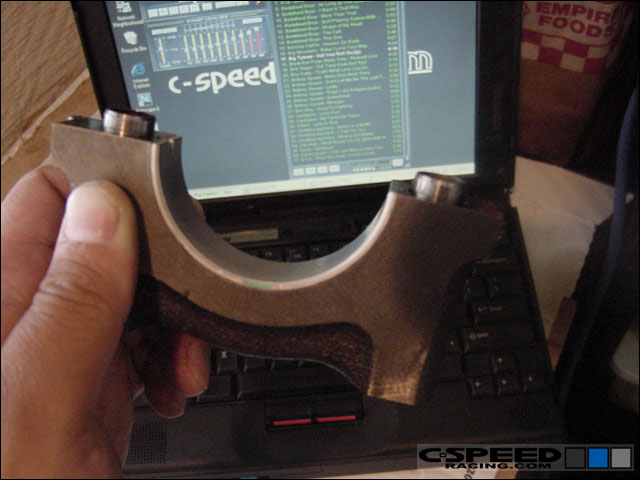
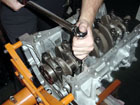
Repeat the step for the cap side and then carefully place the crank into the block. Make sure the crank journals are clean and then place a strip of plastigauge onto the crank journal and install the cap you are measuring. Measure one cap at a time. |
 |
 |
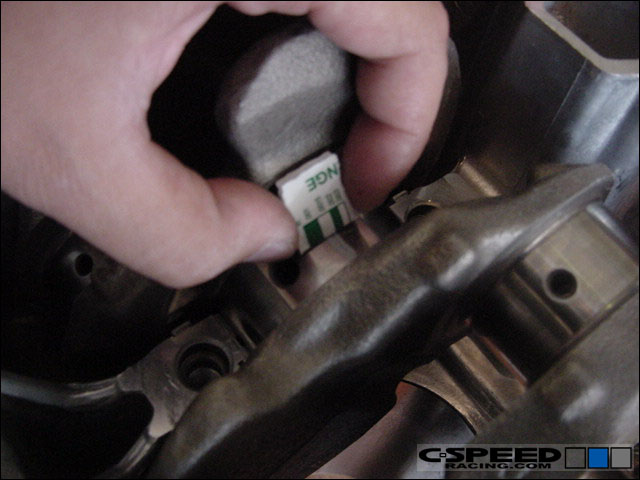
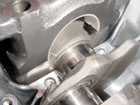
Torque the cap down to spec in two steps - 45ft/lbs. Then remove the bolts and the cap carefully. Try not to wiggle the cap too much as you may smear or distort the plastigauge. Then finally, take a piece of the plastiguage scale and place it on the fattest part of the squished plastigauge on the crank journal. Take down the measurement. If it is within spec, then move on to the next one, otherwise replace the bearing with the correct size. |
|