 |
 |
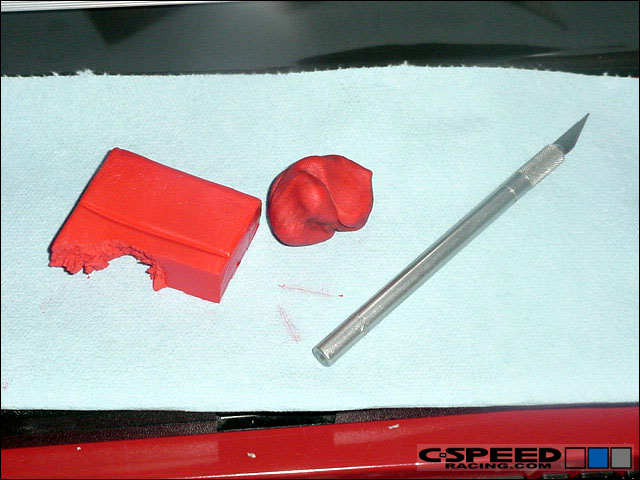
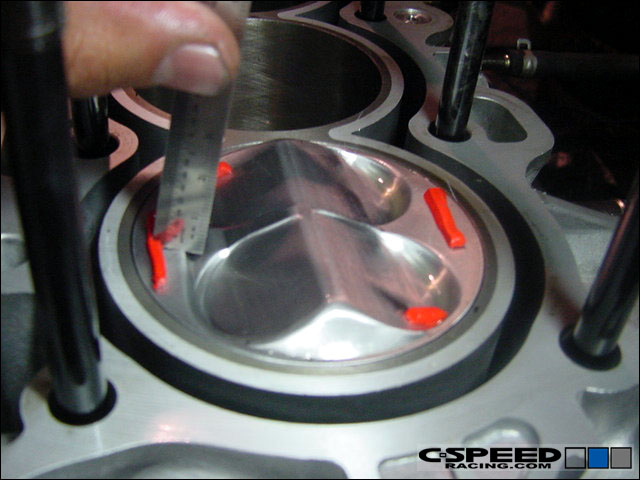
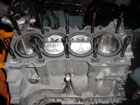
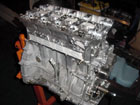
With the bottom end assembled, clean the surface of the deck and piston tops and then lightly spray WD-40 to coat the surface of the piston that you are going to use for the test (#1 cylinder). You only need to clay one as the results would be the same for all the pistons. Then prepare a suffient piece of clay by kneeding it. |
 |
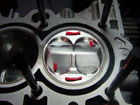 |
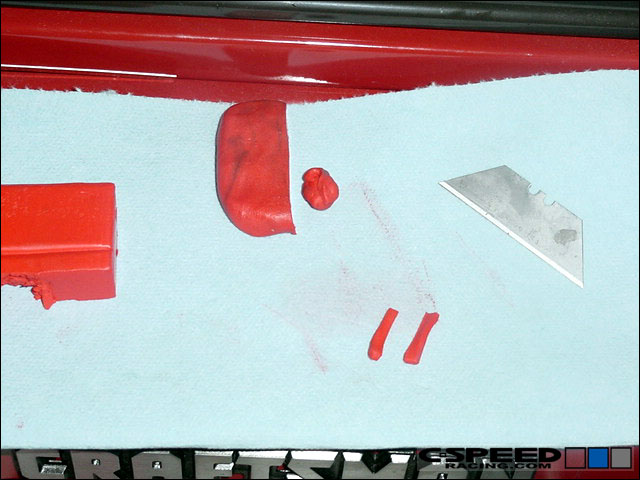
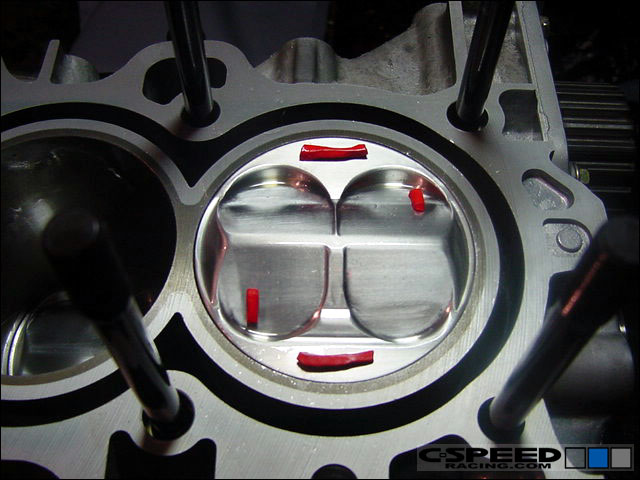
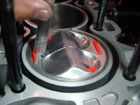
Cut the clay into small strips about 0.50" x 0.10" x 0.10". You'll need four of them. Place each strip of clay onto the piston. One on each quench pad and one on each intake and exhaust valve relief - slightly off center. |
 |
 |
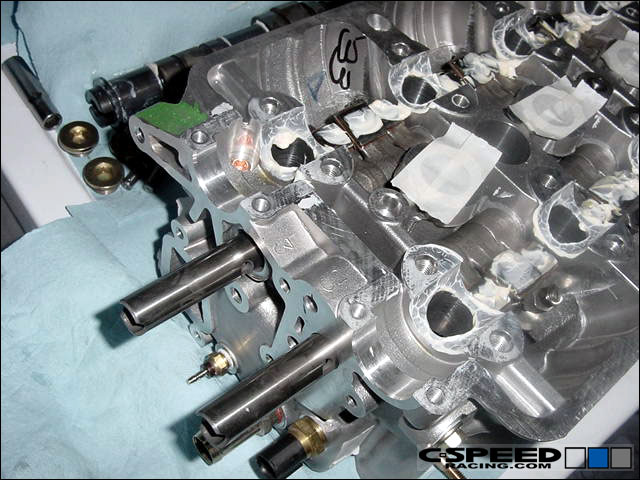
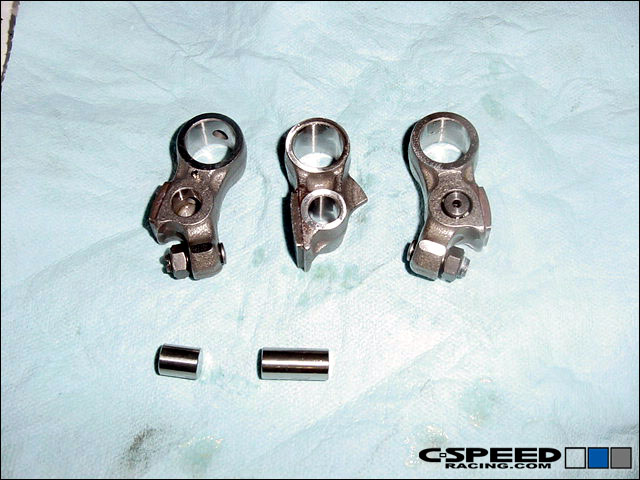
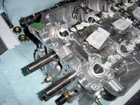
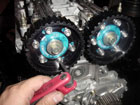
Now place the used gasket onto the block. Before setting the head into place, you must dissassemble the rocker arm assembly for the cylinder that you are going to test on (#1 cylinder) and switch the VTEC pistons in the rocker arms so that it locks the VTEC rocker in place. You don't need to dissemble the entire head, just slide the rocker shaft out far enough so you can remove and install the rockers on the #1 cylinder. |
 |
 |
With the rocker arm pistons swapped, you will be testing the clearances when the valves are on the high cam lobes and not the low ones. This is very important, since when VTEC is engaged, that is when you have the closest piston-to-valve and valve-to-valve clearances. |
 |
 |
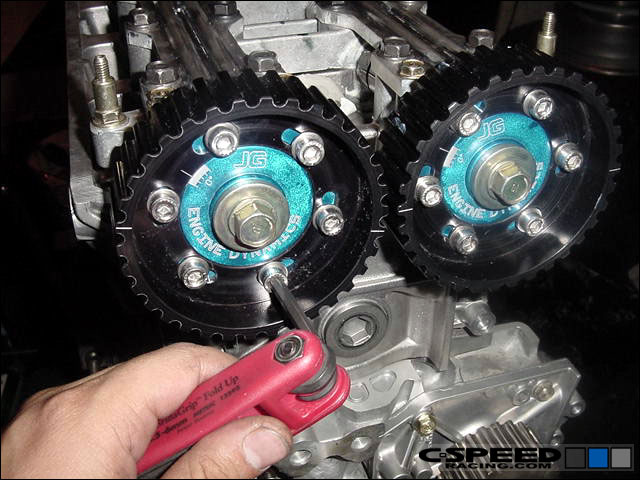
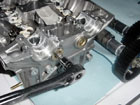
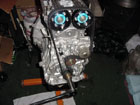
Now you can carefully set the head in place and torque the bolts down. Assemble the cams as you normally would. A valve adjustment isn't necessary. Put your cam gears on and if they are adjustable ones, then set the intake and exhaust gear to the highest advance/retard that you foresee using. For example, if you foresee a maximum setting on the intake gear to be +5 degrees and -6 for the exhaust then set it as so. |
 |
 |
Install the timing belt and tensioner as you normally would and then rotate the crank a few times to allow the clay to be mashed when the pistons move. Then remove the timing belt, cams and head to reveal the mashed clay that is on the pistons. Using a machinists scale (graduated in thousands of an inch), push it into the clay to measure the clearance that you have in each particular area of the piston. If there isn't sufficient clearance, then you cannot set the cam gears as aggressive as you had them. Dial the gear(s) back slightly and redo the test until you get satisfactory results. |