 |
 |
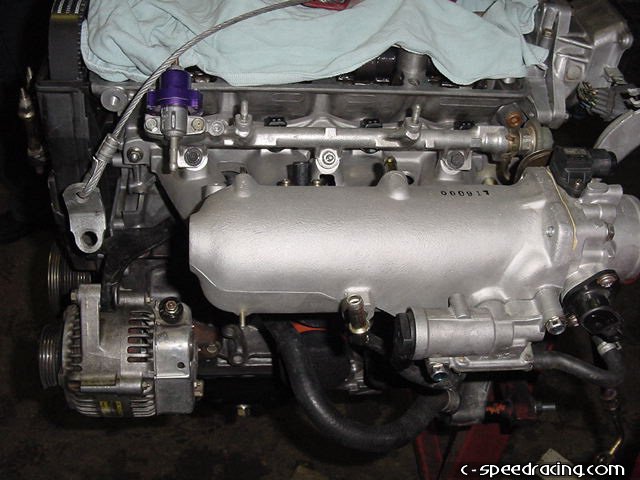
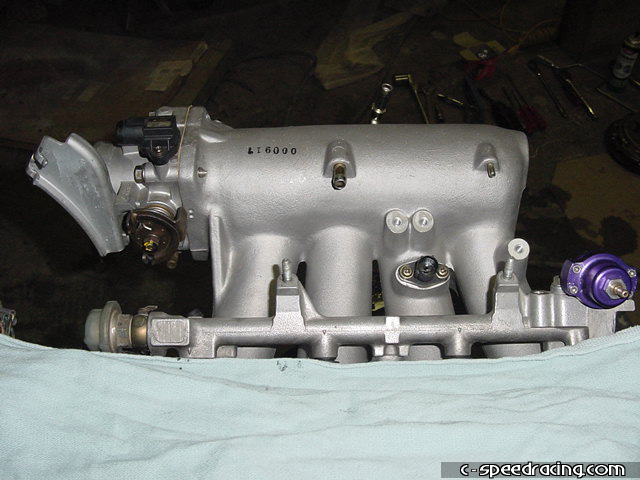
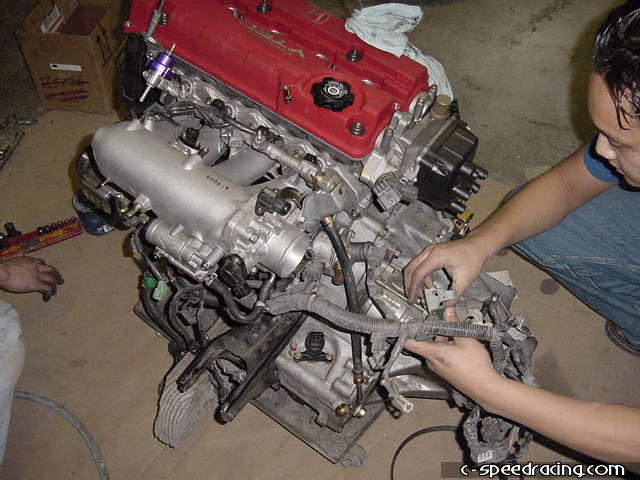
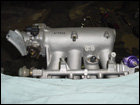
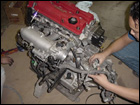
Once the head is in place, the manifold be bolted back on. Again we opted to swap the GSR manifold in favor of the new Skunk2 manifold. JG cam gears were also called into action. Make sure they are zeroed out. |
 |
 |
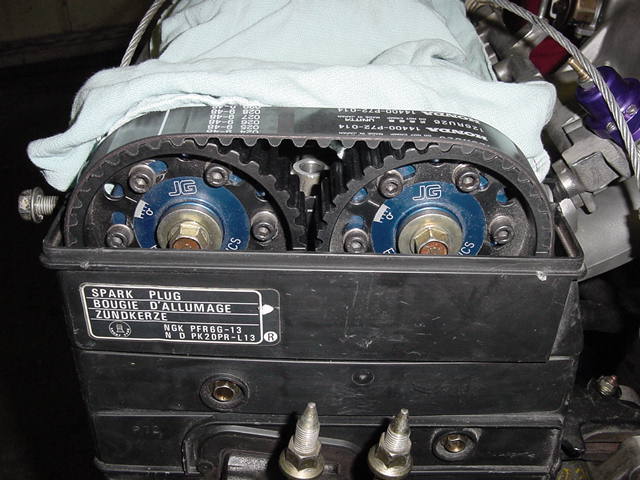
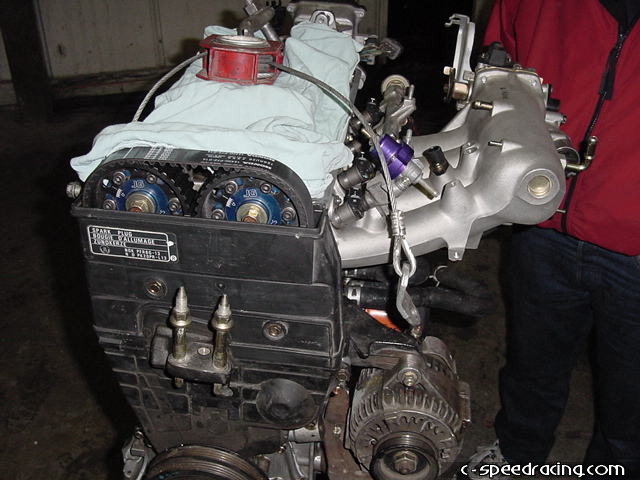
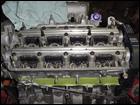
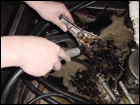
The timing belt, timing belt cover and distributor can go on next. Just be sure to get the timing belt properly aligned on each gear and the tensioner pulley set properly before continuing. Its also a good idea to double check all the bolts one more time before covering them up with the timing belt cover. |
 |
 |
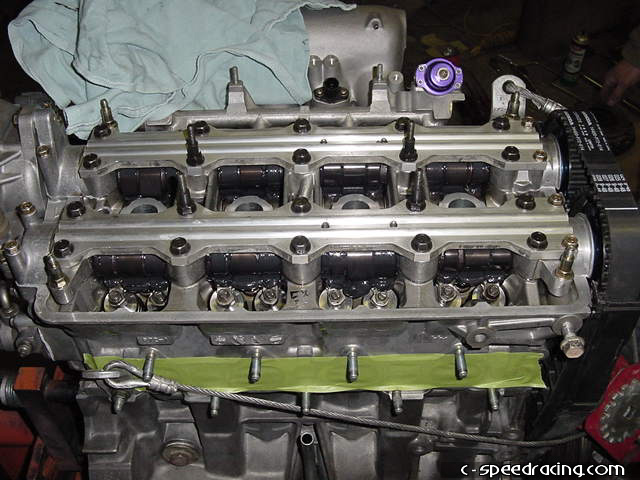
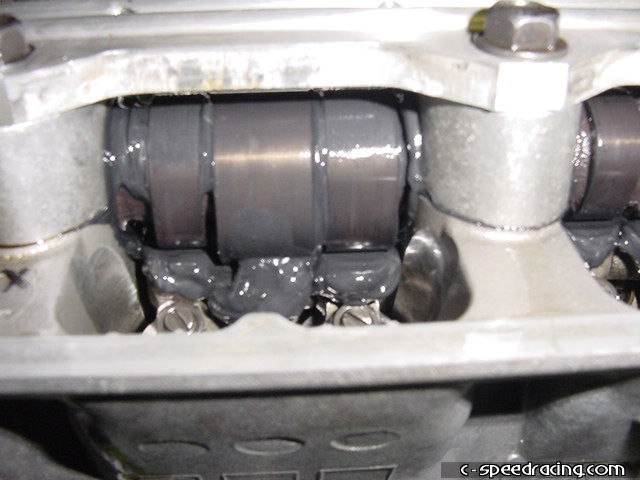
Also make sure that adequate assembly lube is used when you install the cams. Now is a great time to do a valve adjustment. Its much easier with the motor out of the car. |
 |
 |
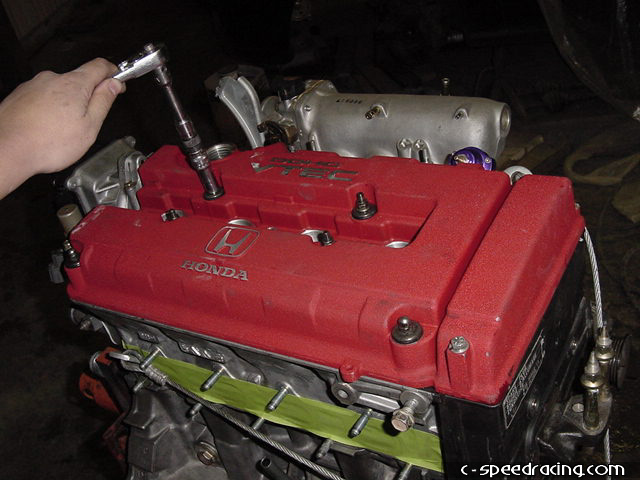
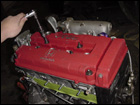
With everything pretty much in place, you can button up the top end and bolt down the valve cover and drop in some fresh spark plugs. With a high compression NA motor like this, we recommend dropping 1 heat range on the spark plugs. |
 |
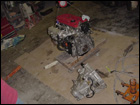 |
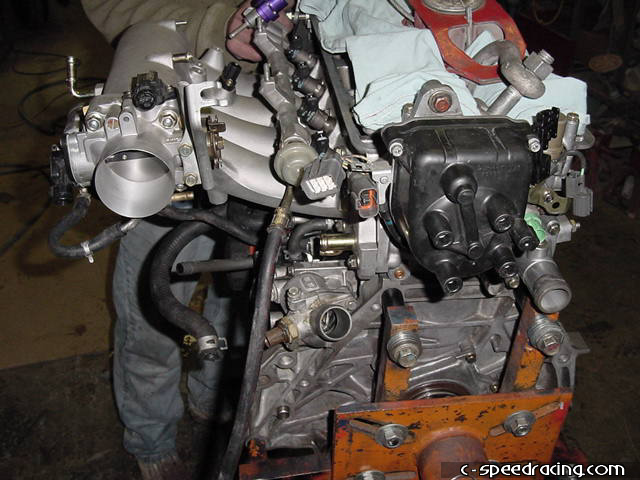
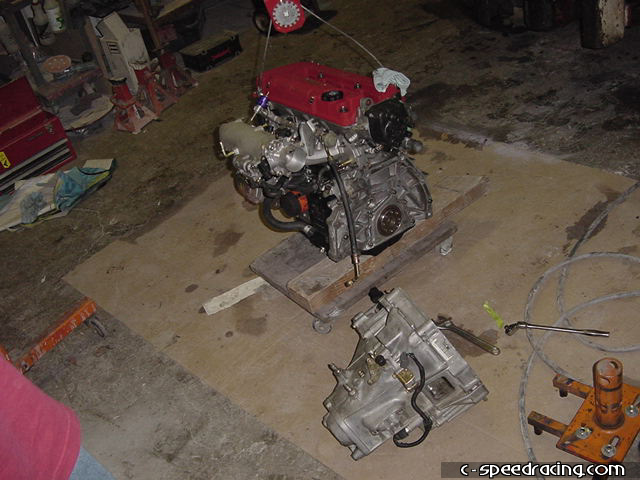
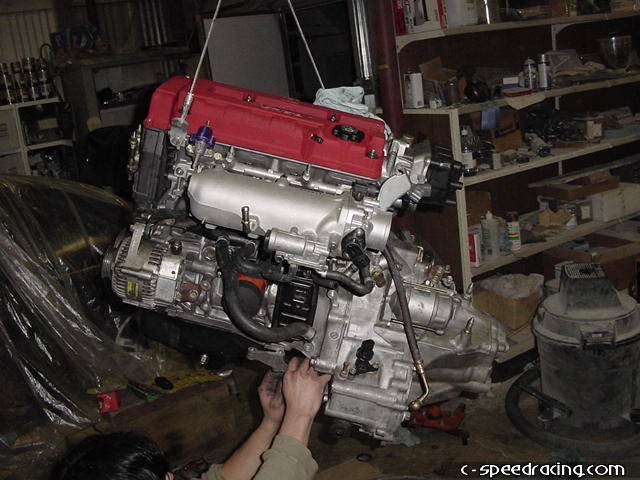
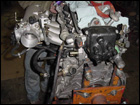
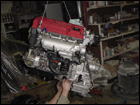
The motor is pretty much complete. All the hard work is done and the last step before dropping it into the car is to bolt back on the flywheel and clutch assembly and bolt up the transmission. |
 |
 |
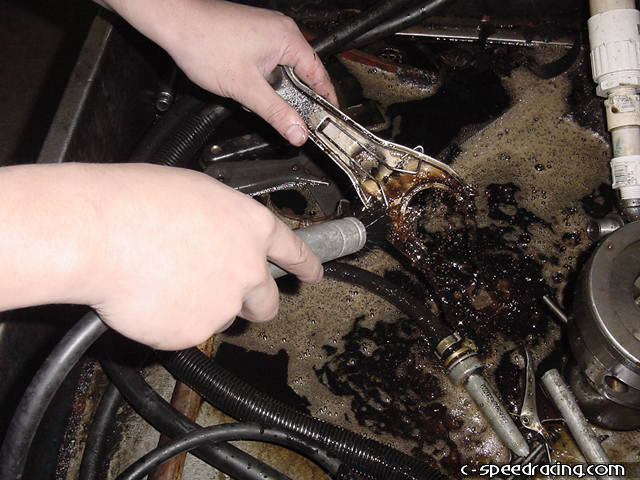
Be sure the clean and lubricate the throw out bearing and arm. A solvent tank works really well. Also take this opportunity to button up the engine harness and catch can. Those are much more difficult to do with the motor in the car. That includes bolting on the rear engine mount. |
 |
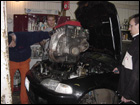 |
With that all said and done, carefully pick up the motor and drop it back in the car. All in a days work right? |