 |
 |
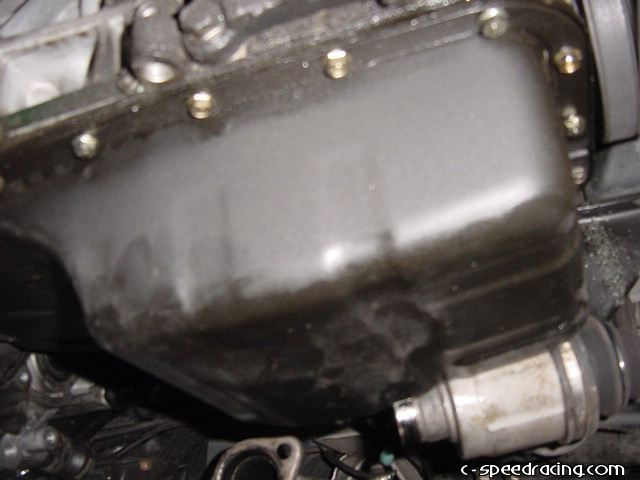
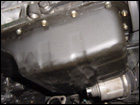
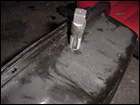
With the header removed, you can now easily access the nuts and bolts that surround the oil pan and remove it from the block. Then following the directions carefully, mark the location to drill a hole for the oil return line. |
 |
 |
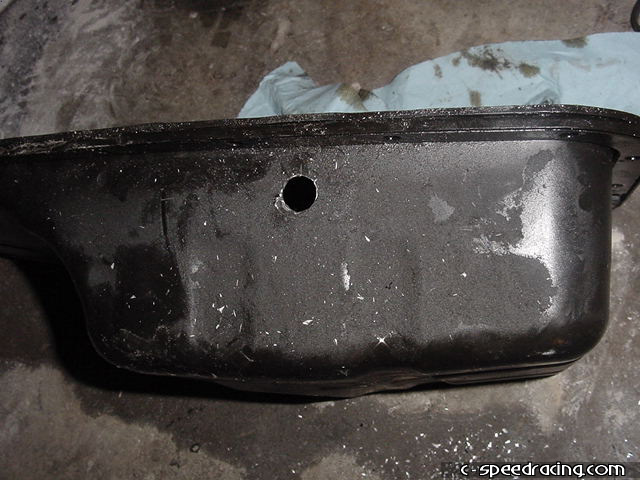
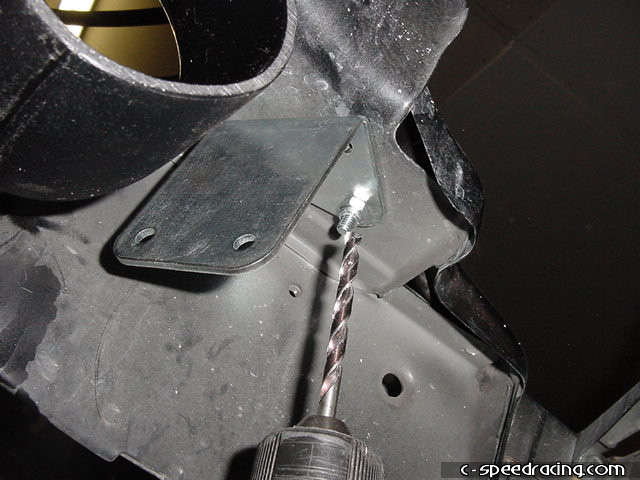
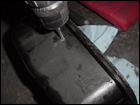
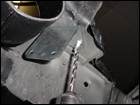
Adequately cover the inside of the oil pan in order to collect and metal shavings and begin drilling with a small drill bit and work your way up to the correct size. The hole needs to be 7/16" in order to use a 3/8" tap for the fitting. |
 |
 |
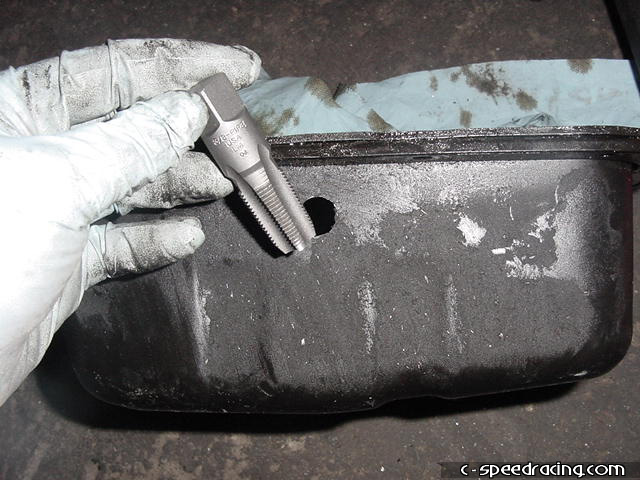
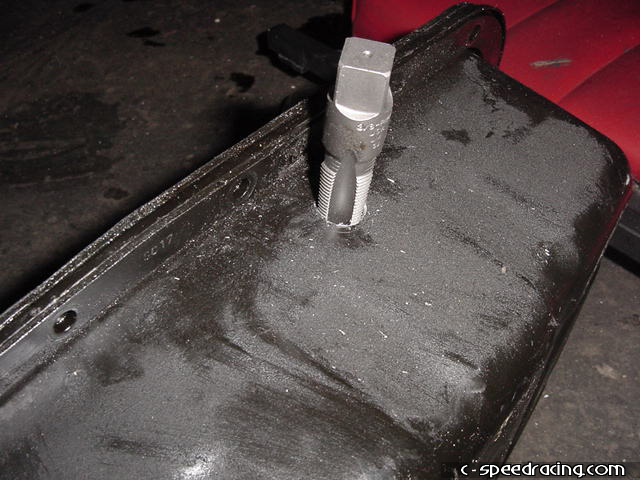
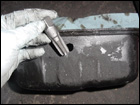
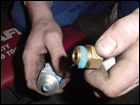
Once the hole is drilled to 7/16", use a 3/8" tap and tap the hole. |
 |
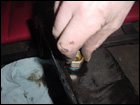 |
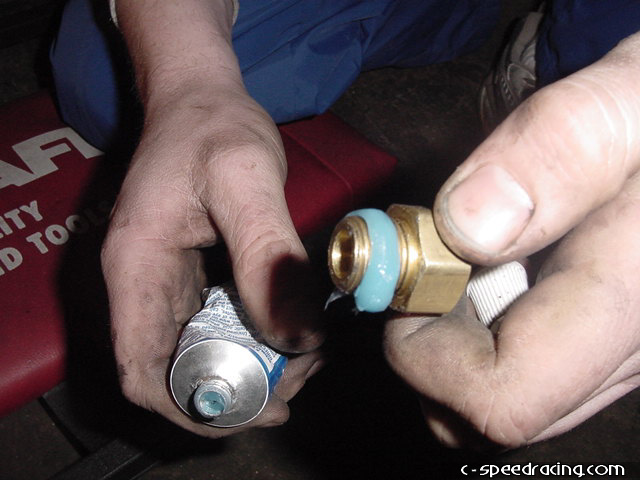
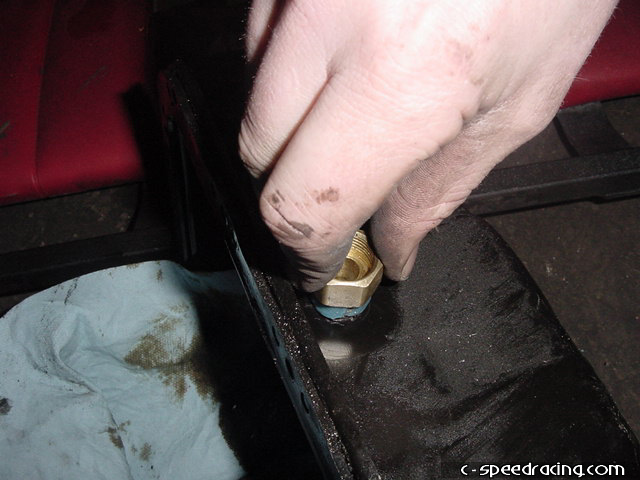
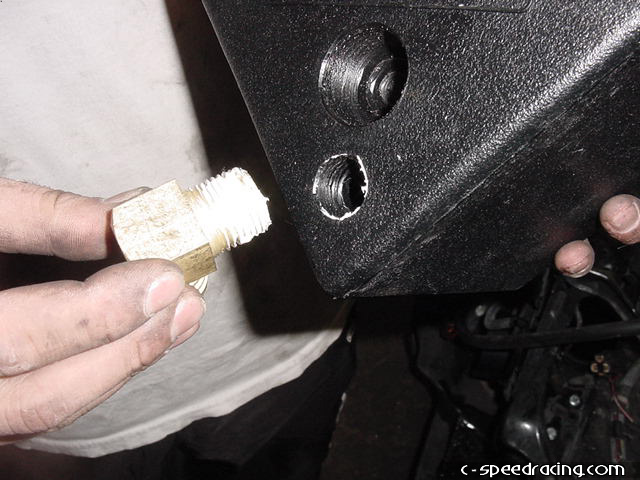
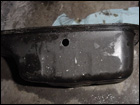
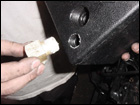
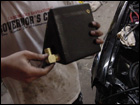
Using sealer, thread the fitting into the oil pan. Be sure to use adequate sealer on the threads. Do not out any on the inside of the pan. |
 |
 |
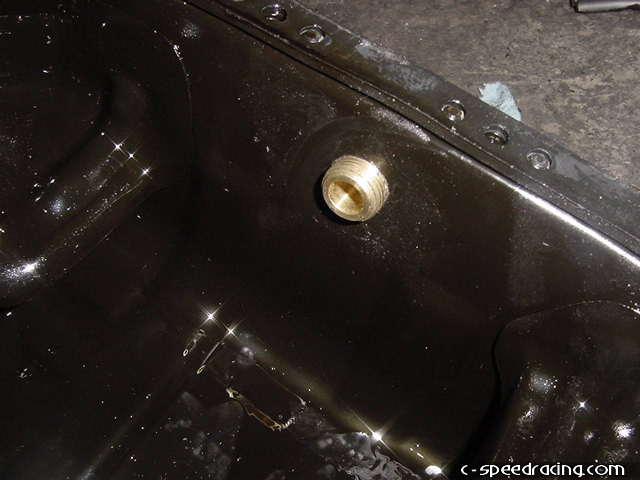
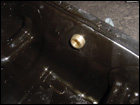
Once the fitting is in place, it should look like this. Now you can move on to the water cooler. |
 |
 |
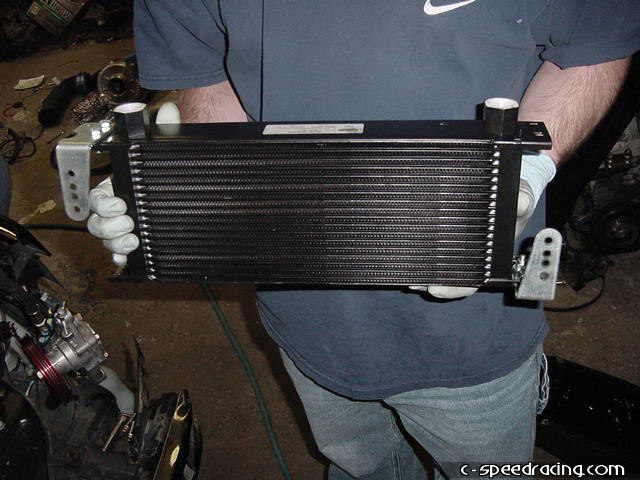
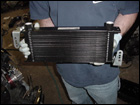
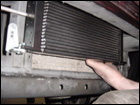
Test fit the watercooler infront of the radiator before drilling the mounting holes. Once you have marked the proper locations, carefully drill into the radiator support. Take your time as a slip up may cost you a new radiator. Once the holes are drilled, go ahead and mount the watercooler in place. |
 |
 |
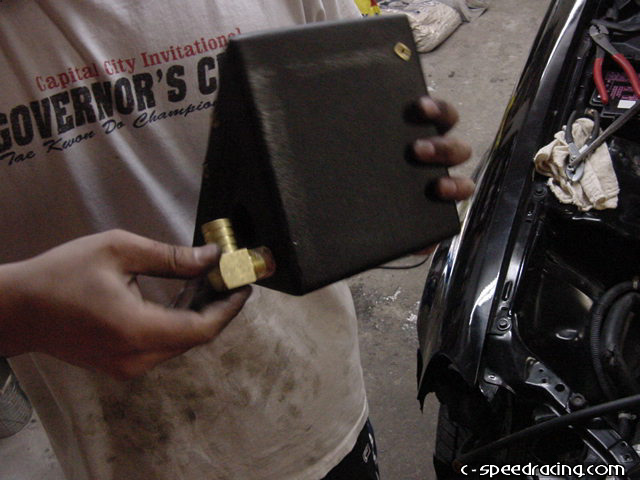
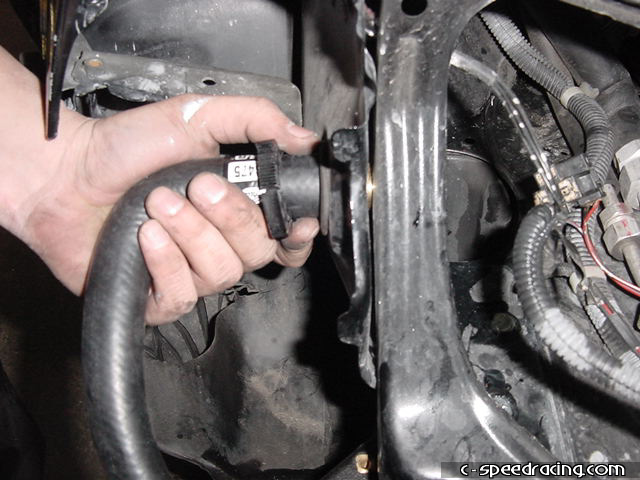
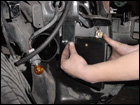
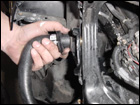
Now you can mount the water box in the passengerside fender well. Using the supplied mounting bracket, drill mounting holes into the sheet metal where the headlight goes. Then using sealer, attach the 90deg fittings to the water box as indicated on the top and bottom of the box. |
 |
 |
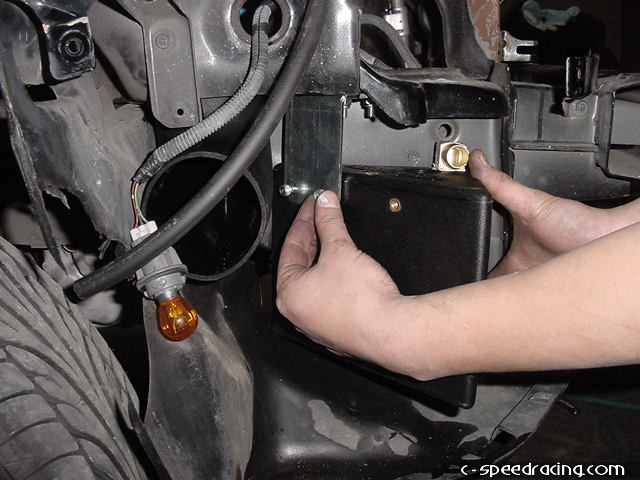
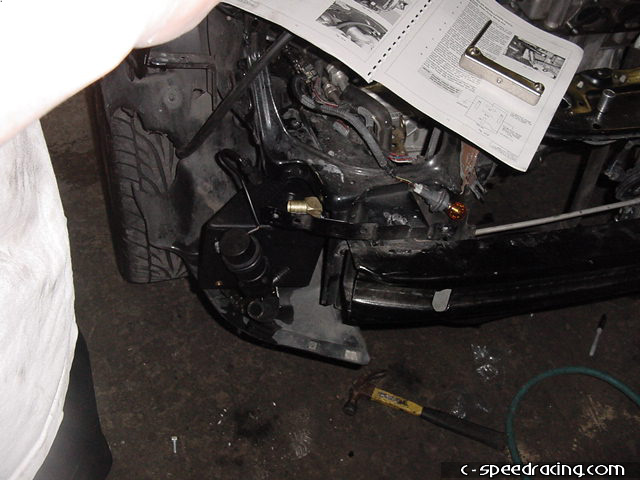
Once the fittings are in place, mount the box onto the bracket and make sure the fittings are pointing in the correct direction. The upperone faces perpendicular to the frame while the lower one points foward. |
 |
 |
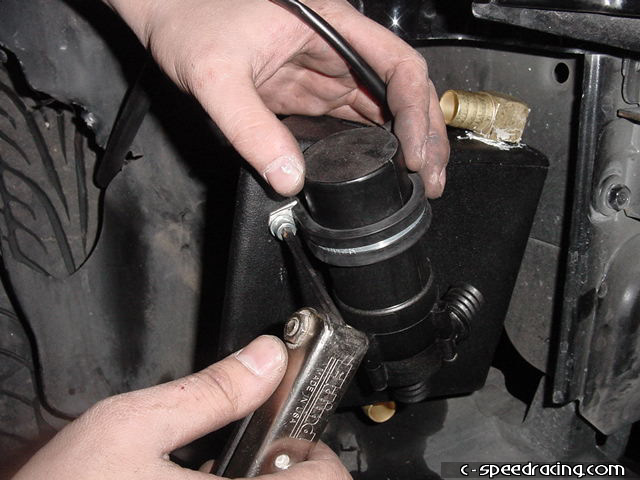
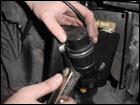
Now go ahead and assemble the water pump. Using the supplied mounting bracket, attach the water pump to the water box on the front mounting hole. |
 |
 |
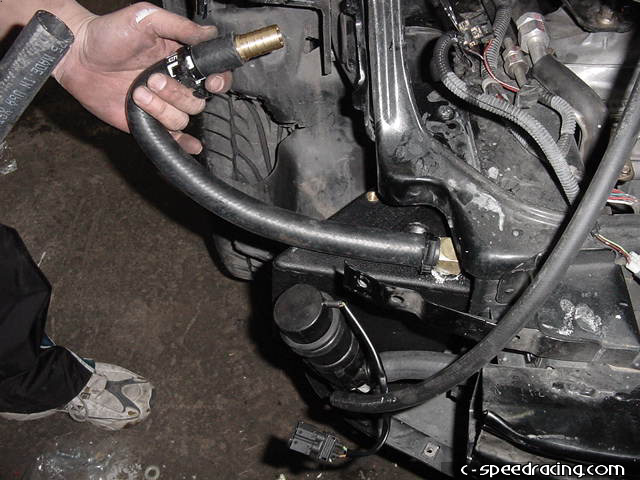
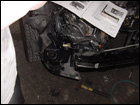
Then using the supplied straight and 90deg hoses, attach the water cooler to the box and the water pump. Then run the 90deg hose from the box to passengerside fender and feed it through the existing hole. |