 |
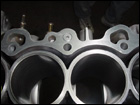 |
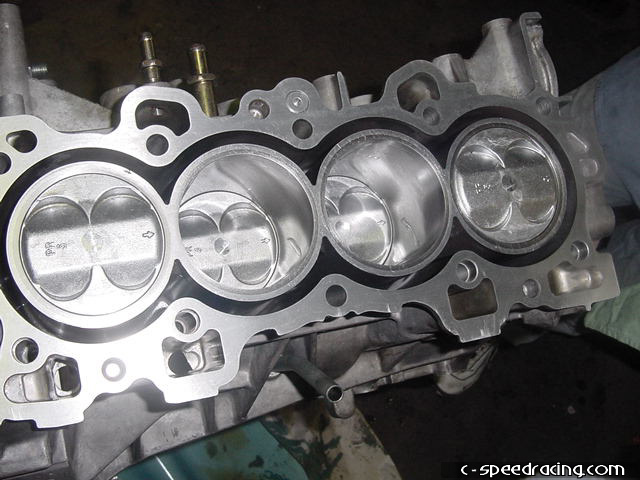
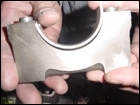
While the valvetrain was being taken care of, the bottom end also needed some attention. The cylinders where fine prior to disassembly so a little honing took care of cleaning them up for the new PR3 Honda Del Sol pistons. This will yield an astonishing 11.3:1cr with the stock GSR head. |
 |
 |
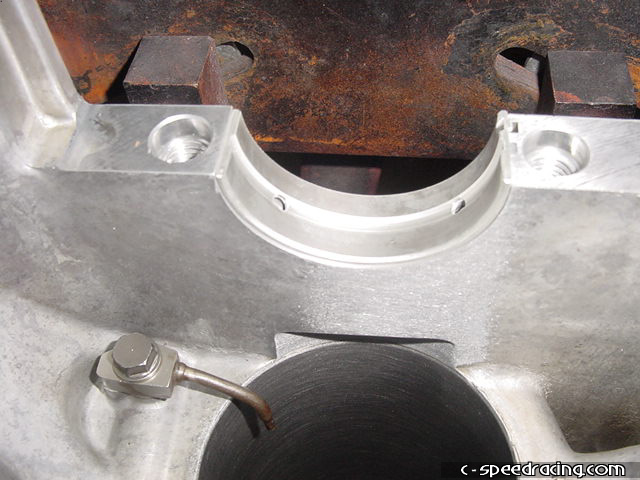
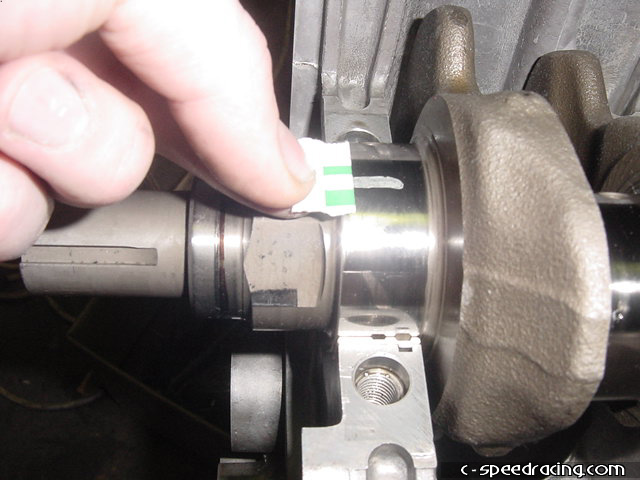
New crank bearings were used as well. The crank thrust bearing was out of spec so it also needed replacing. This is definately not a place to skimp. Do it now and you won't regret it later. Make sure you purchase the correct bearings by color matching them to each crank journal and its respective rod. |
 |
 |
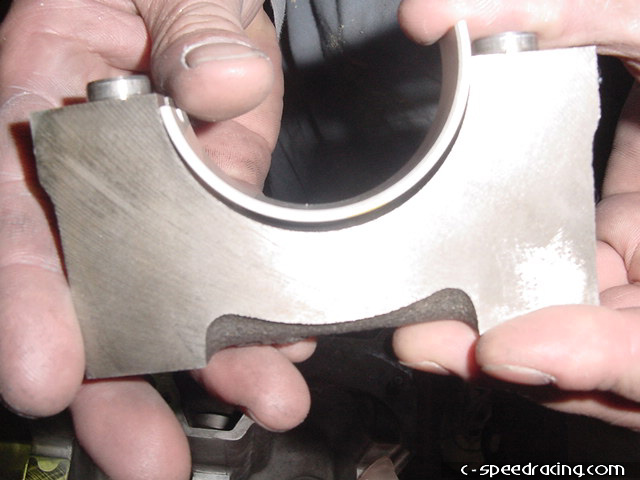
Make sure to properly place the bearings into the main caps. They are slotted and can only be placed in one direction. Press firmly until they are completely seated. |
 |
 |
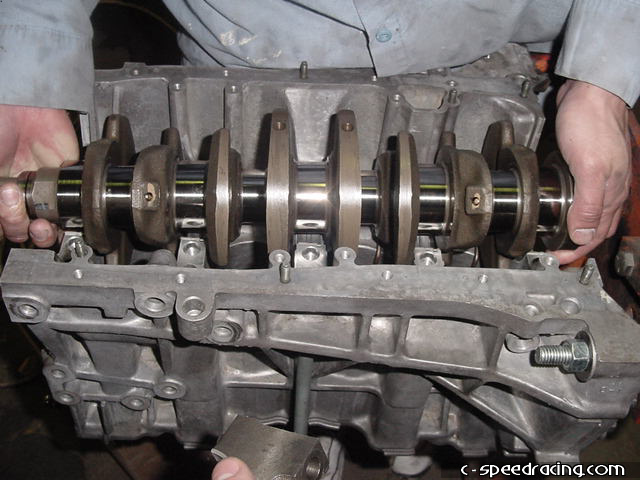
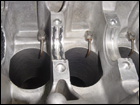
Once you have all the new bearings in place, carefully place the crank in position. Try not to move or rotate it while its in place since there isn't any lubrication. |
 |
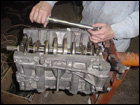 |
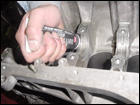
Now would also be good idea to plastigage the new crank bearings by bolting on the gurdle just to be sure that the bearings you purchased are putting you within spec. Also, carefully following the manufacturers torque specs, tighten each rod end cap down and also check the bearings to see if those are also within spec. We replace the factory GSR rod bolts with stronger ARP studs. |
 |
 |
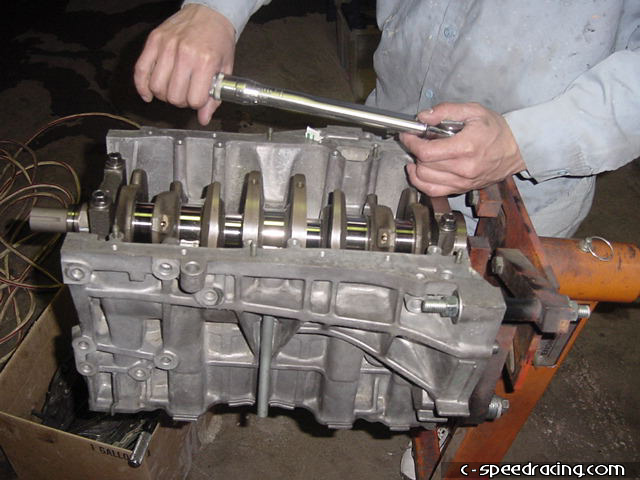
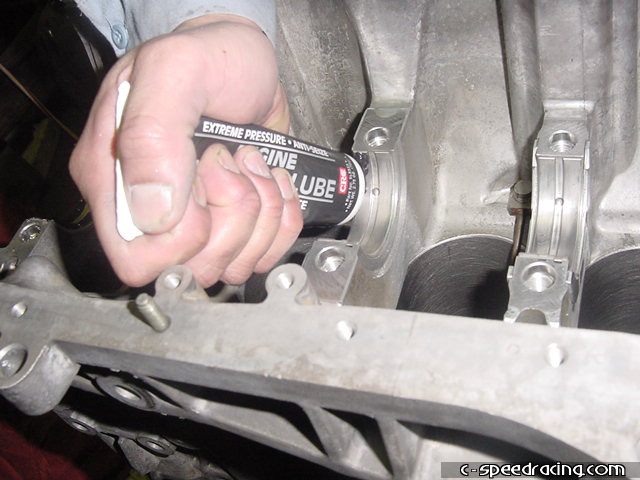
Once you know that the bearing clearances are to spec, you can go ahead and remove the gurdle and crank and lube up the crank bearings with pre-assembly lube and bolt the crank and gurdle back in. |
 |
 |
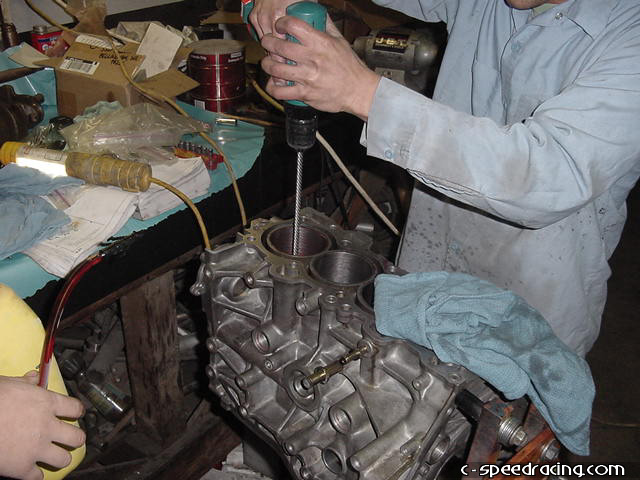
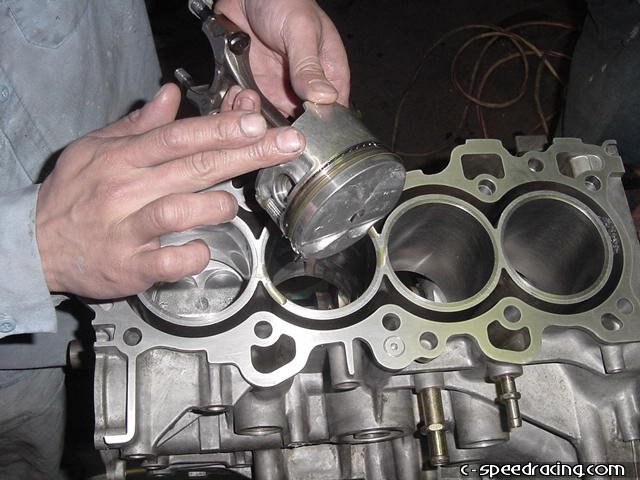
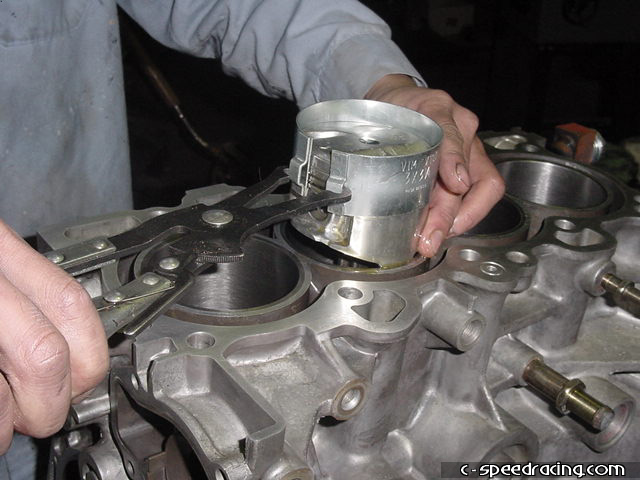
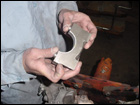
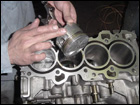
With the crank in place, you can now go ahead and install the pistons and rods. Make sure you lube them up pretty good with engine oil and using a ring compressor and some steady hands, gently hammer the pistons into the cylinder. Be sure that they are all facing the correct direction! |
 |
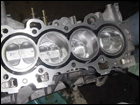 |
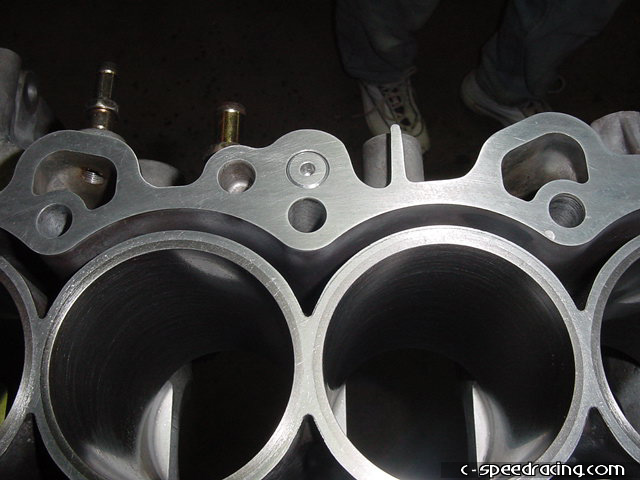
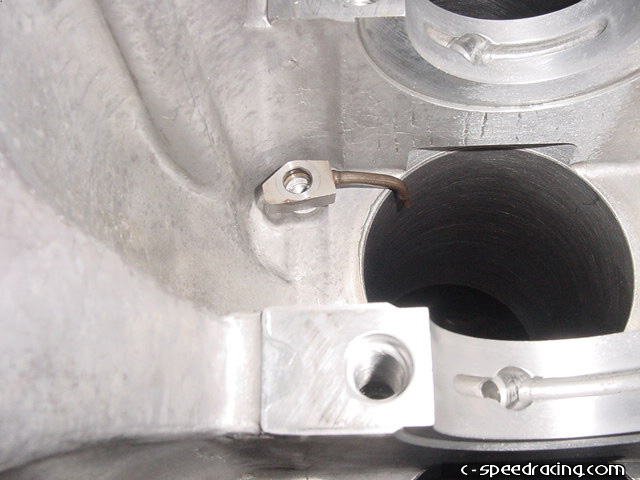
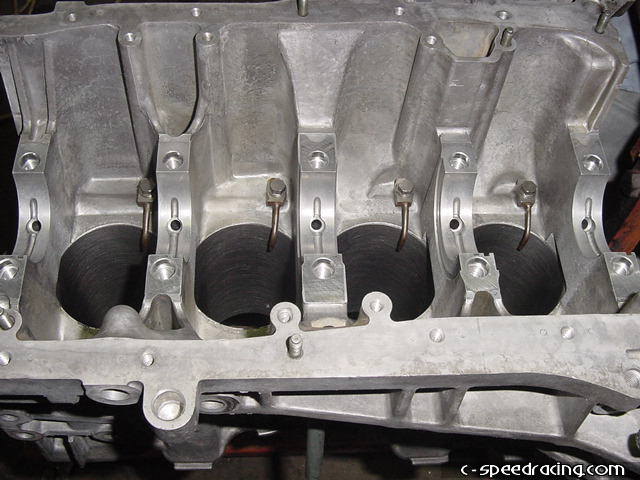
Double check all the bolts once you are done just to make sure you didn't miss anything. Don't those new pistons look right at home? |
 |
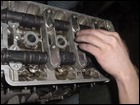 |
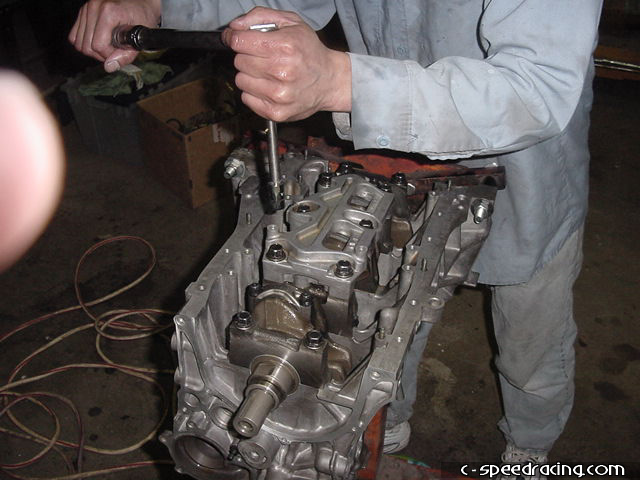
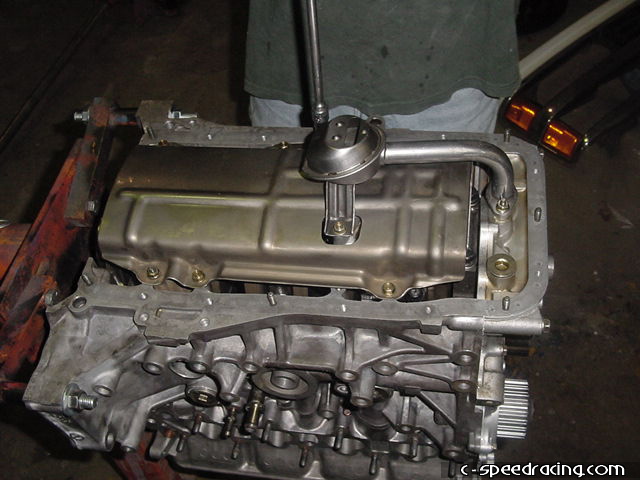
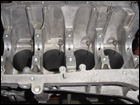
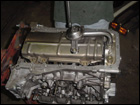
Now you can finish up bolting the rest of the bottom end back in place and prepare to bolt the head back on. Carefully match up the alignment pins on the head and place the new headgasket in position. Torque the head studs or bolts to spec and put in the new cams. We are using ITR intake and exhaust cams here. Be sure the place them in the correct location and make sure the cam caps are in the correct position and facing the right direction, they are numbered with arrows pointing to the front of the motor. |