 |
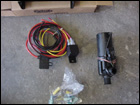 |
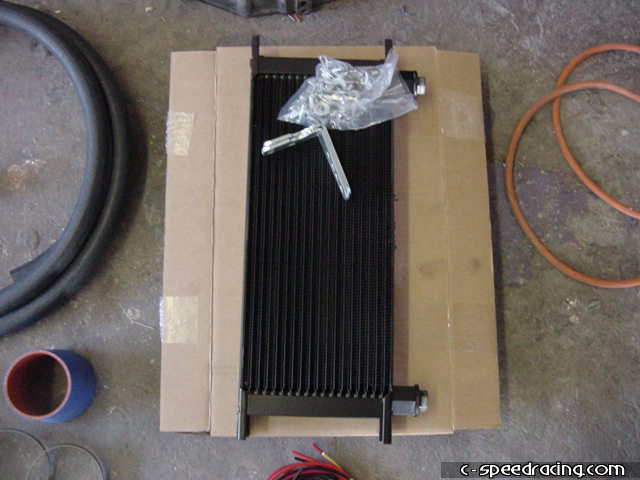
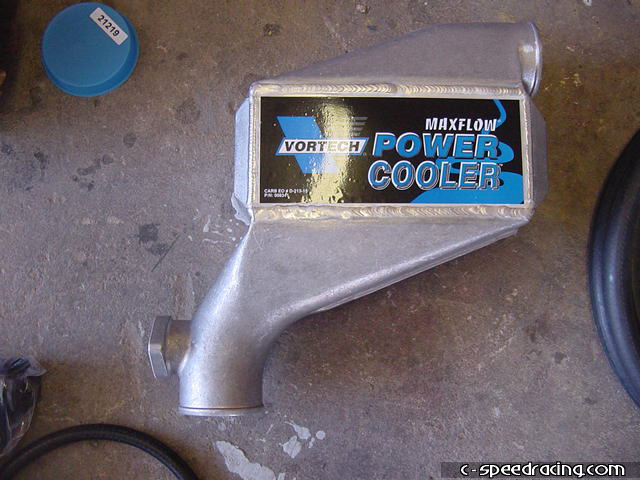
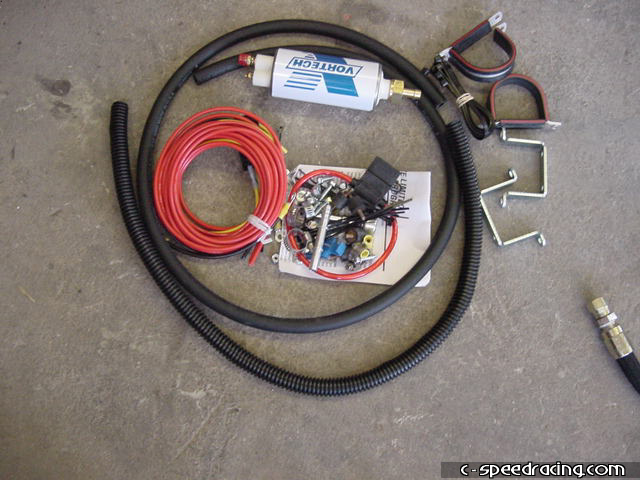
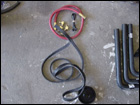
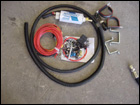
First things first, the charger came in 2 very large boxes. Take everything out and inventory all the components. Make sure everything is there. You can see here the oil cooler unit which will be used as a water cooler and water pump and relays. |
 |
 |
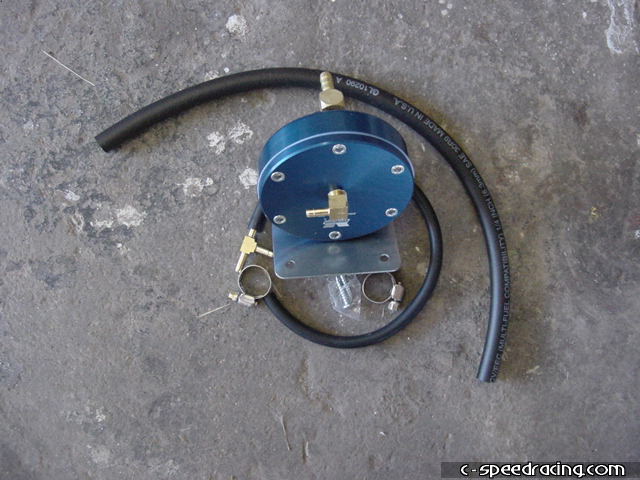
Also included in the kit are all the hardware necessary to hook up the water cooler/after cooler. This kit is very complete, right down the the screws needed for assembly |
 |
 |
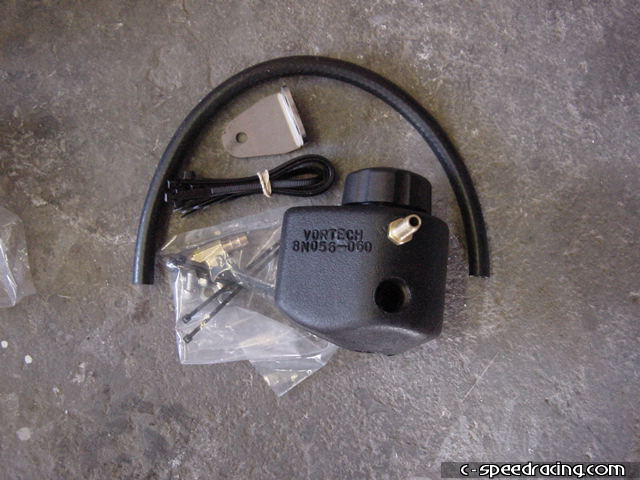
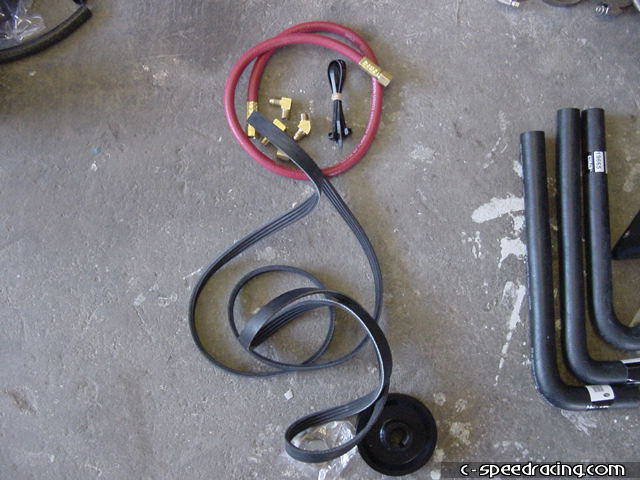
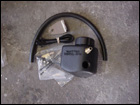
It includes a Vortech FMU, new belts and oil return line. |
 |
 |
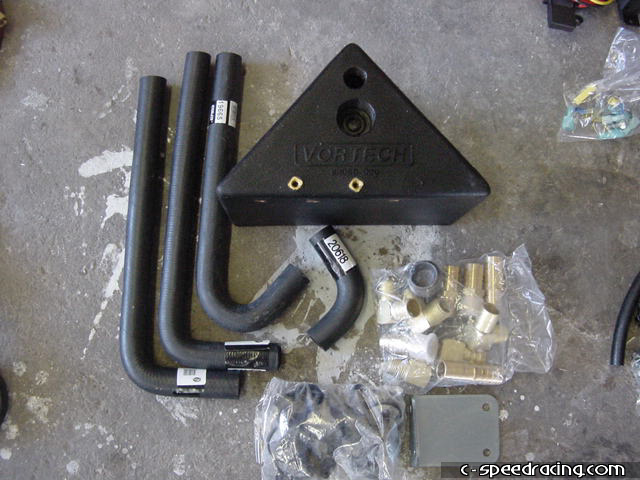
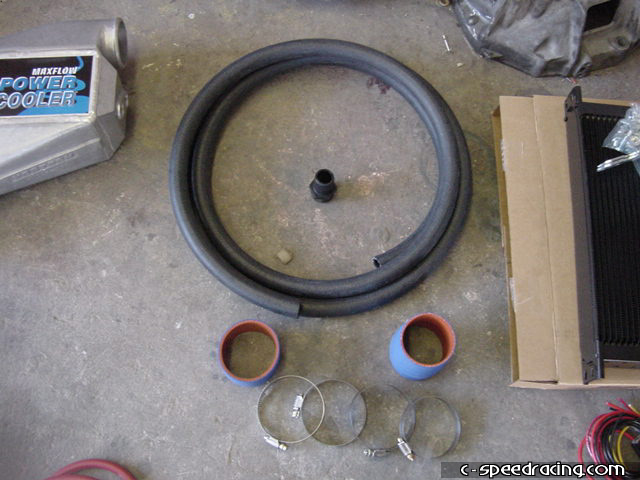
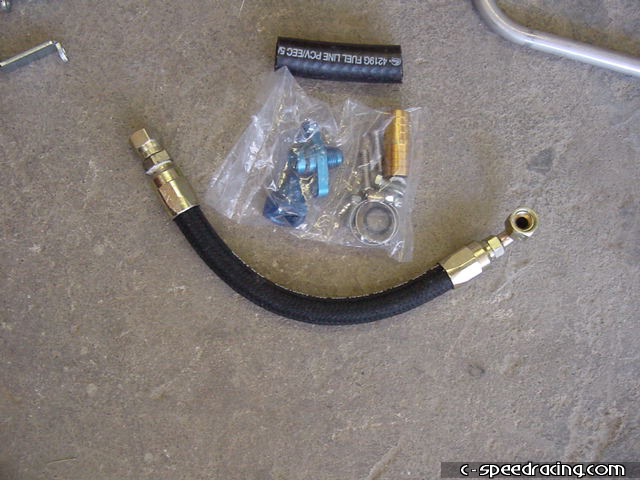
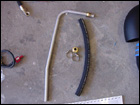
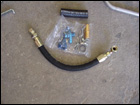
Miscellaneous hardware, fittings and aftercooler. |
 |
 |
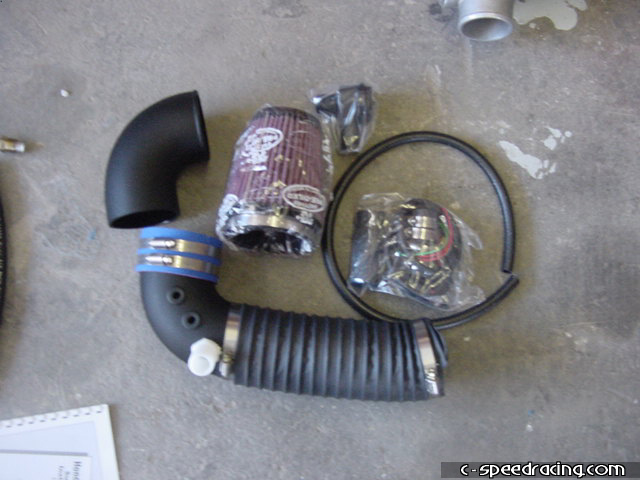
A K&N filter is also tossed into the mix. |
 |
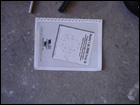 |
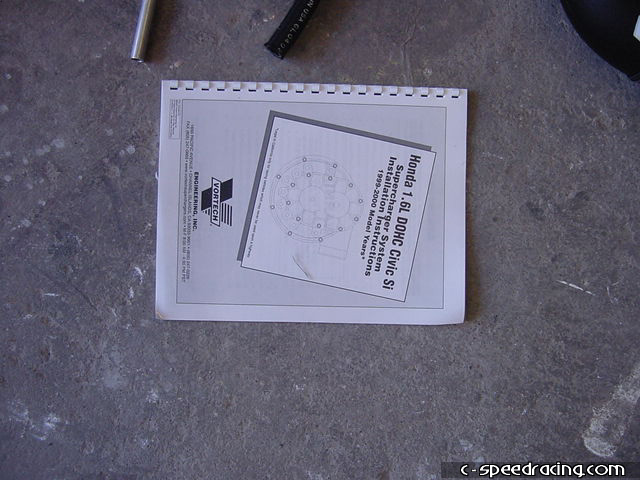
The Vortech installation manual. Treat with care! |
 |
 |
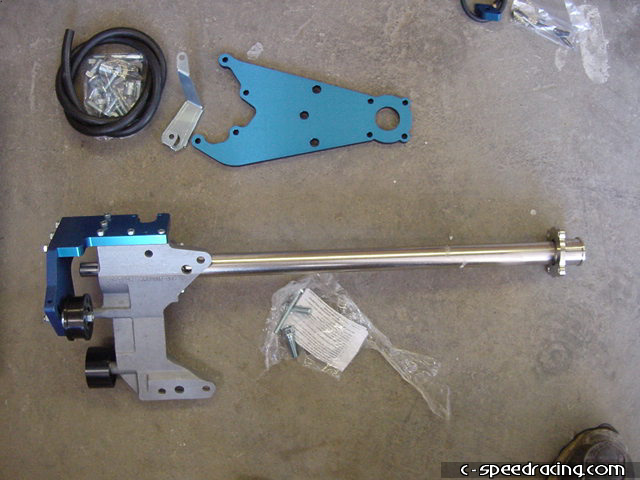
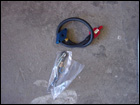
The driveshaft seems to be the most ominous part of all and strikes the most interest of all the parts in the box. |
 |
 |
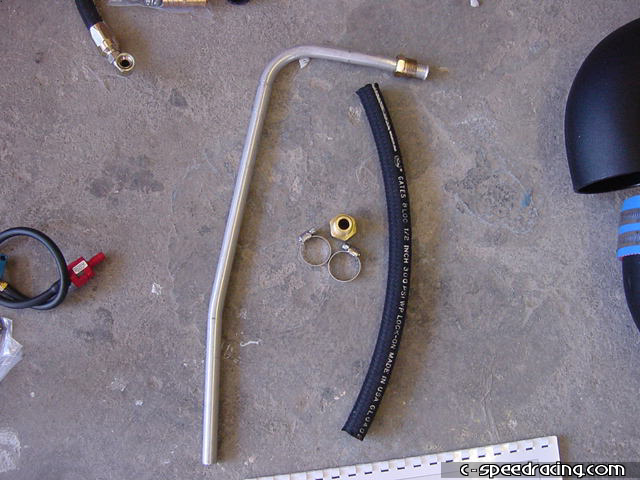
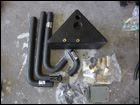
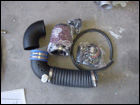
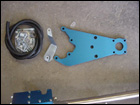
Here's the mounting plate for the compressor and the new power steering line. |
 |
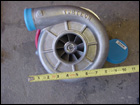 |
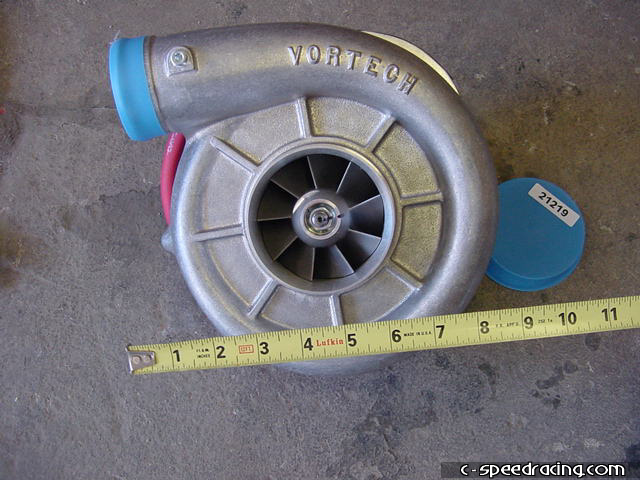
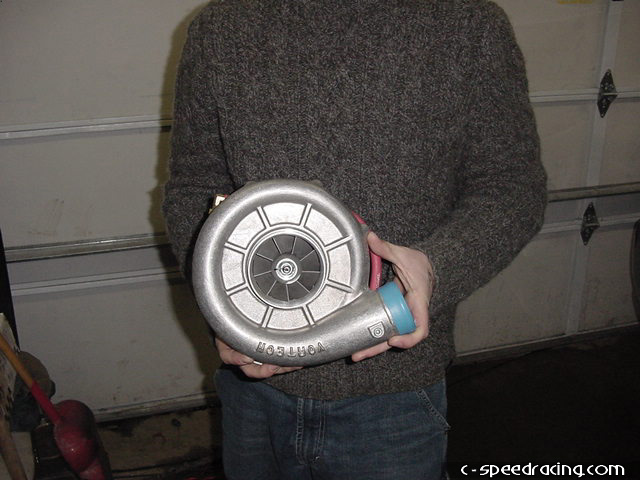
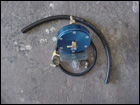
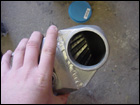
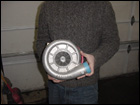
You can see in this photo the sheer size of the compressor housing. |
 |
 |
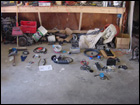
A lot of parts, a lot of time. Time to get cracking. |