 |
 |
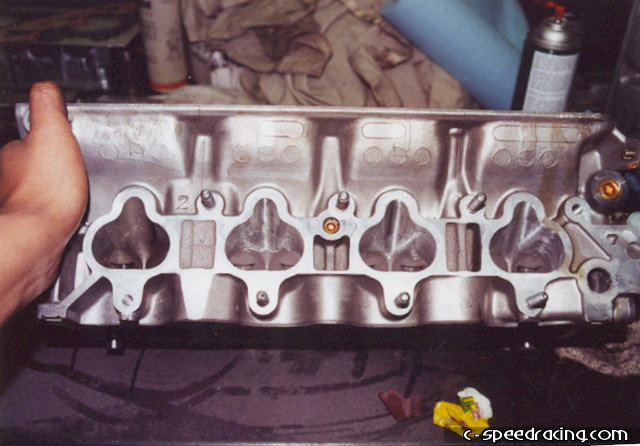
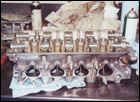
Step 10:
Using the exhaust gasket as a template and marking where material needs to be removed, we carefully reshaped the exhaust ports to match the exhaust manifold gasket. |
|
 |
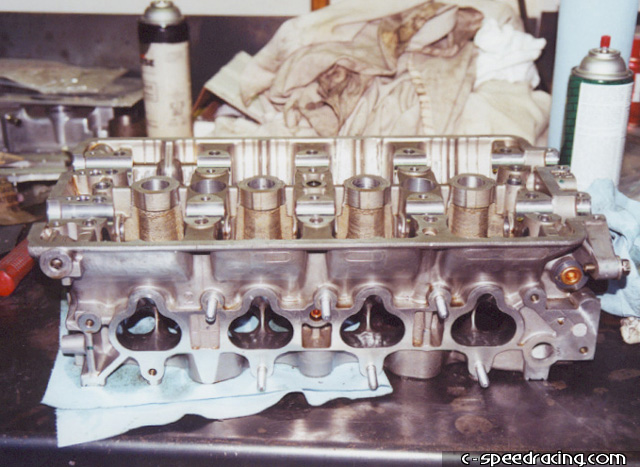
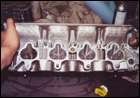
Step 11:
You can see that the exhaust ports are definately larger than before which will definately help the flow especially on a turbocharged vehicle. The entire length of the ports were lightly polished to remove any roughness as well. |
 |
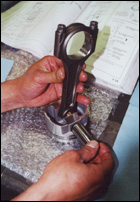 |
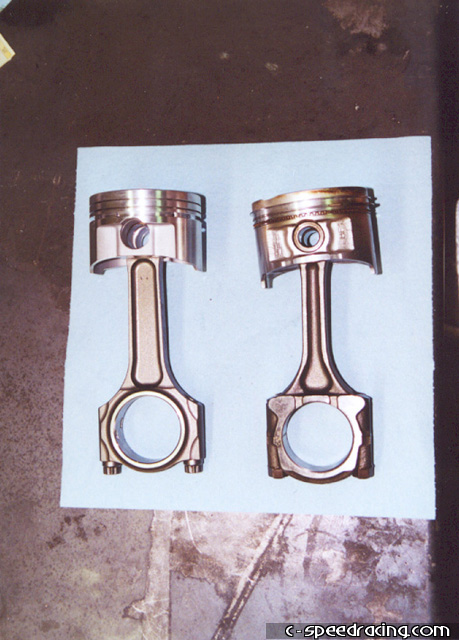
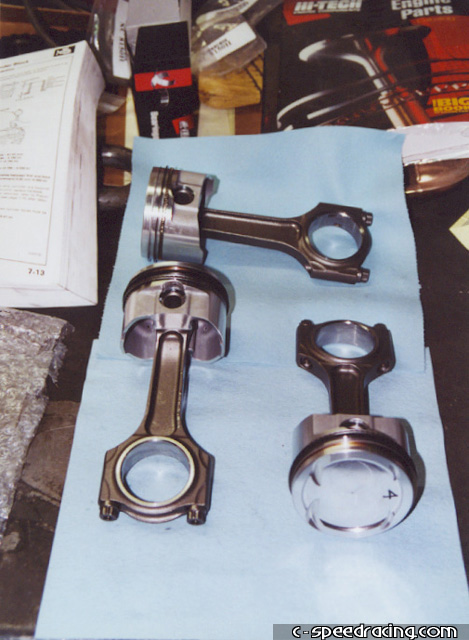
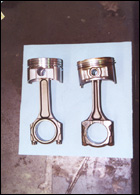
Step 12:
Here you can see the comparison between the stock rod and piston versus an aftermarket rod and piston. Notice how much stronger the left one is compared to stock. The wrist pins on aftermarket pistons aren't pressed in like their stock counterparts, so be very careful that the circlips are installed correctly. |
 |
 |
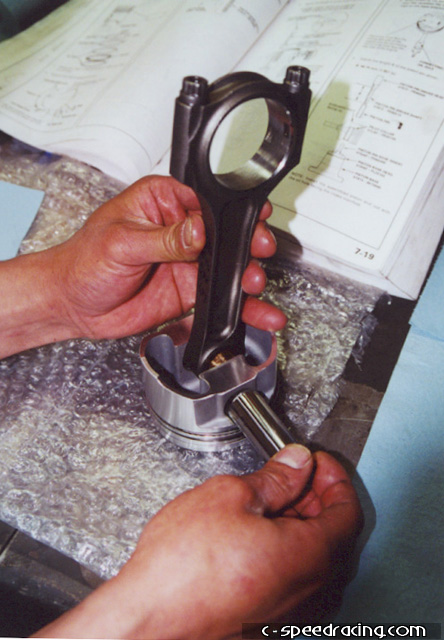
Step 13:
At this point it is also a good idea to have the rods and pistons balanced. They should be pretty close from factory but every gram counts and in the end it all adds up to improved performance. Notice the top of the pistons are dished in rather than flat or protruding. These are low compression slugs which will help deter detonation. |
 |
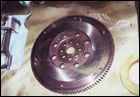 |
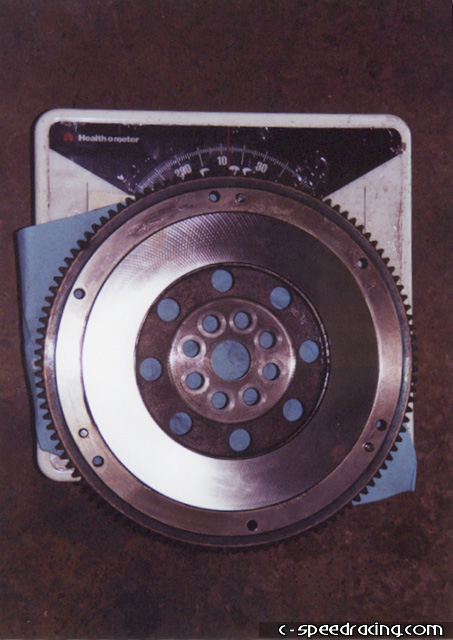
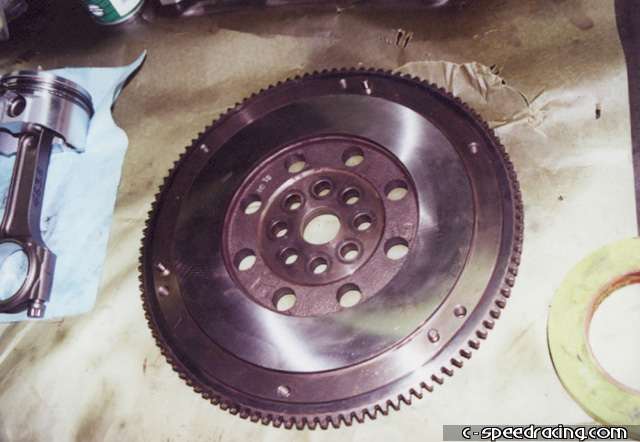
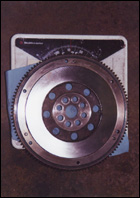
Step 14:
Less rotational mass also improves performance. Therefore a lighter flywheel has been called up. This is a stock GSR flywheel machined down, tipping the scales at 12.5lbs from 18lbs stock. |
 |
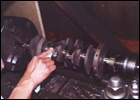 |
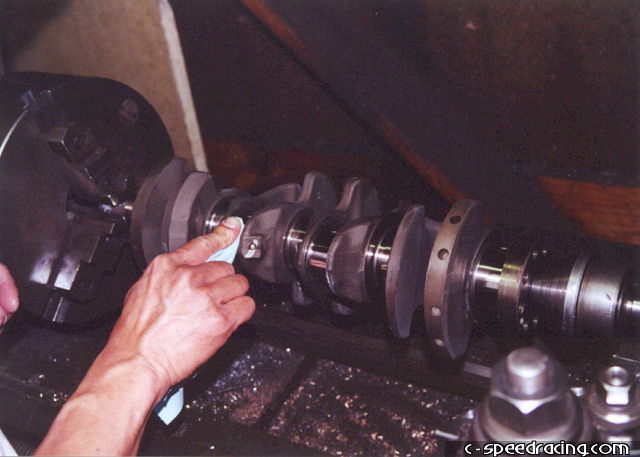
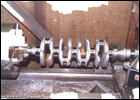
Step15:
Remember, in this game every little bit counts. So micropolishing the crank is also done. |
 |
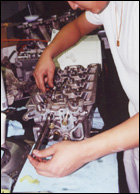 |
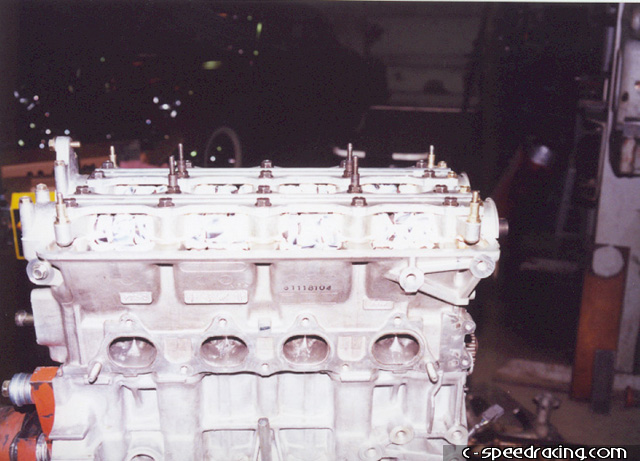
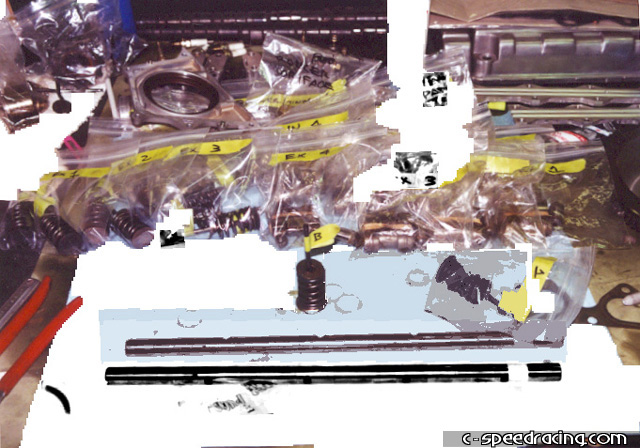
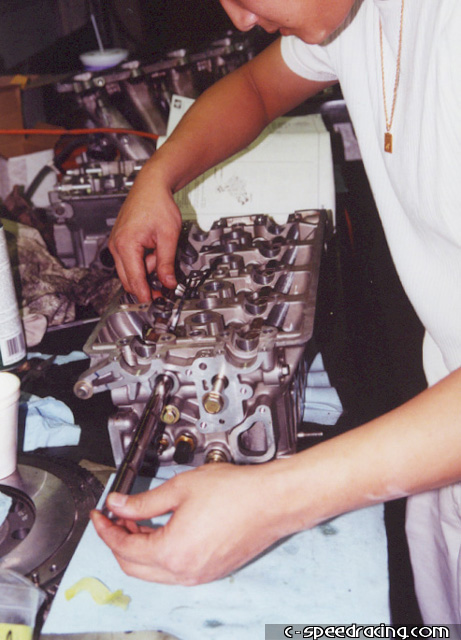
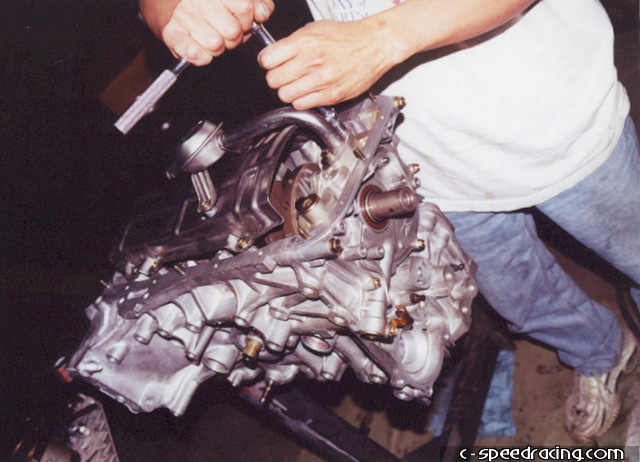
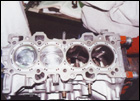
Step 16:
With everything pretty much completed, we're ready to reassemble everything, starting with the head. Its a good idea while your disassembling to keep all part and their nuts/bolts in marked zip lock bags. It keeps them clean and in one place. Losing parts isn't a good thing. Also remember to lube the parts before installing them especially the lost motion assemblies. |
 |
 |
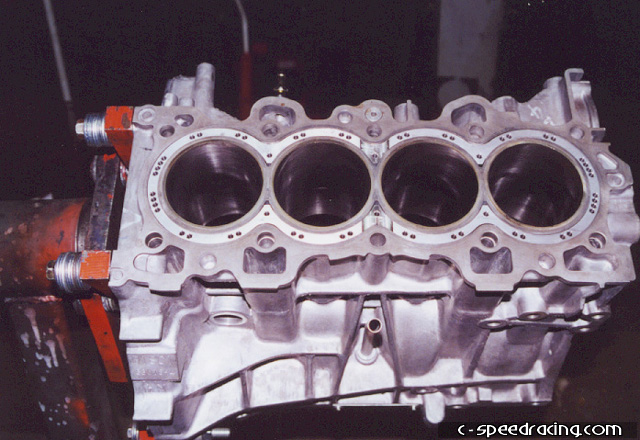
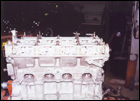
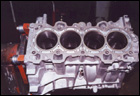
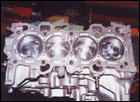
Step 17:
With the block overbored and hot tanked, we can also start reassembling the bottom end. We opted to run a block guard in this motor. Be sure to file it down to size and gently tap it into place in the waterjacket, slightly below the deck height. Before installing the rods and pistons, make sure the ring gaps are to spec and the piston to wall gaps is to spec. Also a common mistake is stalling the pistons backwards. Make sure you mark which way they go in, just to be safe. Remember to lube the cylinder walls prior to installing the pistons as well. |
 |
 |
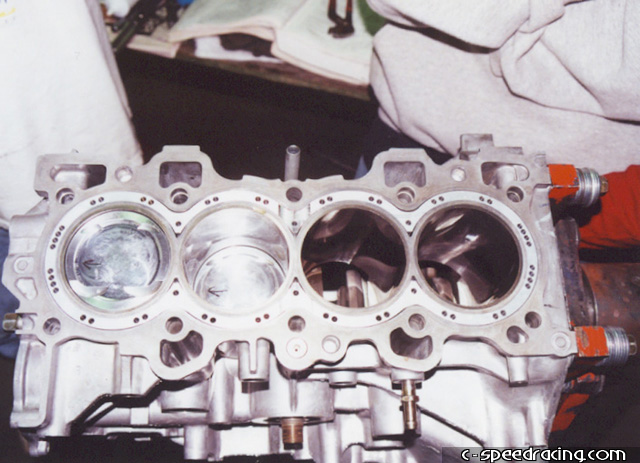
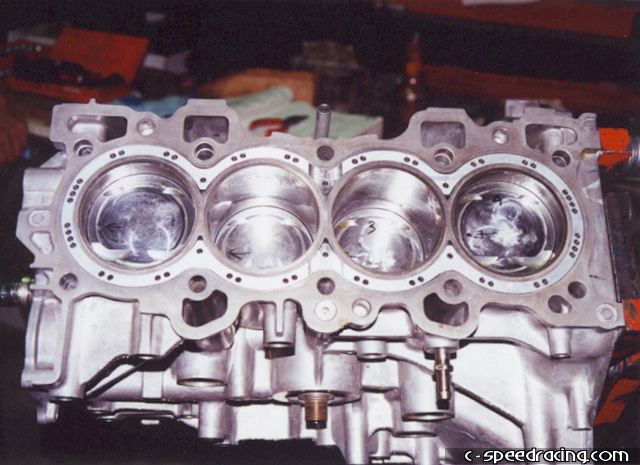
Step 18:
With all the rods and pistons in place, make sure you get the correct bearings for the rods, otherwise you will be asking for trouble. Plasti-gauge works well for this application. Remember to torque everything to spec. |