 |
 |
Step 19:
Prelubing at this stage is vital because the intial startup will be pretty harsh due to lack of ciculating engine oil. Use assembly lube on parts where oil would normally just run off. |
 |
 |
Step 20:
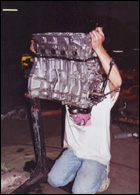
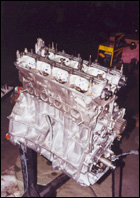
With the bottom end now complete, we can focus on putting the head back on the block. We decided to swap the factory head bolts for some stronger head studs to keep the head in place. Be sure to follow the manufacturers specifications on installation and torque when going with head studs. |
 |
 |
Step 21:
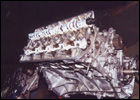
Using a new headgasket, carefully drop the head into place. Be sure you didn't forget the oil control orifaces. |
 |
 |
Step 22:
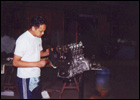
After torquing down the head studs, you can go ahead and install the cams. Plenty of assembly lube will ensure we don't burn anything up on startup. |
 |
 |
Step 23:
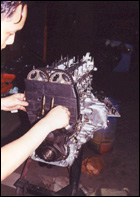
With the head in place, its now time to put all the factory sensors, draing plugs, timing belt and cover back on. Check with the Helms often so you don't leave anything out or misplace something. Double check that the timing marks on the cams are correct when you install the timing belt. Also make sure the tension is set correctly. You don't want to have to do it again when the motor is back in the car. You will shoot yourself. |
 |
 |
Step 24:
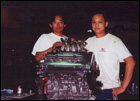
Now that the block is completely assembled, you can add the manifold to complete the job. Make sure you have all the VAC lines hooked up correctly and that the manifold is free of debris. It would be a good idea to put the oil filter on at this point too. TIP: Prefill it about 4/5 full of oil before installing it.
Strike a pose boys - 99.9% done. |
 |
Step 25:
Finally, bolt up the oil pan before dropping the motor back into the car. Double check everything! Extra bolts and parts at this point would not be good. A job well done! |