 |
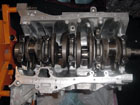 |
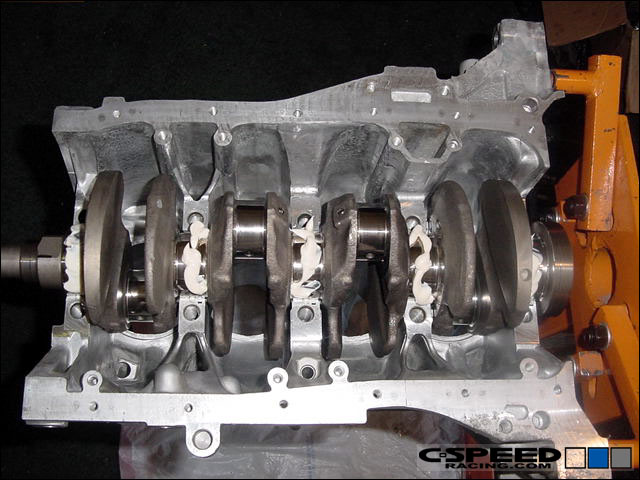
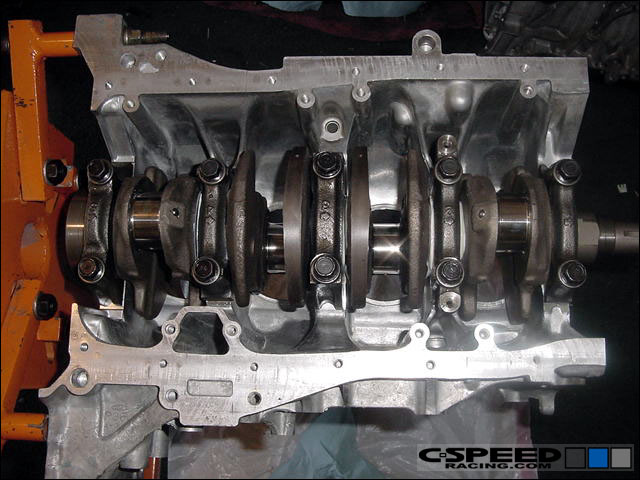
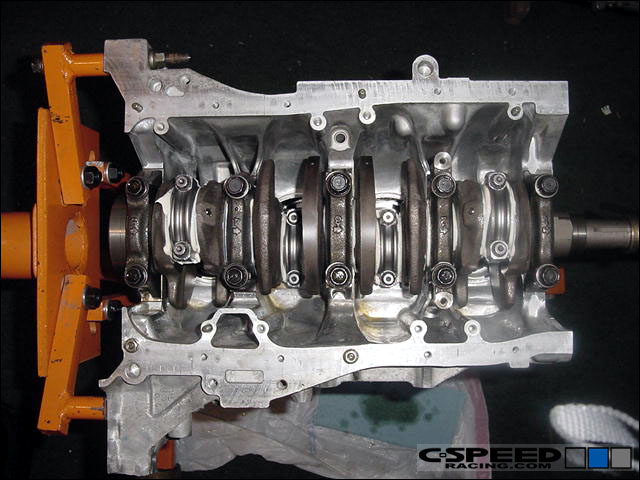
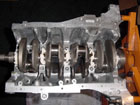
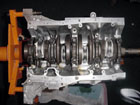
Once you have checked the bearing clearances and made sure the crank is within spec, go ahead and install the crank and mains using plenty of assembly lube. |
 |
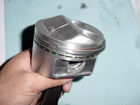 |
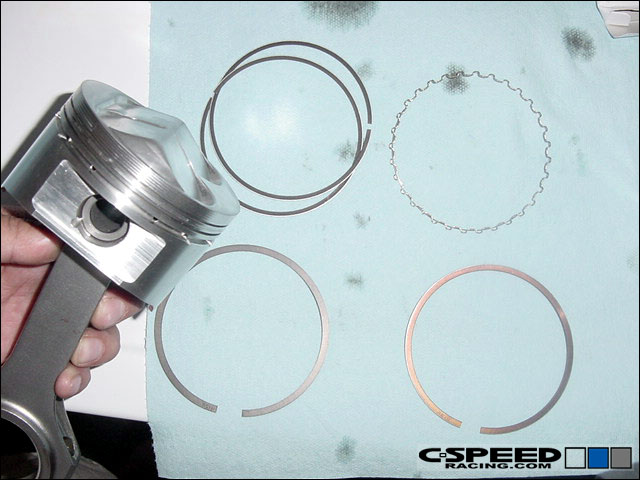
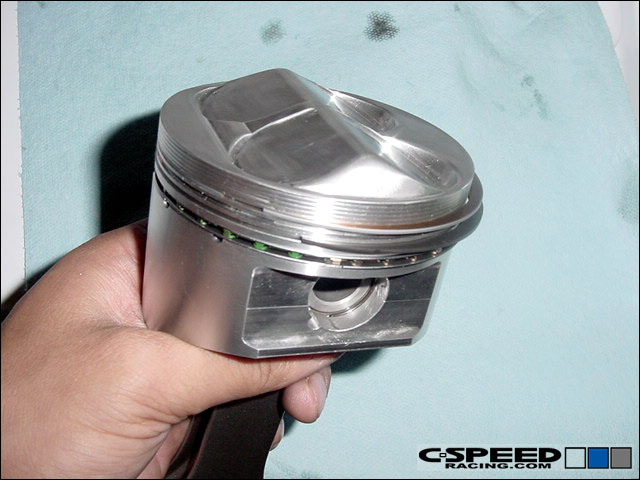
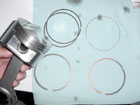
Clean each piston and rod combination and carefully install the rings. Besure to note the proper location of each ring end gap and that the first and second ring are facing the correct direction (up/down). The oil ring doesn't have an up or down. |
 |
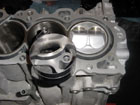 |
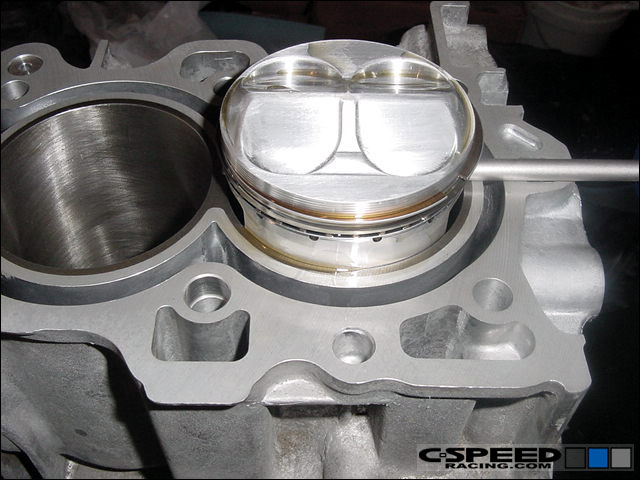
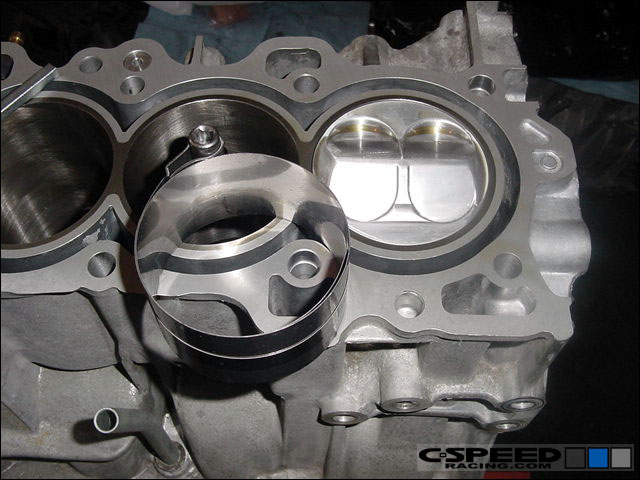
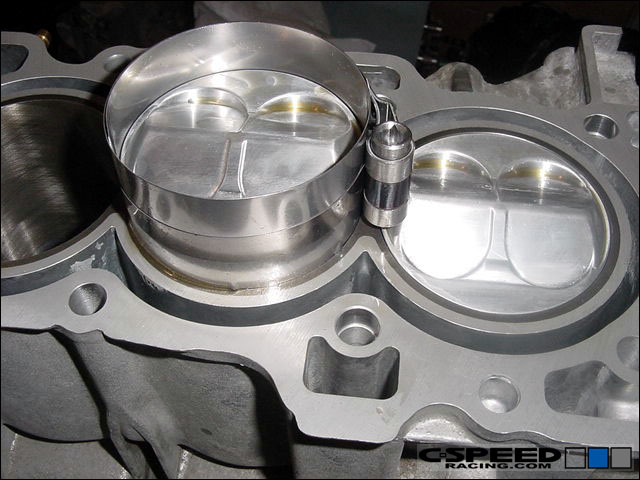
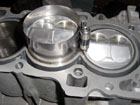
Now carefully install each piston using a piston ring compressor. Gently seat the compressor flush onto the deck and then using the butt end of a hammer, gently tap the piston down into the cylinder. Becareful at this point that the rod is lined up correctly with the crank journal so that it does not hit or bind against it. |
 |
 |
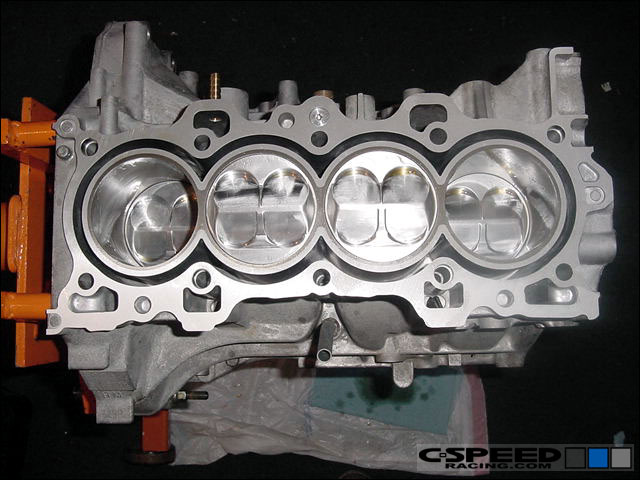
Repeat for the remaining cylinders. |
 |
 |
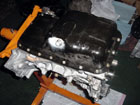
When installing the rod caps, be sure you lubricate the nuts/bolts on the rods before torquing them down. If you are using ARP bolts, be sure to use the supplied ARP Lube. Torque each nut/bolt down three times, loosening it each time. With the rotating assembly complete, move on to the rest of the bottom end. Here, we installed a B18C oil pump and crank fluctuation sensor. |
 |
 |
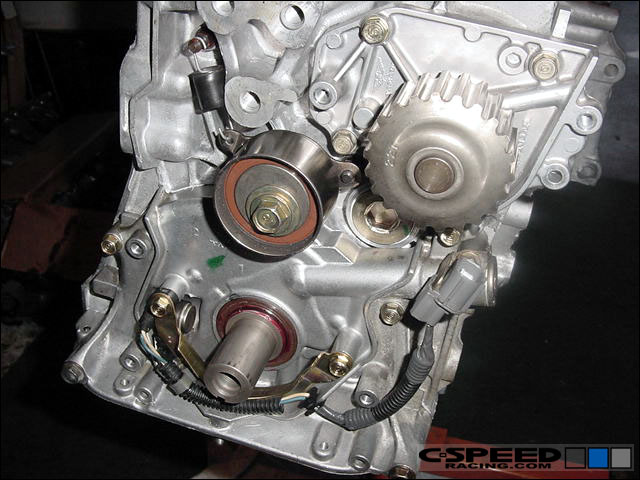
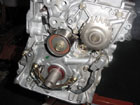
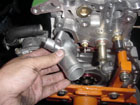
Install the appropriate water pump. If you are going to use an LS timing belt, then you must use an LS water pump and similarly for a GSR/ITR pump you must use a GSR/ITR timing belt. This is critical. We also used the stock B20 oil pick up. |
 |
 |
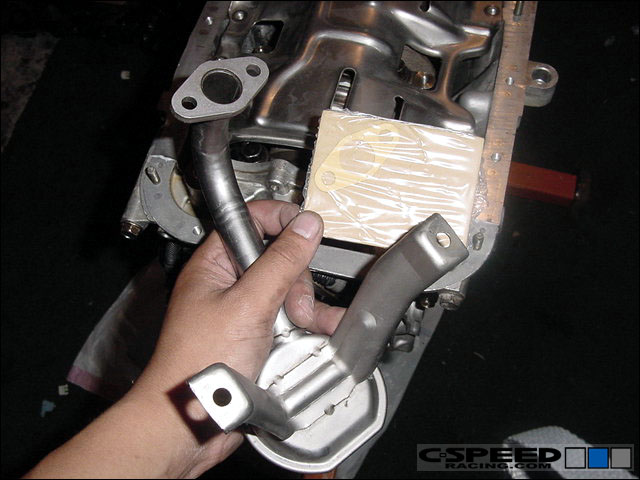
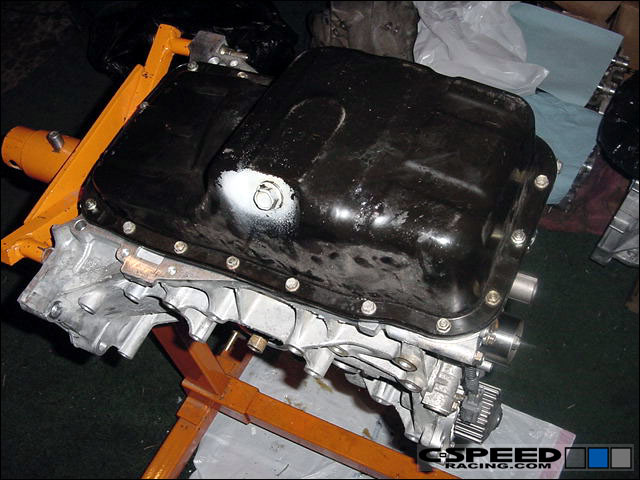
The B20 windage tray is also used. If you decided to install a crank girdle, then a GSR/ITR oil pick up, windage tray and oil pan would be required. Inspect the old oil pan gasket and replace if necessary. |
 |
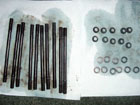 |
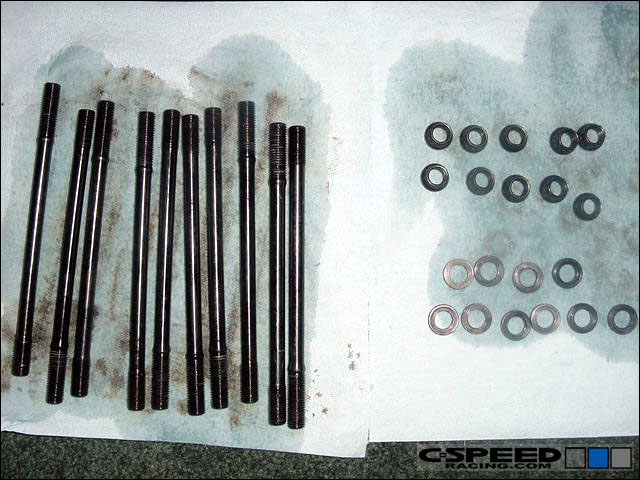
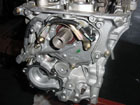
With the underside complete, the last step is to prep the top end to accept the new head. We chose to install ARP head studs rather than use the OEM head bolts. Be sure that you DO NOT use the non-VTEC head bolts/studs if you are using a VTEC head in this swap. You must use VTEC bolts/studs as they are the correct length for the conversion. The ARP studs pictured here are B18C units. |
 |
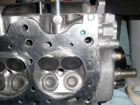 |
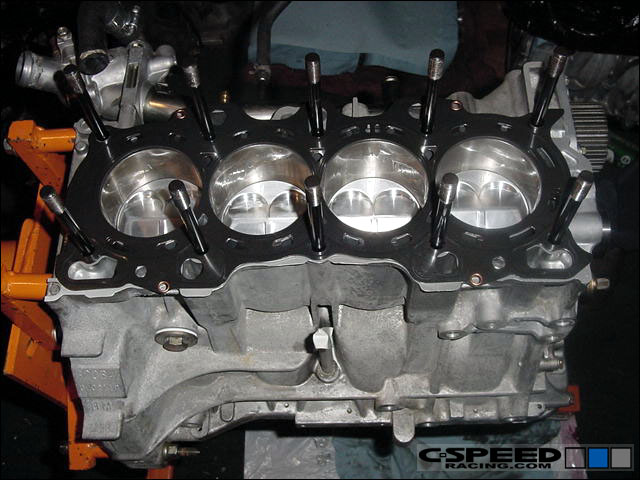
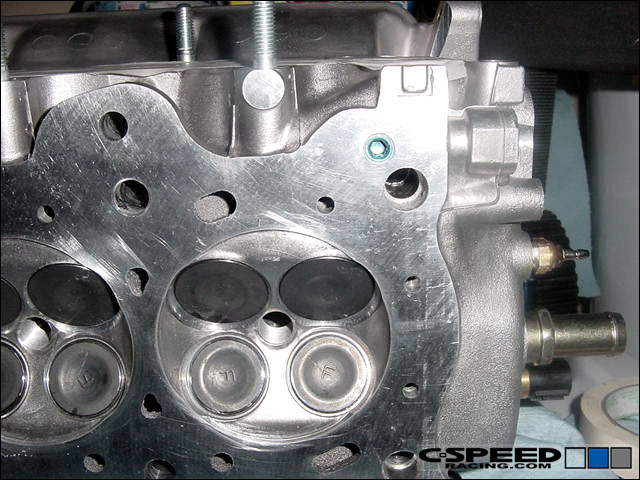
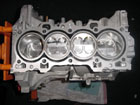
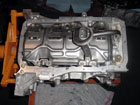
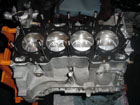
With the ARP studs in place, put the B20 headgasket on. Make sure that it is on the correct way and not upside down. You can see the modified head with the plug and resized dowel pin holes here. Besure the put the dowel pins inplace when you set the head onto the block. |
 |
 |
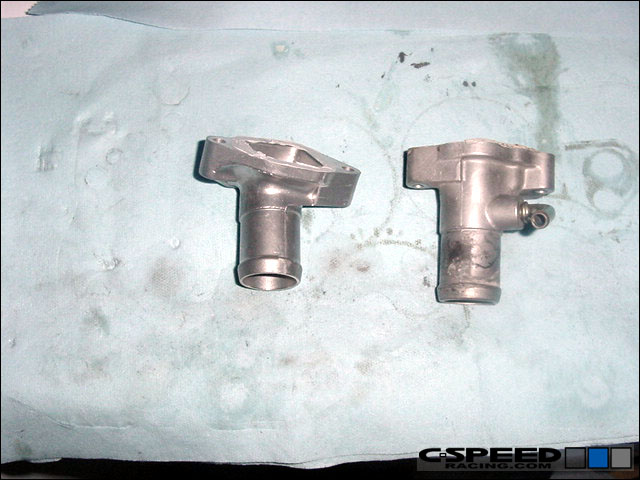
One thing worth mentioning at this point is that if you are swapping the motor into a Civic then you must swap the water neck to a B16 unit since the B18 one is straight and not angled correctly. |