 |
 |
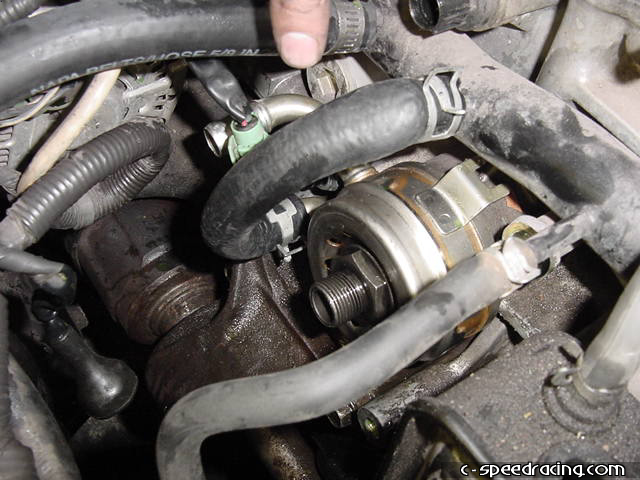
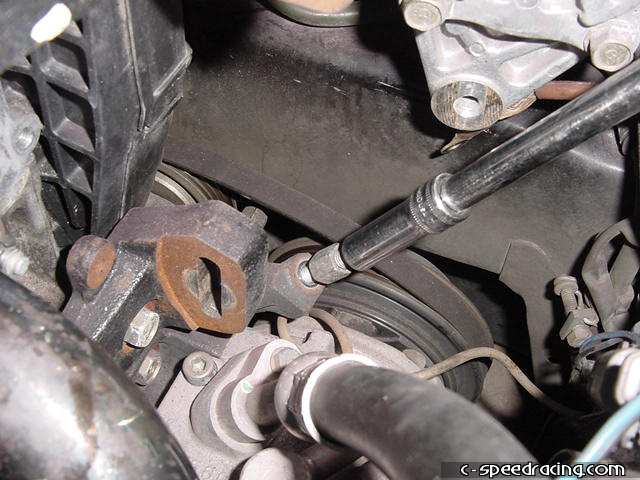
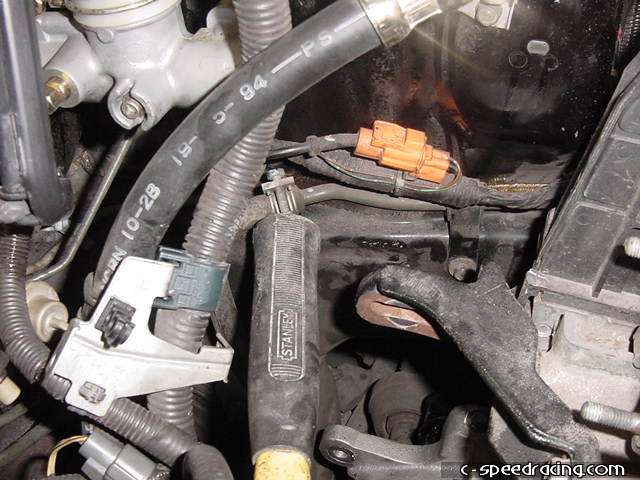
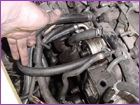
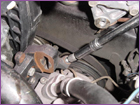
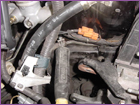
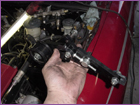
Reinstall the oil cooler onto the back of the block. However take note of the position of where the upper nipple is. It now has to point at the 9 o'clock position. It originally pointed in the 12 o'clock position. This is vital that it points at the 9 o'clock position for clearance issues. The nipple must also be hoziontal the to floor or pointing slightly upwards, if it doesn't, then carefully bent it by inserting a screwdriver. Using the orignal hose on the oil cooler with the largest radius, reconnect the lower nipple to the main water line. |
 |
 |
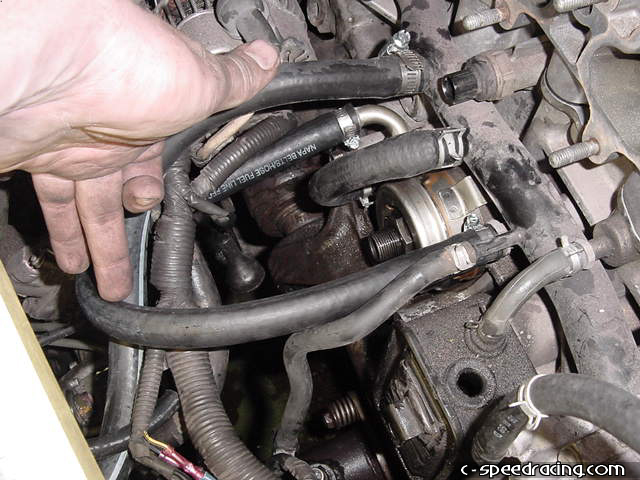
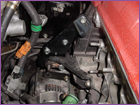
Using the new supplied water line, connect the upper nipple on the oil cooler to the back of the block. Now you can go ahead and loosen the bolts on the alternator. There is one on the top and one on the underside on the back of the block. |
 |
 |
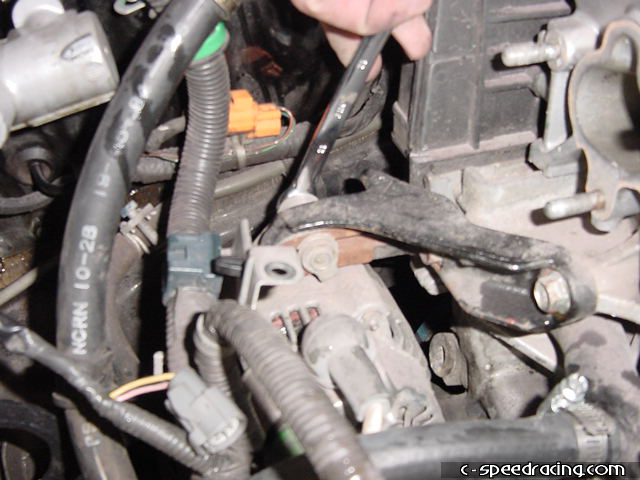
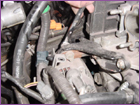
Loosen the A/C tensioner bolt. |
 |
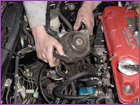 |
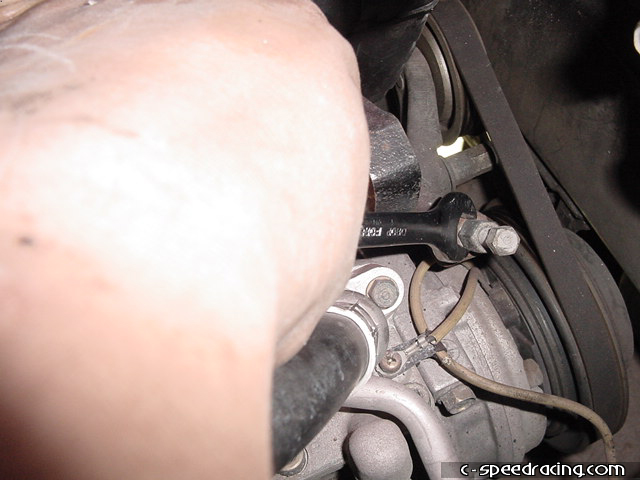
To give the A/C tensioner some slack, back out the jam nut. Once the A/C belt is off of the pulleys. Remove the alternator. |
 |
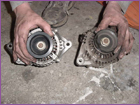 |
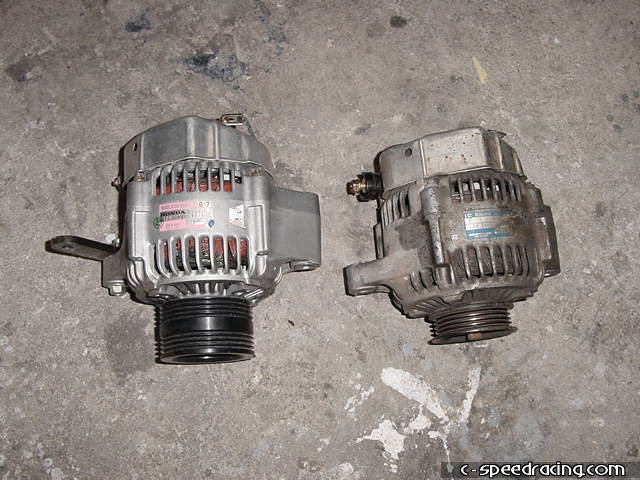
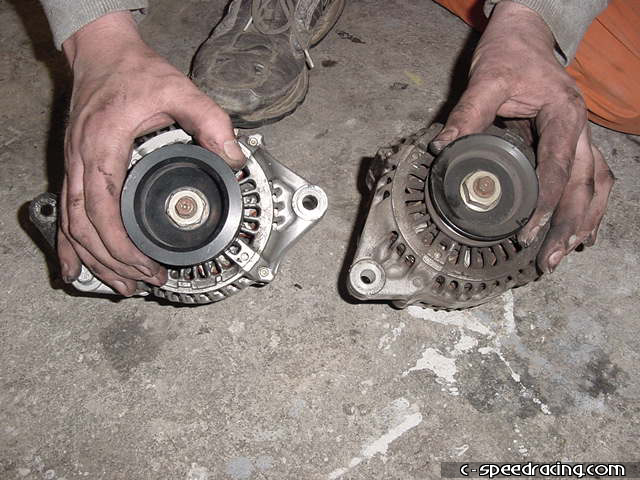
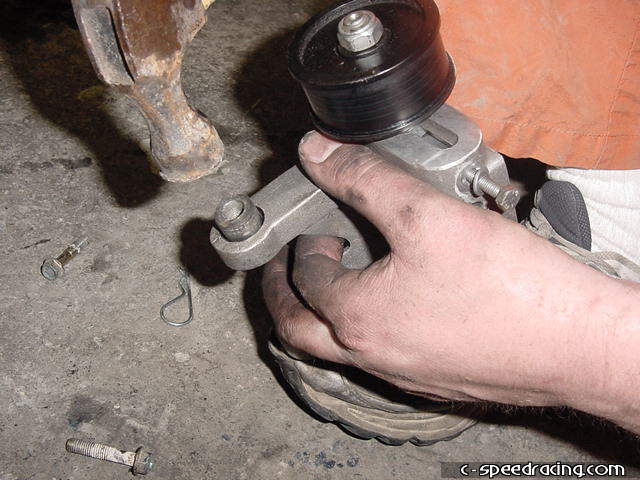
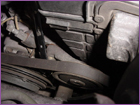
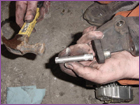
Here you can see a comparison of the stick alternator pulley and new JRSC pulley that will drive the supercharger. An impact wrench will come in handy to remove the bolt on the alternator for you to swap pulleys. |
 |
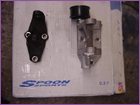 |
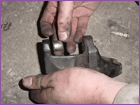
Now remove the old alternator bracket from the back of the block. You can them side by side with the new JRSC alternator bracket. |
 |
 |
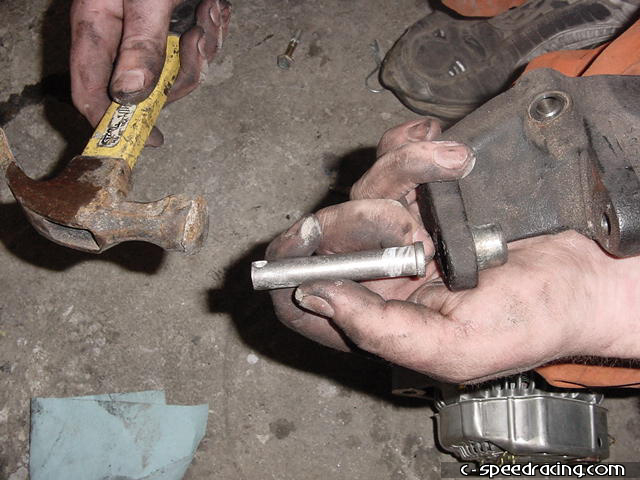
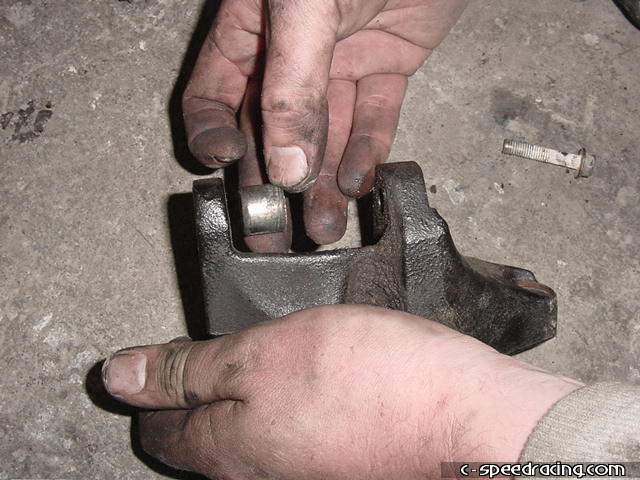
Using a punch, remove the bushing on the stock alternator bracket and install it onto the new JRSC bracket. |
 |
 |
Use a hammer to seat the bushing into the new bracket. Be sure it is seated completely. Then using the original alternator bolts, install the new bracket. |
 |
 |
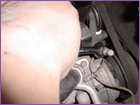
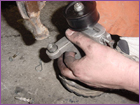
Now you will need to slightly bend the powersteering line on the driverside of the car on the fender. Using a long handled hammer or equivelent, push the metal line towards the fender as much as possible. This is necessary to clear the new belts that will drive the supercharger. With that done, you can now install the new pulley bracket to the back of the block. |
 |
 |
Using the supplied bolts and spacers, bolt the alternator back to the new lower bracket and to the new upper pulley bracket. Then finish up by bolting the support bracket to the head with a 12mm bolt. |